I am really excited to be able to share this recipe for a cheese and olive bread with you. I have had the ingredients at the ready to make it for a few days now, and today was the day!
The original recipe comes from that cookery book I shared with you the other day, The Vintage Church Cookbook. In fact it was one of the first recipes in this delicious book that caught my eye!
Church cookbooks are always filled with the best recipes I think. Most people who share a recipe to be inserted into a church cookbook share only their absolute favorite and best recipes.
Recipes which other people have favorited through the years and which are family favorites. As with a Junior League type of cookbook, or a community cookbook, a church cookbook is filled with real pleasers!
I had some really old church/community cookbooks in my possession when I was in the UK. I had been collecting them for years. Unfortunately I had to leave them all behind when I moved back to Canada last year.
Its okay. I have no doubt that someone picked them up in the charity shop they were taken to and are now enjoying them as much as I did. Or at least I hope that they are!
It would be impossible for me to replace them anyways. Most are no longer available and the cost of doing so is prohibitive. I did find this book however and took a chance on it.
I am glad that I did. It is filled with real gems such as this recipe I am sharing today. Olive Bread makes a great side dish for any kind of a meal as well as a wonderful appetizer for holiday get-togethers!
It reminds me very much of some of the appetizers I used to make for the dinner parties I prepared and cooked for when I was cooking at the Manor.
Albeit for those occasions the olive spread would have been placed onto smaller bite sized squares of bread, in fitting with dinner party appetizer fare!
I used to make a similar one which was very much like this with the exception of there being no garlic, and no olives. You cannot risk garlic breath or black olives between the teeth when millionaires are getting together! The Mrs. used to call those occasions "networking."
WHAT YOU NEED TO MAKE OLIVE BREAD
Not a long list of ingredients is needed to make this delicious party/dinner fare!
- butter (I use regular salted)
- mayonnaise (use full fat, not light)
- garlic powder (do NOT use garlic salt)
- grated Italian 4 cheese blend
- spring onions (also called scallions or green onions)
- black olives (both sliced and chopped)
- a loaf of French bread (I used a whole grain seeded one today, and it was fabulous)
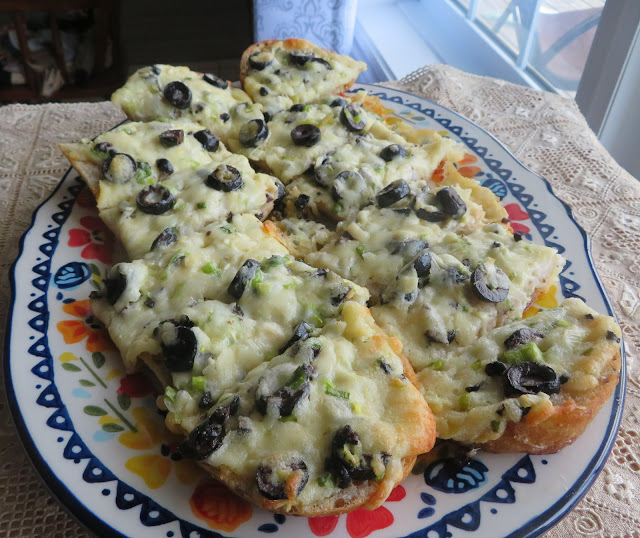
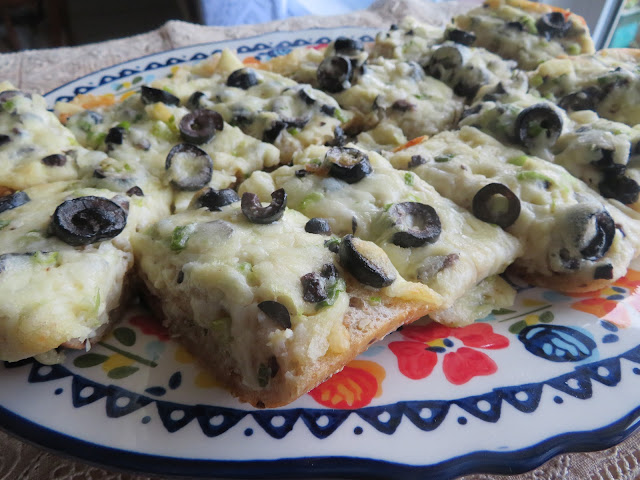
If I was doing this as an appetizer I would cut the bread into much smaller pieces, but cut like this into sixteen it is perfectly suitable to serve either as a side bread to an Italian meal, or even as a snack bread for those game or footie nights!
What I love most about it (other than its deliciousness) is the ease of preparation! This is a truly simple make!
HOW TO MAKE OLIVE BREAD
Nothing could be easier to make than this delicious bread. If you can turn on a stove, stir together and spread, then you can make this!
It really is that simple!
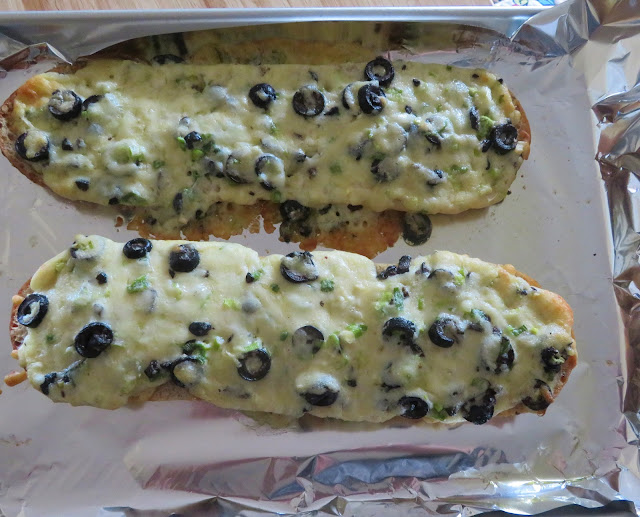
You begin by preheating the oven to a moderate temperature. I used a small baking sheet, but I lined it with some aluminum foil for ease of clean up.
You will need a regular sized loaf of French Bread. Mine was about 12 inches long and 3 inches wide. A full sized baguette as they would call it in the UK. Mine was also a whole grain baguette and it was delicious.
The baguette needs to be sliced horizontally in half through the middle. Place the two halves on your baking sheet.
You can thinly slice the spring onions, or chop it. I cut mine in half lengthwise and then cut them into thin slices across.
I used one small bag of sliced black olives (Unico). Half of the bag I left in slices and the other half was chopped finer.
I also used a ready grated blend of four Italian cheeses.
The recipe does use rather a large amount of butter, which if you don't mind a bit of an indulgence works well. I think personally that you could get away with half the amount and still have a very delicious bread.
Everything simply gets stirred together to combine and then spread onto the French bread halves evenly.
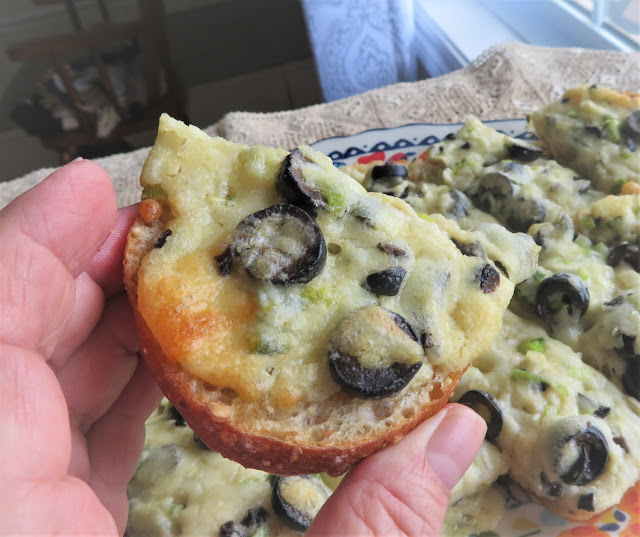
It then gets baked in a moderate oven until the cheese gets all melty and gooey. I did bake mine for slightly longer than the recipe suggested. I wanted crisper edges on mine.
You can also pop it underneath the grill/broiler if you want it to be golden brown.
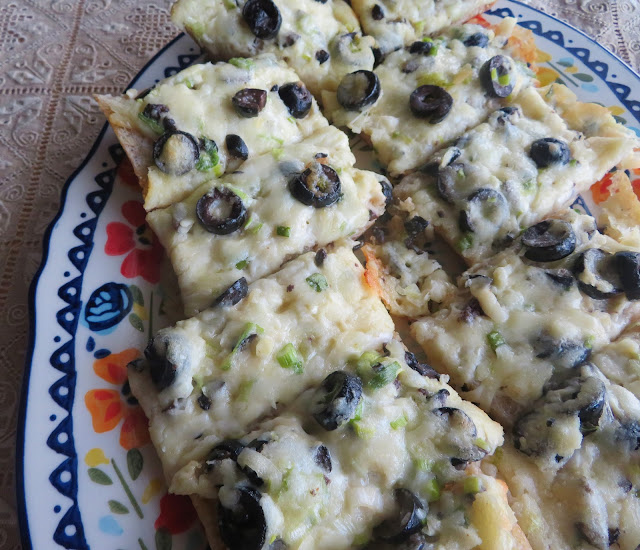
As with most cheesy things such as this, it is best to let it sit for 8 minutes or so before cutting into it. If you cut it right out of the oven, you risk the topping sliding right off. So do resist for a tiny while.
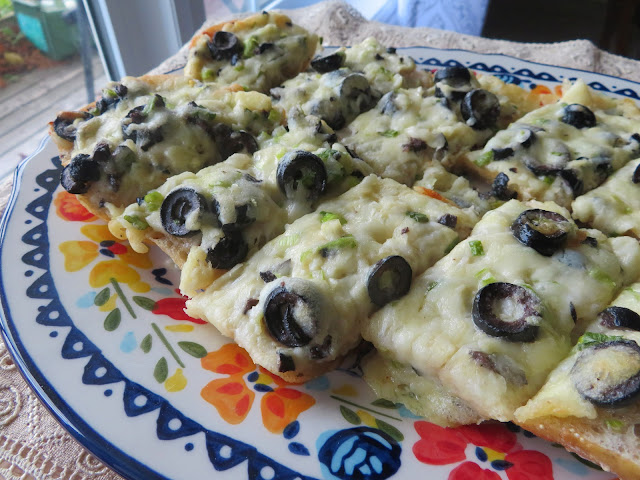
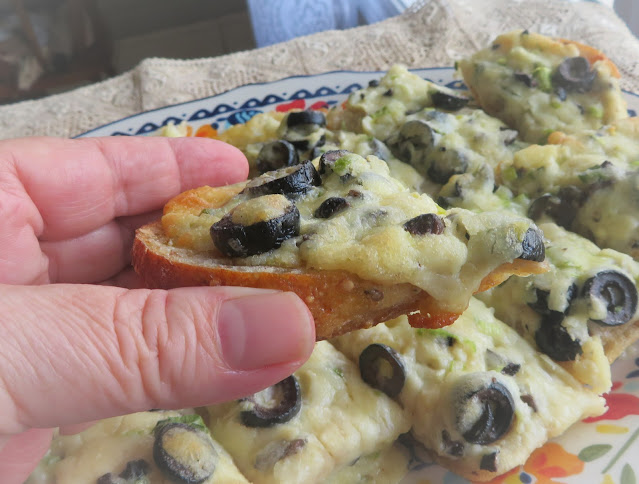
If you do, your reward will be lovely, indulgent, cheesy, rich, and crispy slices of gooey deliciousness! Very moreish and slightly salty from those meaty black olives. Oh my, but this was some good.
I think it would be excellent served with soups or salads as well as next to pasta dishes or stews. And of course, it would make a great snack for game nights, or (cut into smaller pieces) a perfectly delicious appetizer for all occasions!

Olive Bread
Yield: 16 slices
Prep time: 5 MinCook time: 18 Mininactive time: 8 MinTotal time: 31 Min
A fabulously delicious bread that is just as comfortable as a side dish for a special meal as it is cut into thinnish slices/cubes and served as an appetizer. Perfect for the holidays!
Ingredients
- 8 TBS (115g) butter, softened
- 1/4 cup (60g) full fat mayonnaise
- 1 tsp garlic powder (not salt)
- 2 spring onions, trimmed and thinly sliced
- 2 cups (170g) grated Italian four cheese blend
- 1/4 cup (45g)sliced black olives
- 1/4 cup (45g) chopped black olives
- 1 loaf of French bread, halved lengthwise
Instructions
- Preheat the oven to 350*F/180*C/gas mark 4. Have ready a medium sized baking sheet.
- Whip together the butter and mayonnaise until smooth and creamy.
- Mix in the garlic powder, cheese, onions and olives.
- Place the halves of the French bread on the baking sheet. Spread half of the cheese mixture over each piece of bread evenly.
- Bake for 12 to 15 minutes until the cheese has melted and set.
- Leave to sit for 5 to 8 minutes and then cut into slices to serve.
Notes:
If you want you can pop it under the broiler for a minute or two to get a crisper golden brown top.






This would be perfect with almost any entree or with soup of any kind. Delicious served with a salad, too. Definitely going to make this. Happy Thursday. Love and hugs, Elaine
ReplyDeleteI made this at lunchtime to accompany some tomato soup I had planned to eat. I was going to do something else, but as soon as I saw this, I took a Rustic Baguette out of the freezer :)
ReplyDeleteThese were so easy to make and they are really delicious. I agree that popping them under the grill for a couple of minutes gives them a lovely colour. They are perfect to accompany soup. We loved them.
This one ticks all my boxes! Thanks, Marie!
ReplyDelete