
I love hotdogs. I know they are not exactly gourmet food, and I know that they are a bit garbagy junk foody with what goes into them. I don't care what goes into them. I like them. They taste good to me, and they have their place in my kitchen, as a once in a while treat. When I was a child we often had hotdogs for supper on Friday nights and my mom made the best hot dogs on the planet. People used to vie for an invitation to dinner on hotdog night, no word of a lie!

Its now Great British Bake Off Season here in the UK, and in honor of that each week Betty's will be sharing a delicious recipe, plus a video and their baking tips to go with each recipe. The kind of thing you won't find in any cookery book! Here is week Six of their delicious hints and tips and recipe on how to make a really super Swiss Roll!
Super Swiss Roll
INGREDIENTS (serves 6-8)4 eggs (medium)
100g caster sugar (1/2 cup)
100g plain flour (3/4 cup)
½ tsp baking powder
¼ tsp bicarbonate of soda
150g strawberry jam (about 1 cup)
200ml double cream, lightly whipped (3/4 cup)
Caster sugar (for sprinkling)
METHOD
1. Preheat the oven to 200°C (fan assisted). Grease and line the base and sides of a baking tray with baking parchment. Sprinkle caster sugar over the paper.
2. Beat the eggs and sugar in a large mixing bowl over a saucepan of simmering water until thick and creamy.
3. Remove the bowl from the heat and continue beating until the mixture is cool and forms a figure of eight when the beaters are lifted out of the bowl.
4. Sift the self raising flour into the bowl and with a metal spoon quickly and carefully fold into the mixture.
5. Spoon into the prepared baking tray. Place in the preheated oven and bake for 8-10 minutes, until golden and ‘springy’ to the touch. Remove from the oven and leave for 5 minutes.
6. Place a clean tea-towel on the bench and top with a piece of baking parchment. Turn the sponge onto the baking parchment. Carefully remove the baking parchment from the sponge.
7. Roll up across its width enclosing the baking parchment as you go. Place on a wire rack and leave to get cold.
8. Unroll the sponge and spread with the strawberry jam and the whipped cream. Re-roll. Trim the edges. Dust with sifted icing sugar.
NOTES IN THE MARGINS
Super Swiss Roll
ZONE THE MIX Use a glass bowl - it’ll keep the batter at the right temperature. Whisk until you’re able to make a full figure of eight in the mix. Use a large metal spoon – the flattest you have. Hold your baking paper in place with few dots of mixture. Don’t pour the mix – ‘zone’ it and then join the mixture together for an even covering.MAKE ITS MEMORY Invest in an oven thermometer for accurate temperature readings. Sprinkle sugar on some baking paper so your sponge doesn’t stick to it. To release the sponge from the paper it was baked on, wet your hands and massage the back of the paper. Score a little wedge in the sponge and roll it to make its ‘memory’. Do this while it’s warm – it will remember that form and roll more easily later. Allow to cool. See the recipe card for Bettys Baking Secrets Week Three, Perfect Piping, for our tips about whipping cream.
CHEF’S PERK Apply your jam first – it’s a barrier to the cream which can dissolve your sponge. Loosen your jam by working it with a teaspoon so it spreads more freely and doesn’t tear the sponge. Zone it and join the dots (like you did with the sponge mix) for an even spread. Don’t spread to the edge – it will spill out when you roll. Whenever cutting cake use a serrated knife – saw and let the knife do the work. Remove the ends for a neat presentation – they’re the chef’s perk!
For more Bettys Baking Secrets, including our own recipes and secret tips for piping, visit www.bettys.co.uk/bettysbakingsecrets.
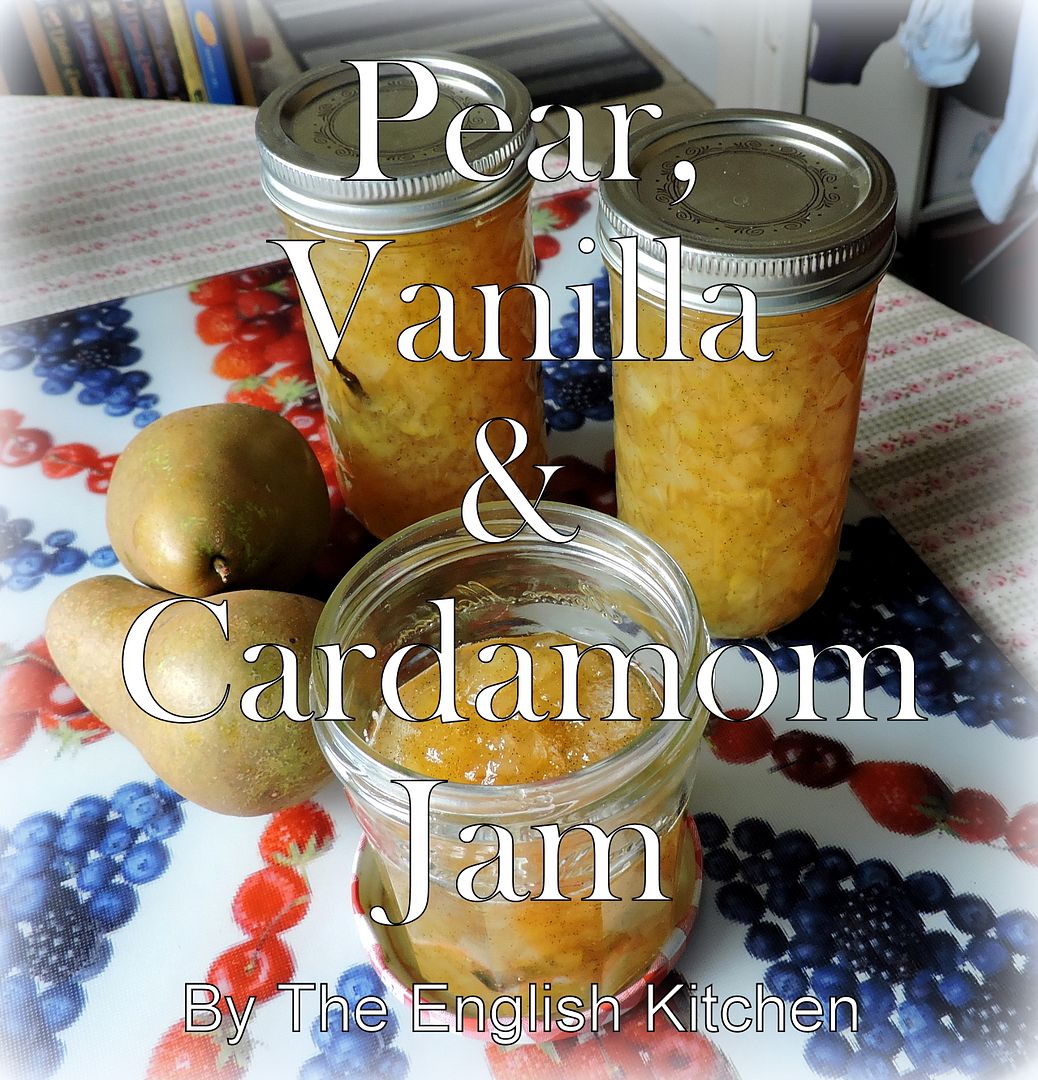
When the children were growing up I used to make up bottles and bottles of jams, jellies, pickles and conserves every year. It was just a matter of course and something which I really loved to do and it all got used. The end of August and months of September/October my house was filled with the smells of a great harvest being put up for the winter months. It was a glorious smell. A Home Sweet Home kind of a smell. Not to brag or anything but one year I did up 52 quarts of Dill Pickles and yes . . . . every single pickle got eaten!
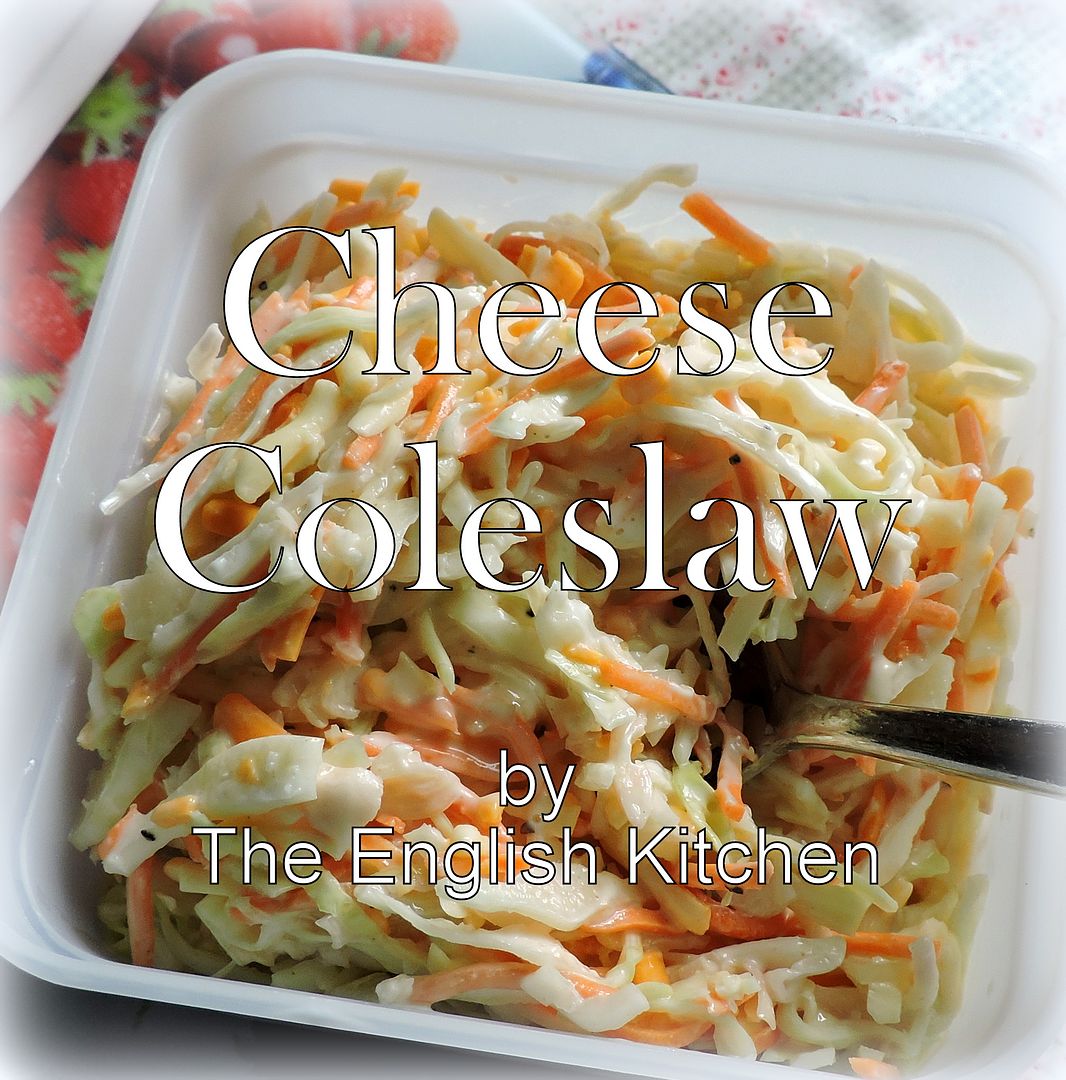
Cheese Slaw isn't something I had ever tasted before moving over here to the UK. I hadn't even really considered it. I think it was my friend Jo who mentioned it one day at work when I was working at the Manor and my interest was piqued.
Cheese . . . in coleslaw? It just had to be good! I often add chopped dried fruits to my coleslaw, which gives it a lovely hint of sweet. Cheese makes it a bit more savoury. It's very moreish!
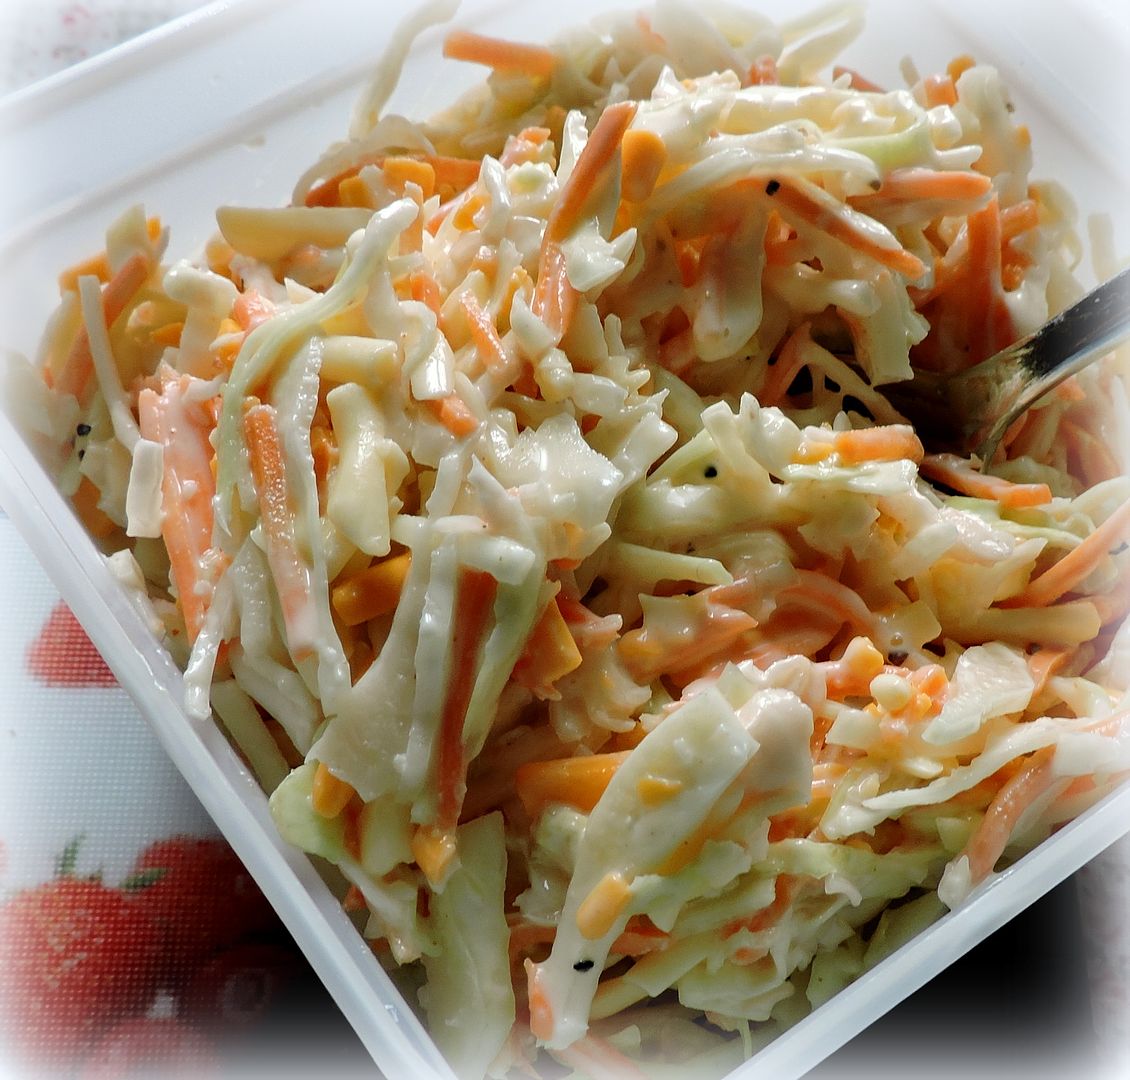
I made this the other day when we had the Missionary Zone Leaders over for supper. I always like to have some sort of salad when we feed the missionaries.
The girls always like a leafy salad, but the guys are always a bit more fond of coleslaw. Not sure why that is, but, meh . . . what can I say!
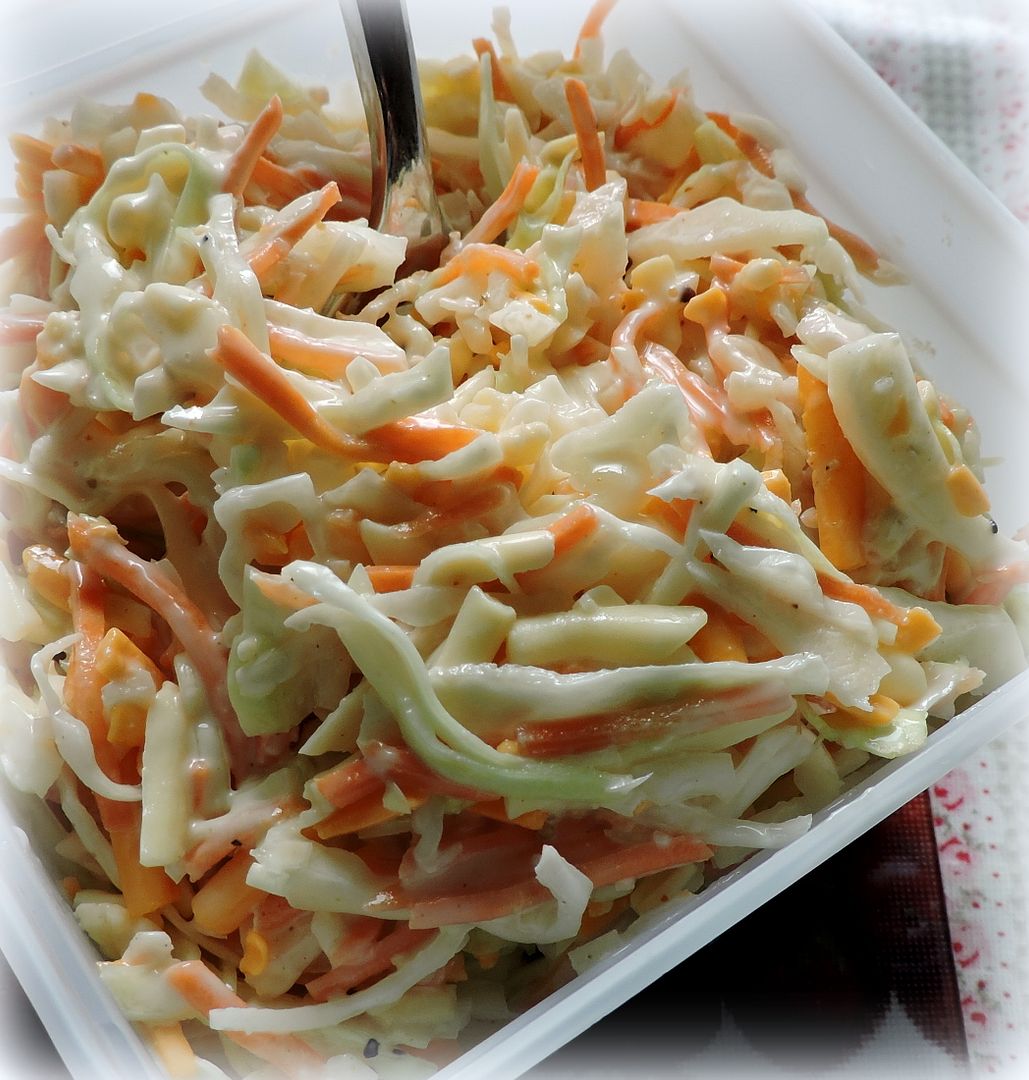
I didn't really get a lot of photos of it. My husband hates me taking food photos when we have people over. But trust me when I say this is delicious.
I am not fond at all of store bought coleslaw. It's too bland for my taste and too gloopy. I like my coleslaw to have a nice flavour and plenty of texture. Bland coleslaw is a no no for me. Suffice it to say there were no leftovers the other day.
One of the guys said to me . . . "Did you make this coleslaw? It's the best I've ever eaten." I was quite happy to respond in the affirmative!
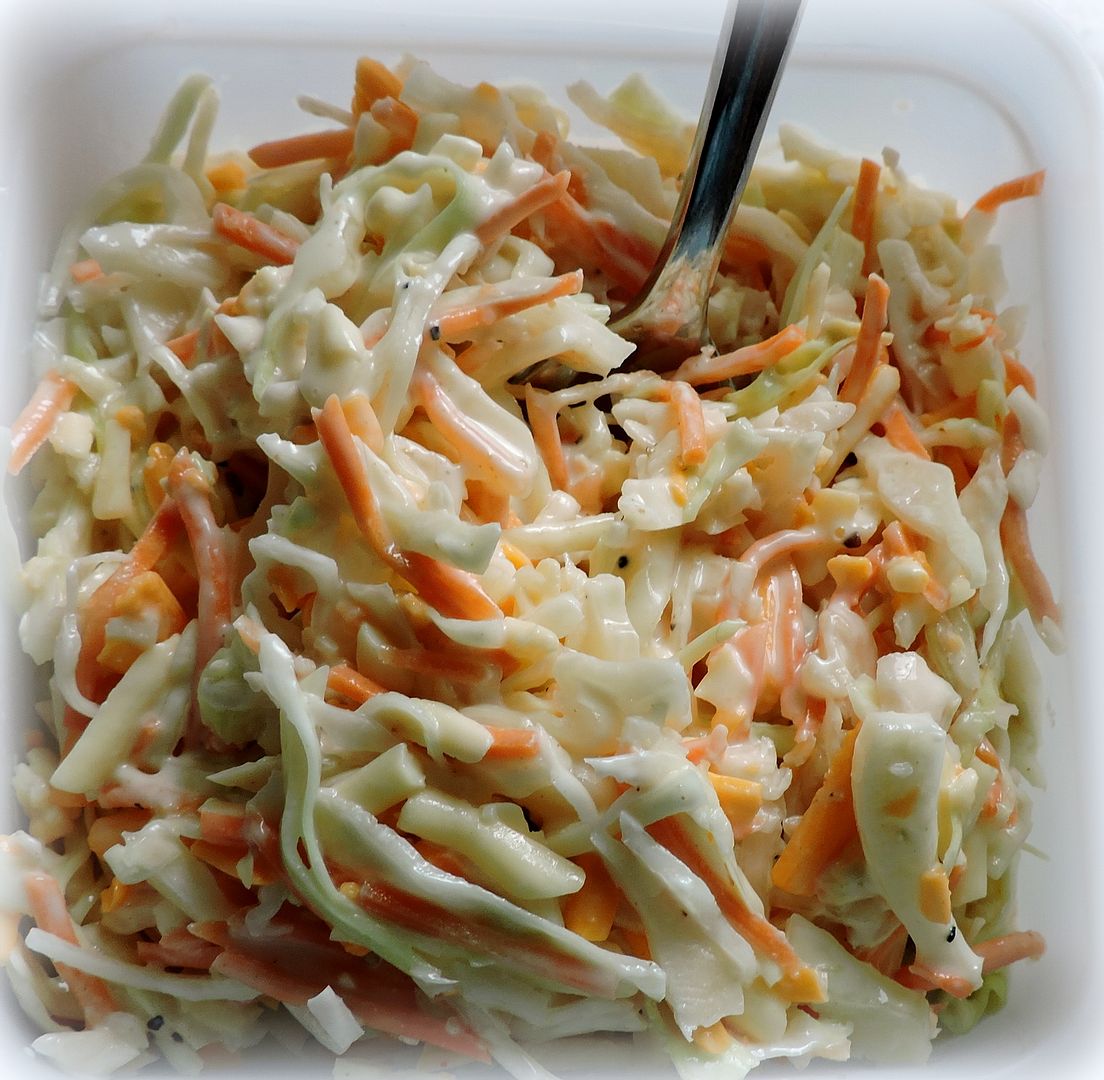
*Cheese Slaw*
Serves 4 to 6
1/2 tsp celery salt
fine seasalt and freshly ground black pepper to tastePour this ovr the vegetables
in the bowl, tossing to coat. Stir in the cheese. Cover and chill in
order for the flavours to meld together for at least an hour.
This
keeps well for a day or so. (If you have any left that is! It goes very well with cold slices meats and in sandwiches too!)
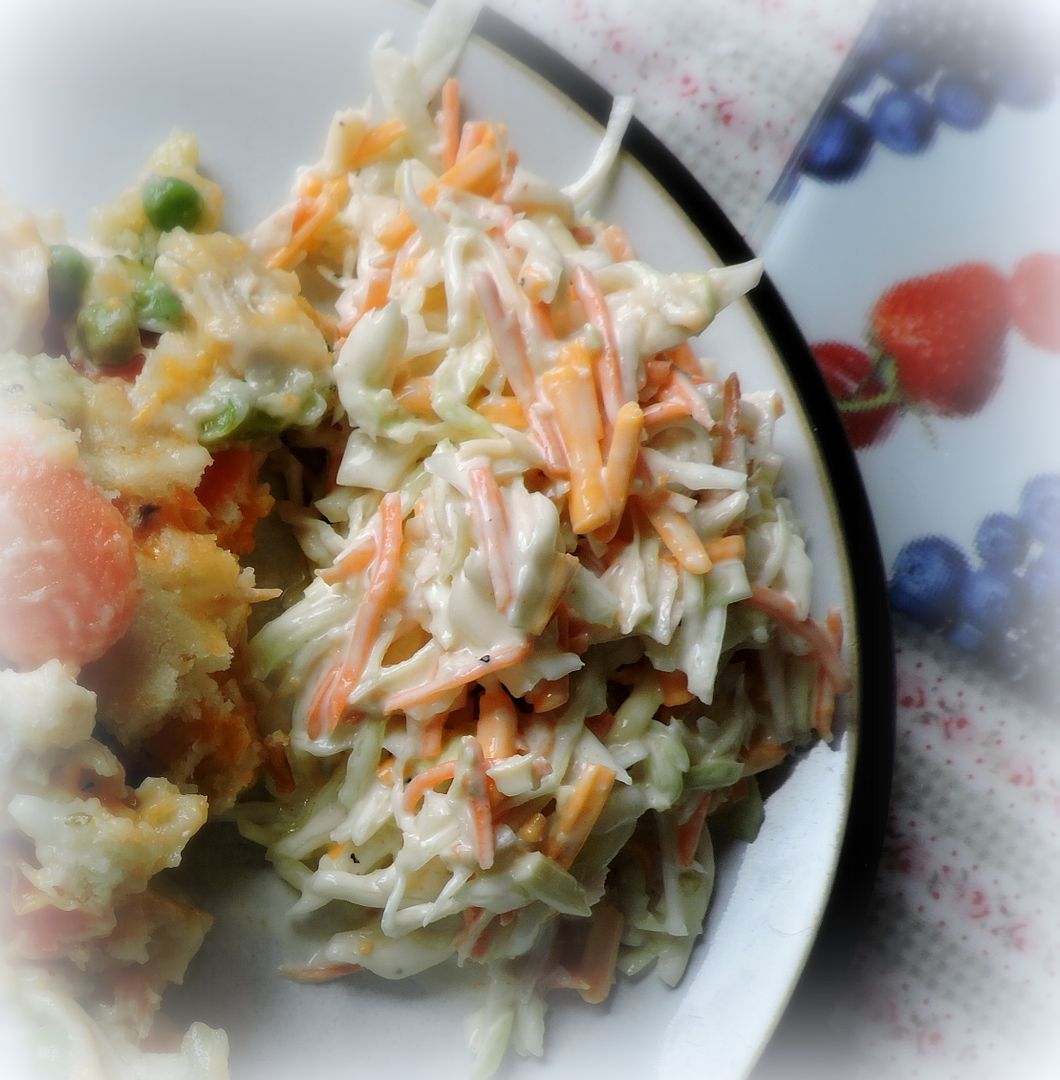
Bon Appetit!

Bon Appetit!
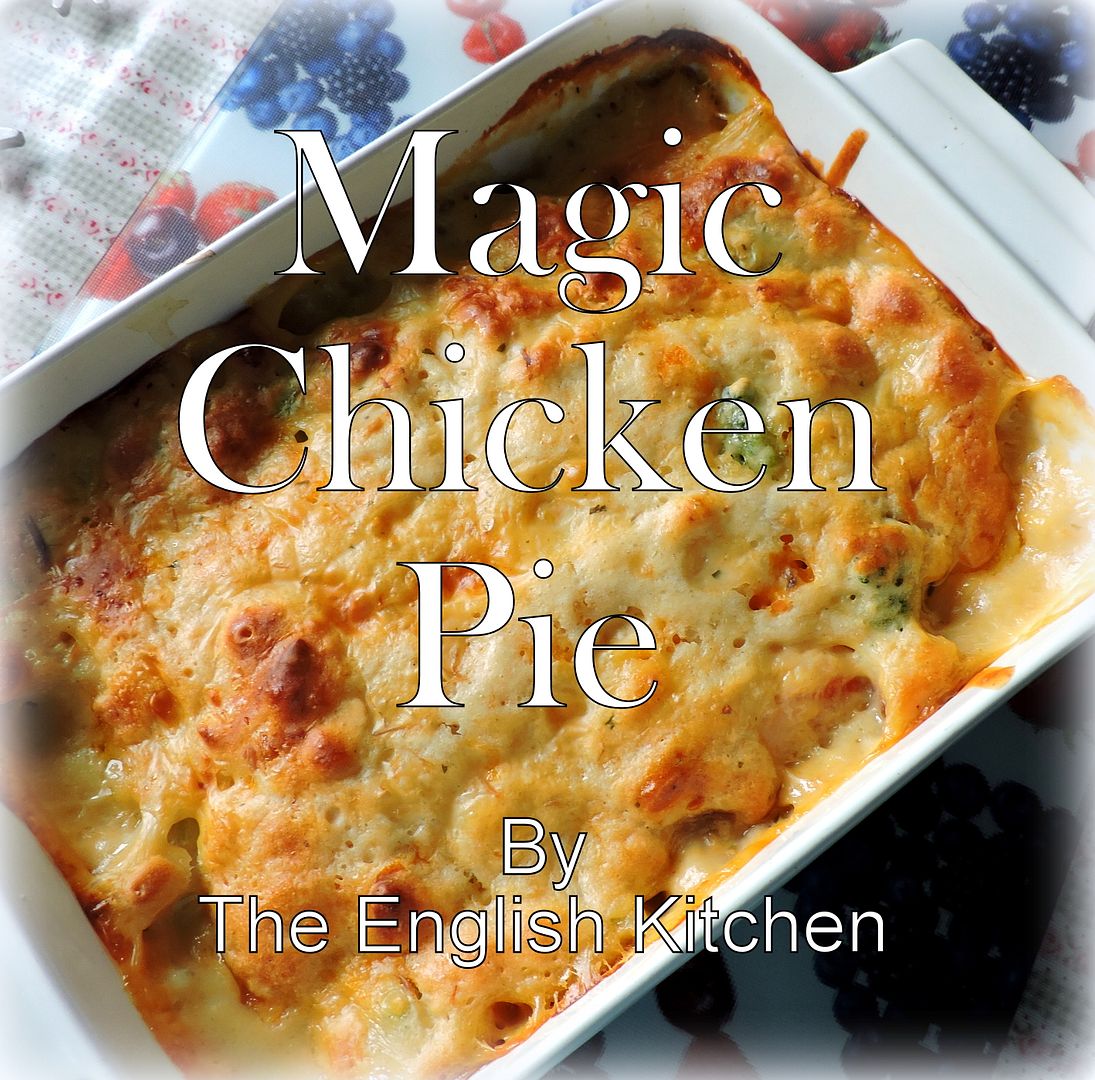
This is a delicious dish that I like to make every now and again. My husband really loves it, but then again he is somewhat of a pie man.
I like to make my own pies and whilst this isn't like your traditional type of pie, it is still very satisfying and quite, quite tasty!
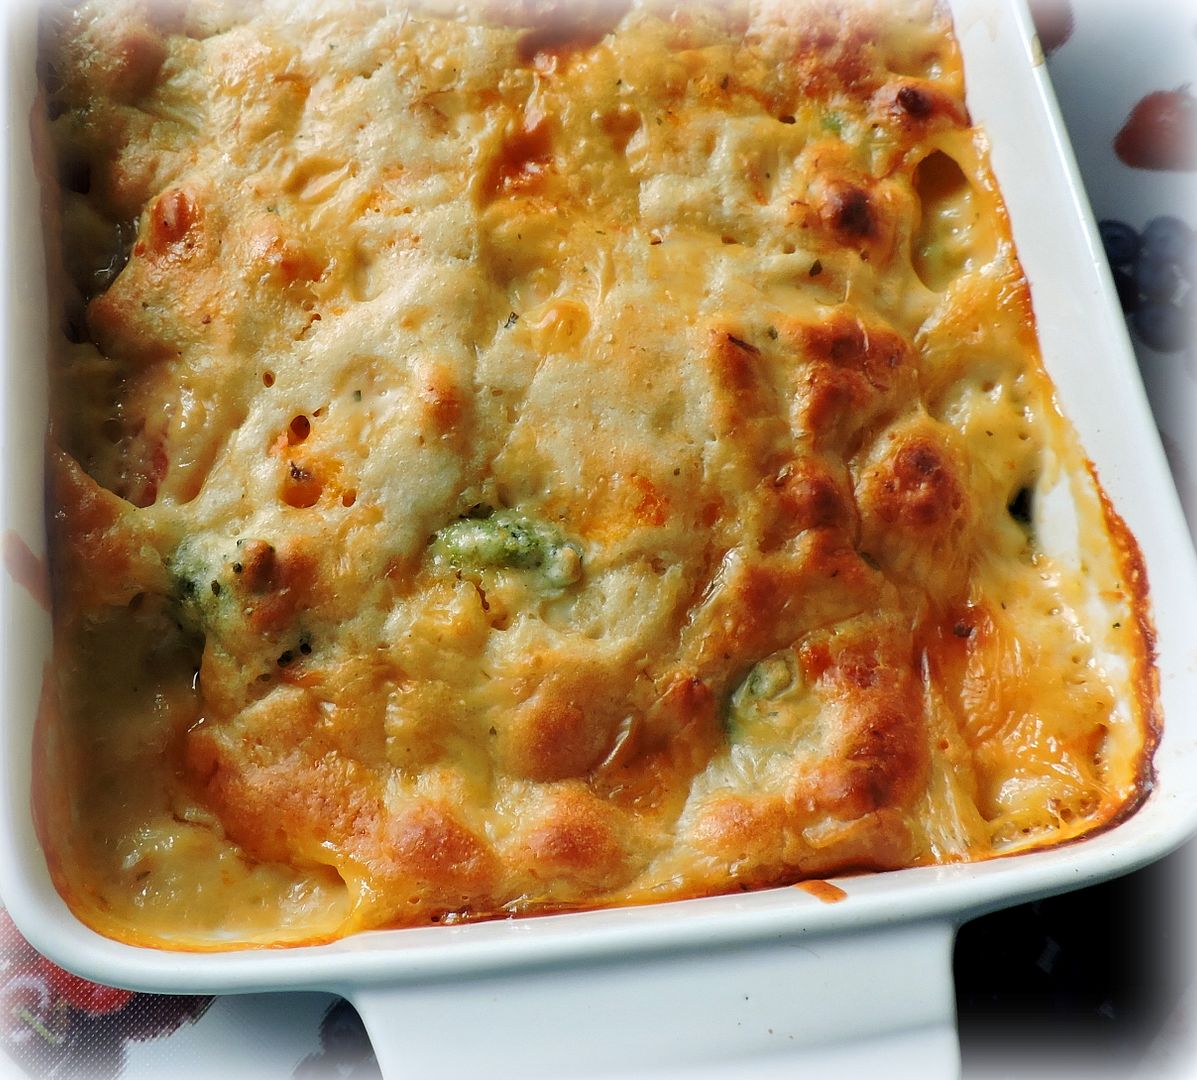
It uses a ready made baking mix. You can of course buy the store bought kind, but I tend to make my own and keep it on hand in the freezer. (I bring it to room temperature prior to using) I will give you the recipe for it below.
It also uses a tin of condensed cream soup. You can also make that from scratch if it bothers you to use a tin, but as for me, I am not really bothered.
The soup makes a delicious gravy for this and I like it. I'm not a tinned soup snob like some people are. It was something that I had as a child and it never killed me yet!
In fact, I would go so far as to say that I love some tinned soups better than homemade . . . specifically Heinz Tomato Soup.
To me that tastes of comfort and home and my childhood and there just is no substitute for that!
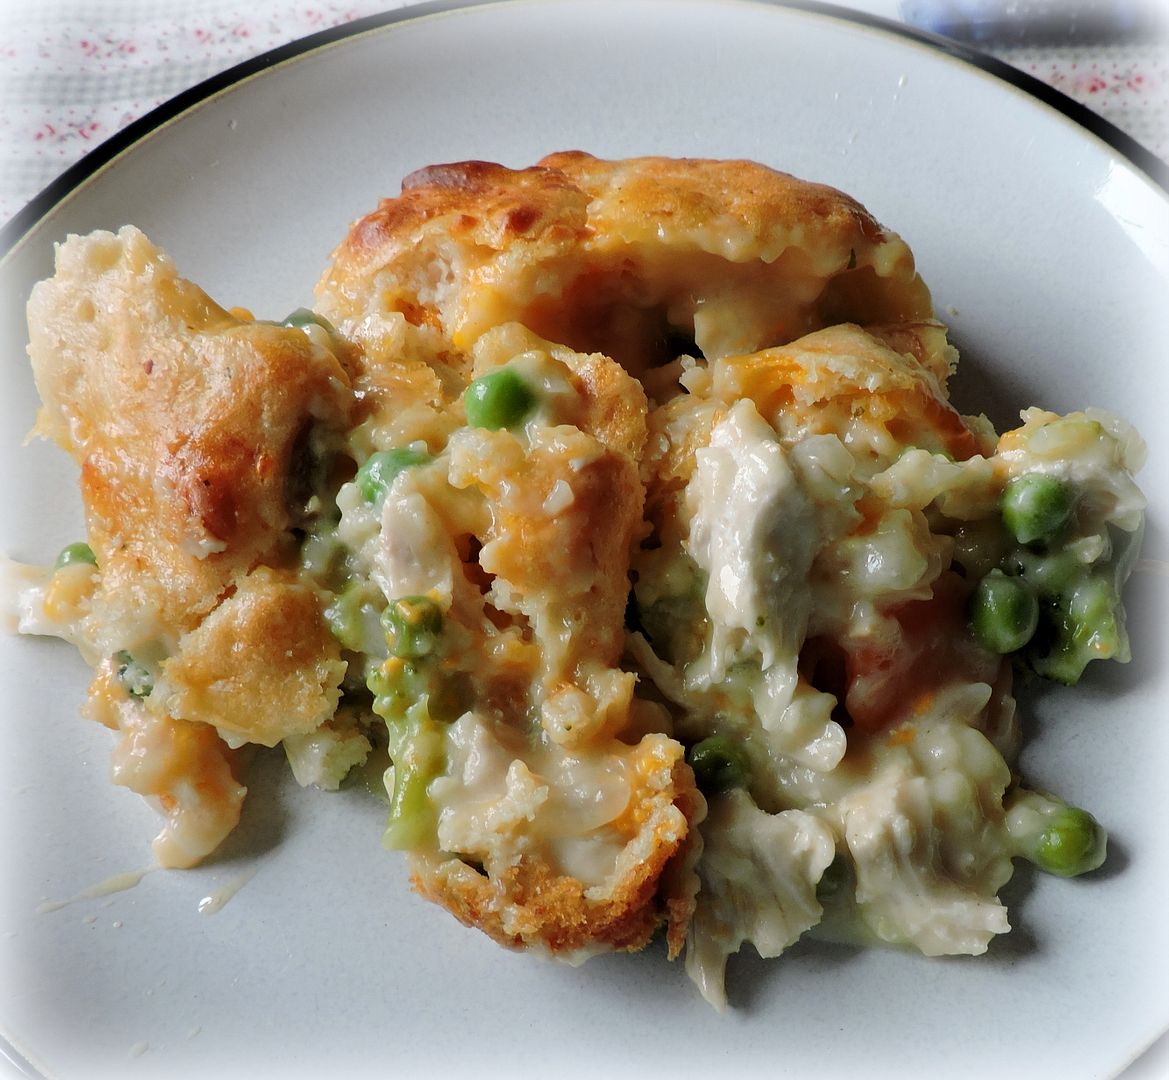
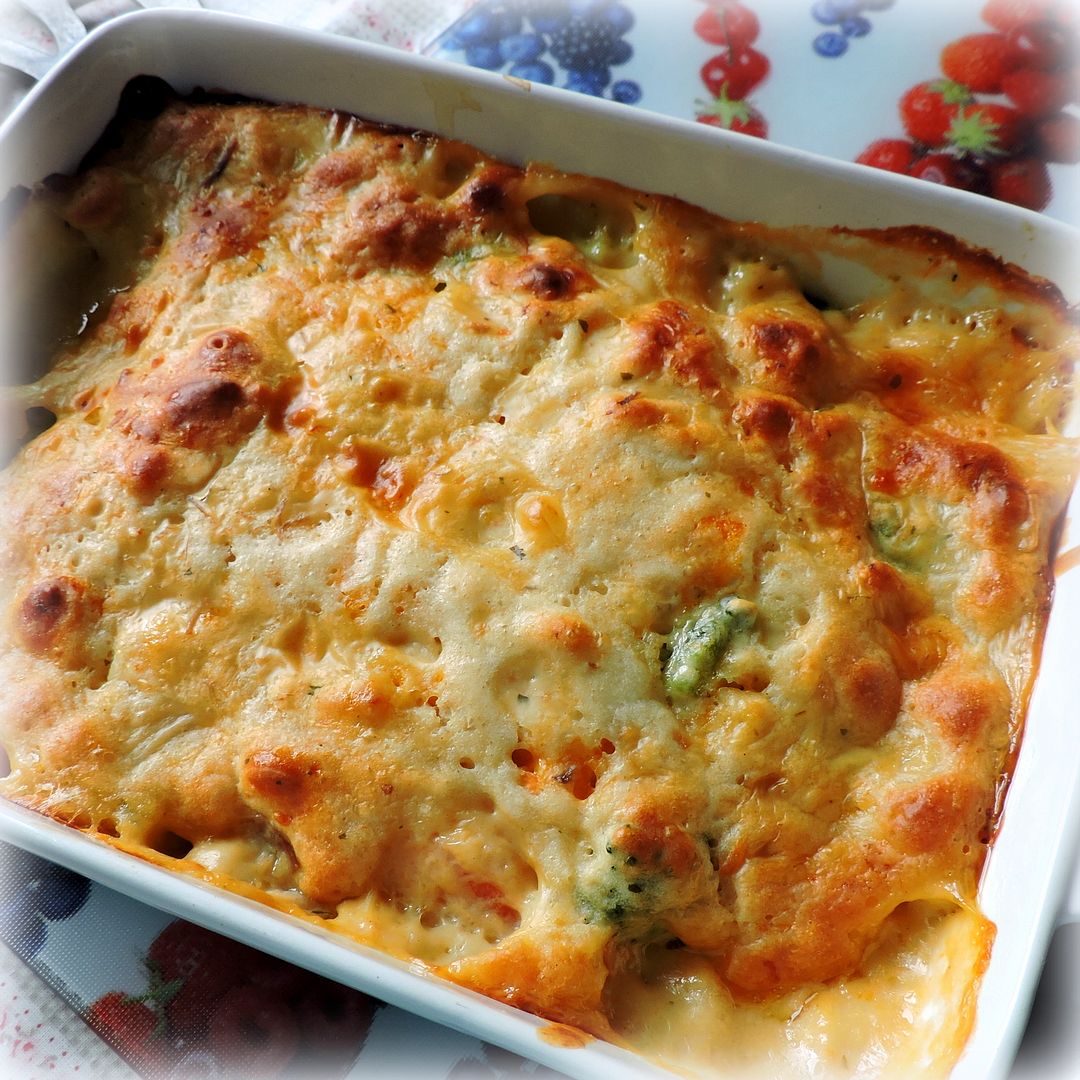
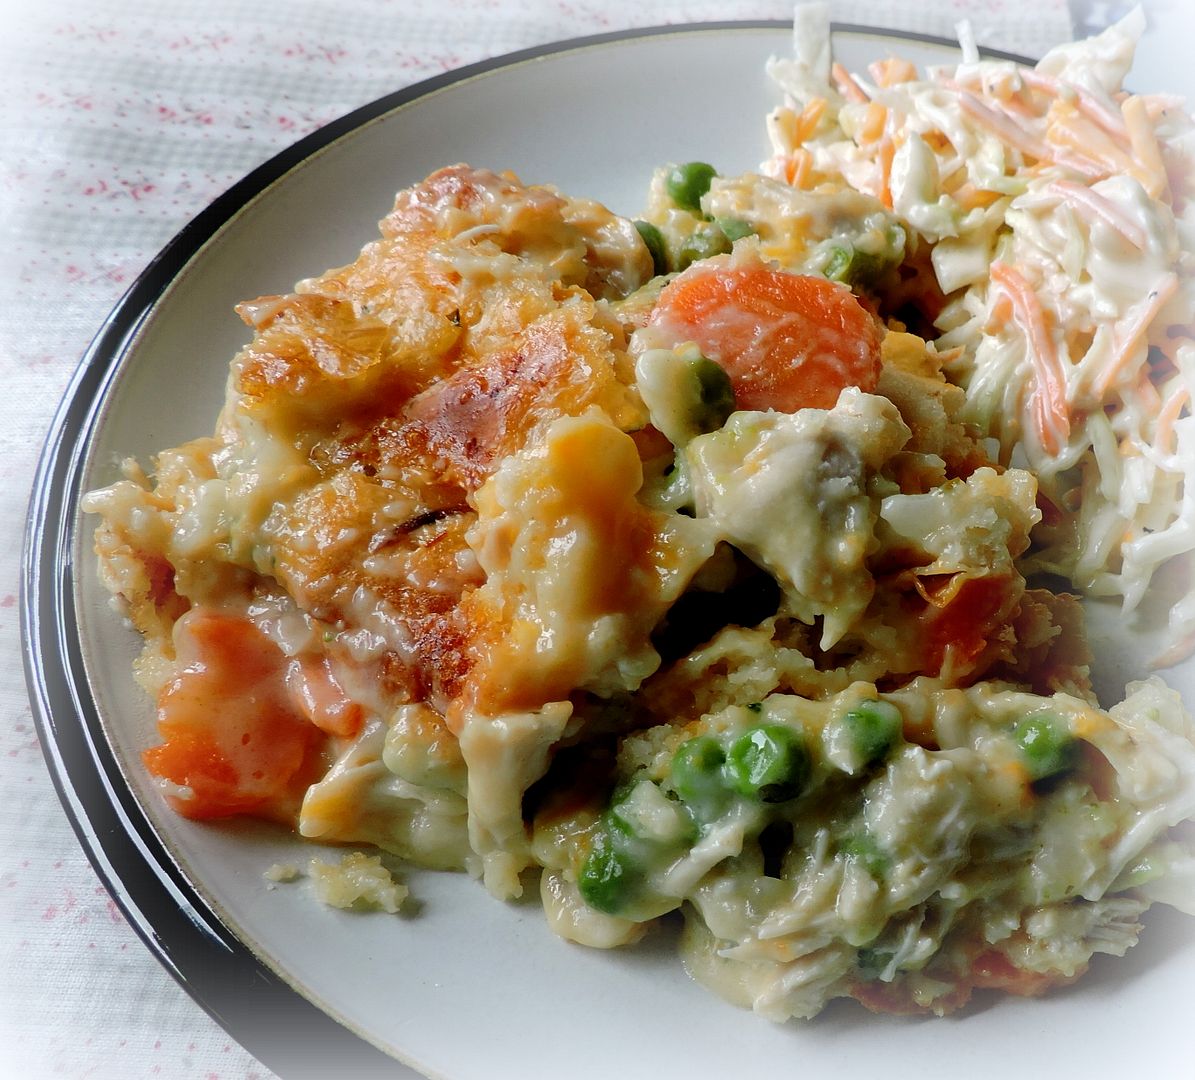
This chicken pie is so much easier than a conventional chicken pie. The ingredients are simply layered in a buttered casserole dish and baked.
First on the bottom there is shredded cooked chicken, which gets topped by some minced onion and then some cheese . . .
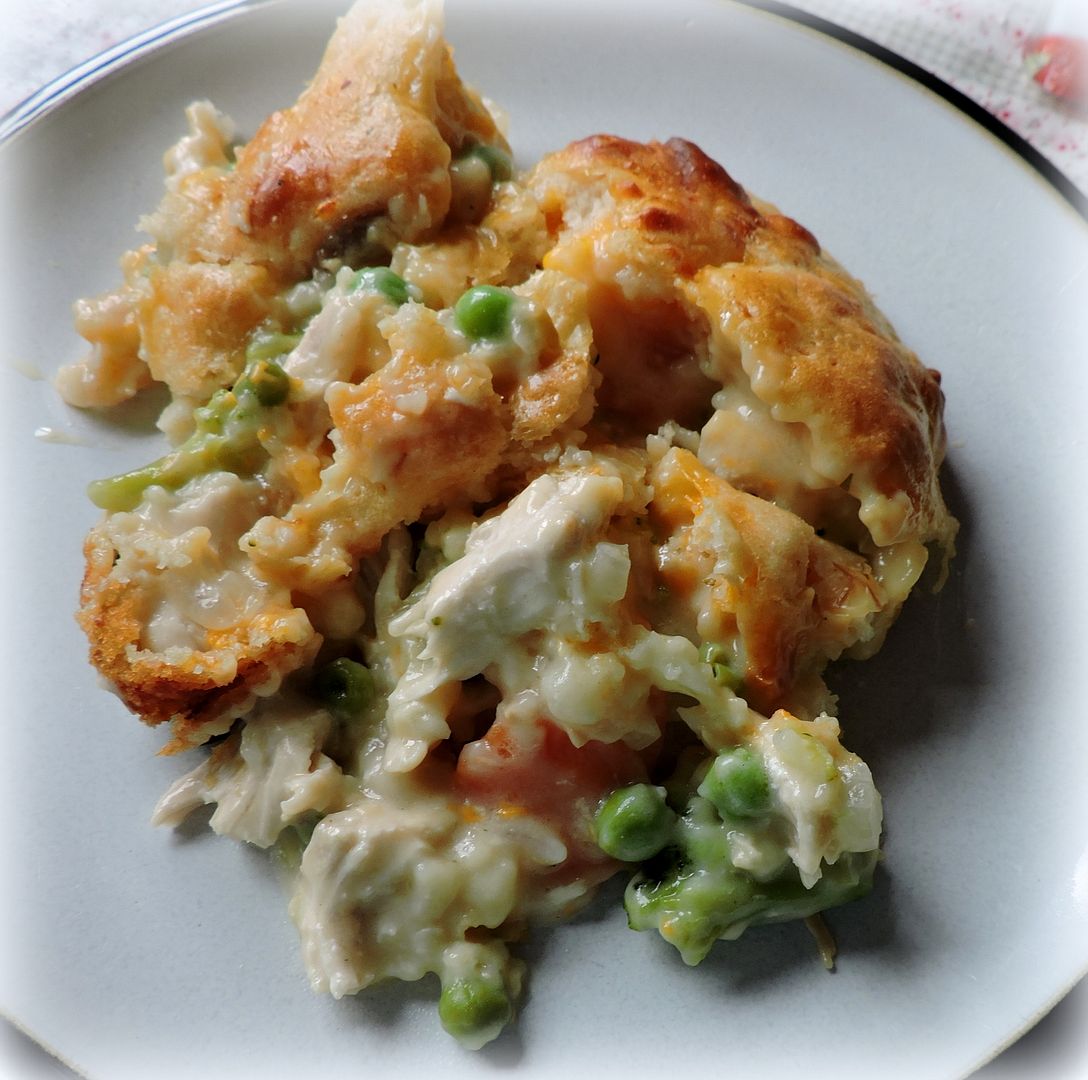
Next comes a layer of vegetables. I always use a frozen mix, but you can cook fresh if you are not pressed for time.
I like the country mix which has peas, carrots, broccoli and cauliflower, but you use whatever is your favourite.
I can't eat corn so I have to avoid any vegetable mix with corn in it.
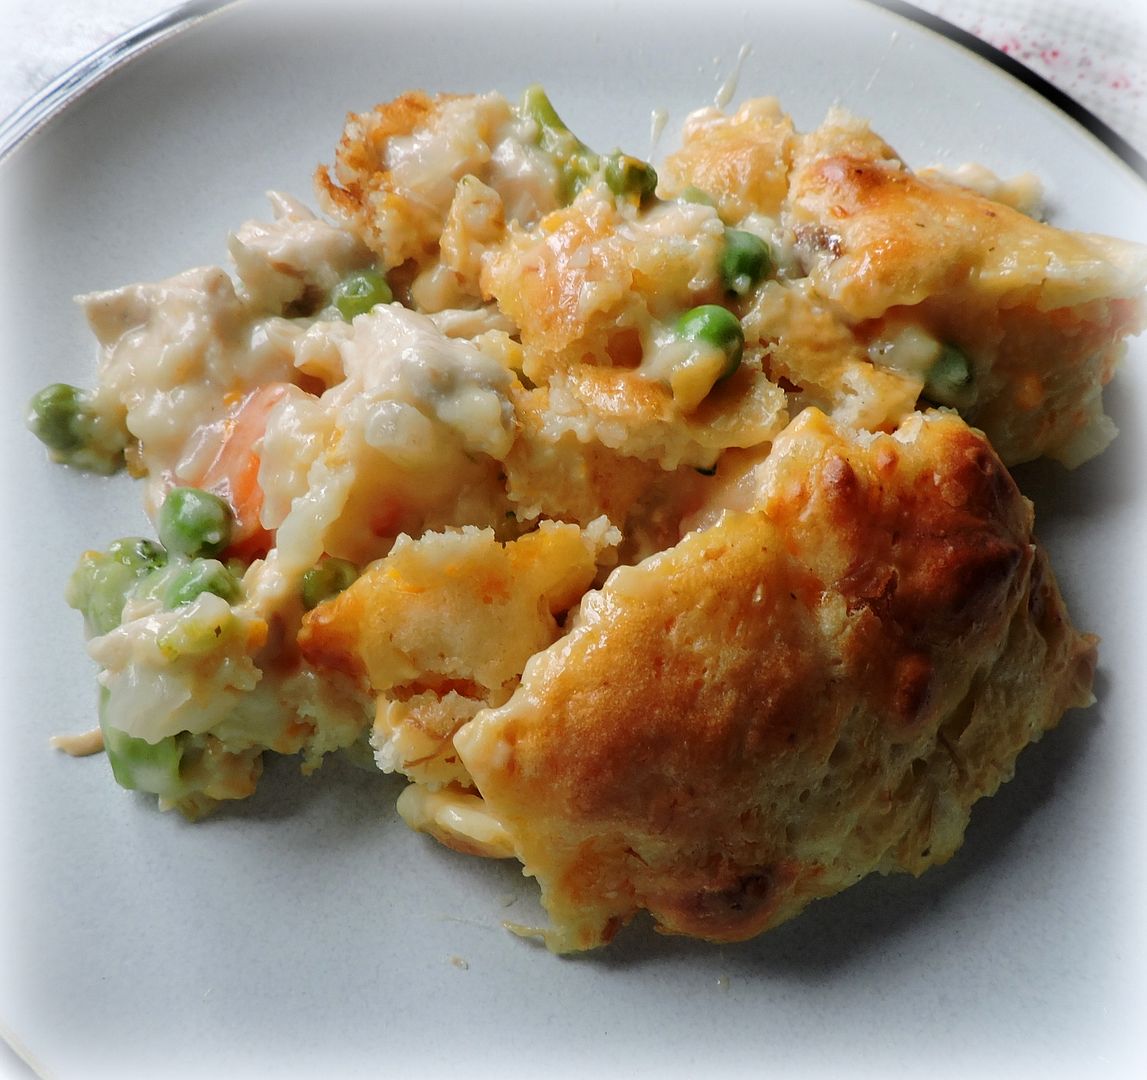

The vegetables are topped with a batter that you make with the baking mix and then a mix of soup and stock is poured over all. You don't need to stir anything together.
Just layer it and then pop it into the oven. About three quarters of an hour later and presto chango, just like magic you got a delicious chicken pie!
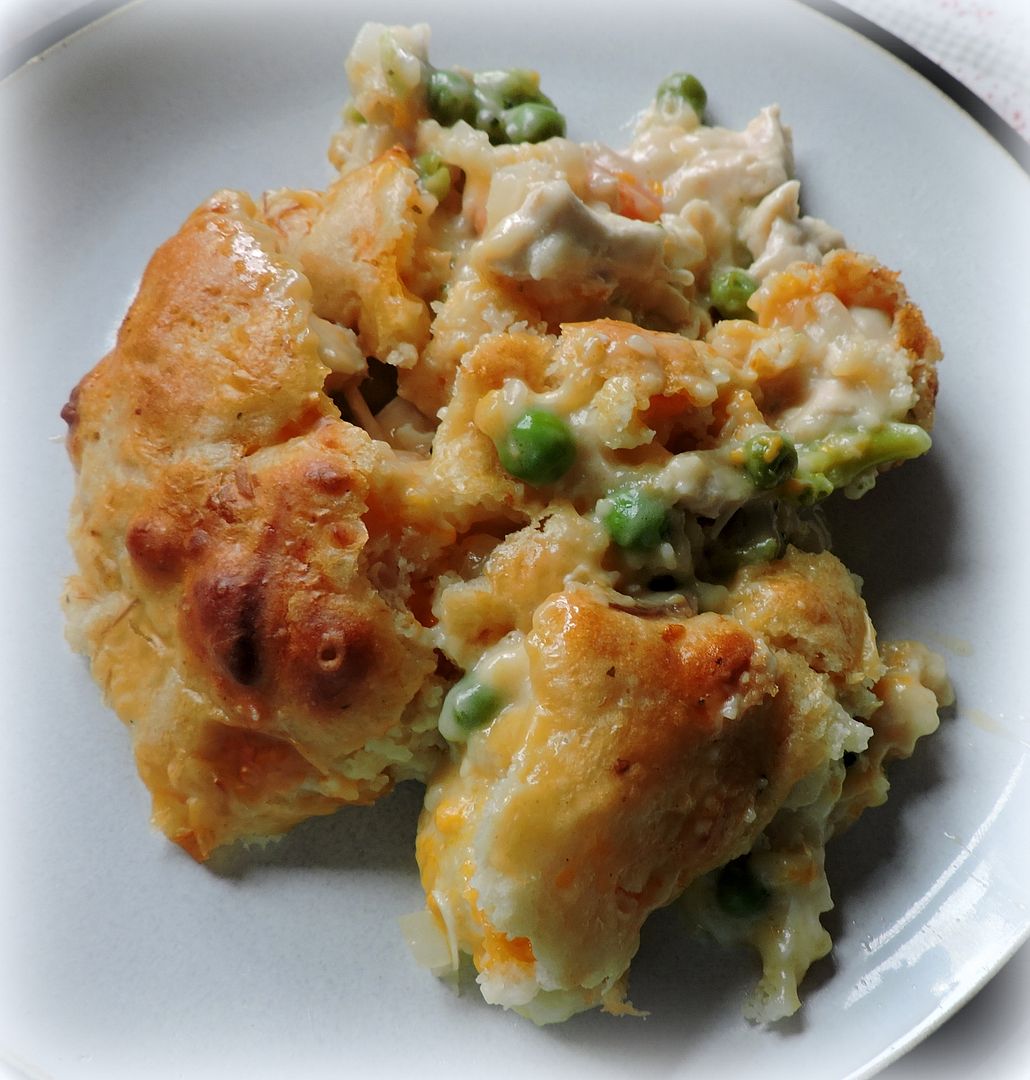
One good thing to note also is that this recipe can successfully be cut in half. Because there are only two of us I do that all the time and it works great.
Cut in half it makes enough for us to enjoy together for one meal and then my husband enjoys the leftovers the day after.
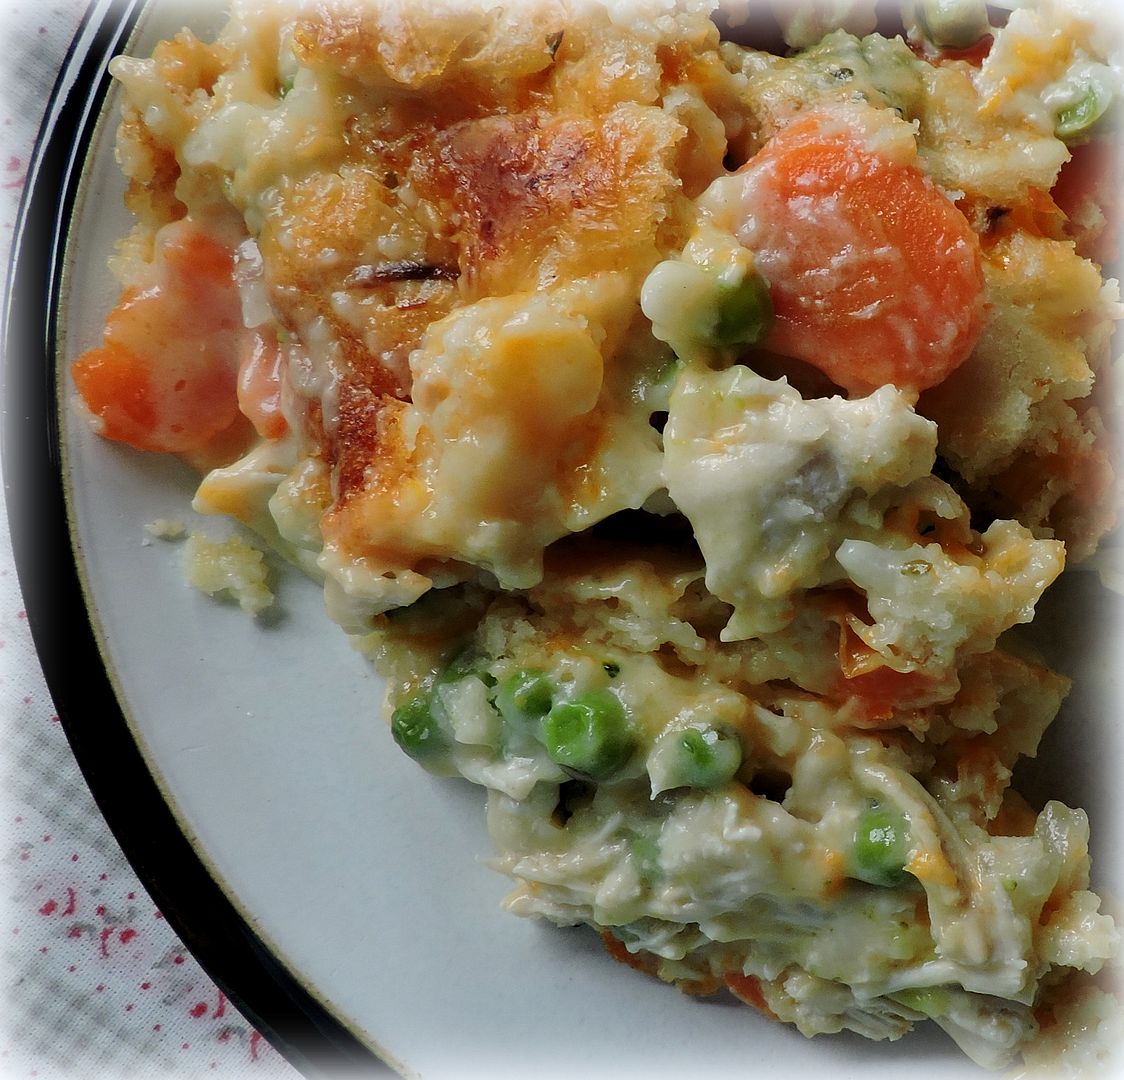
Its really delicious, simple and easy to make. I hope you'll give it a go! We love it! All you need is a salad or something like a salad on the side!
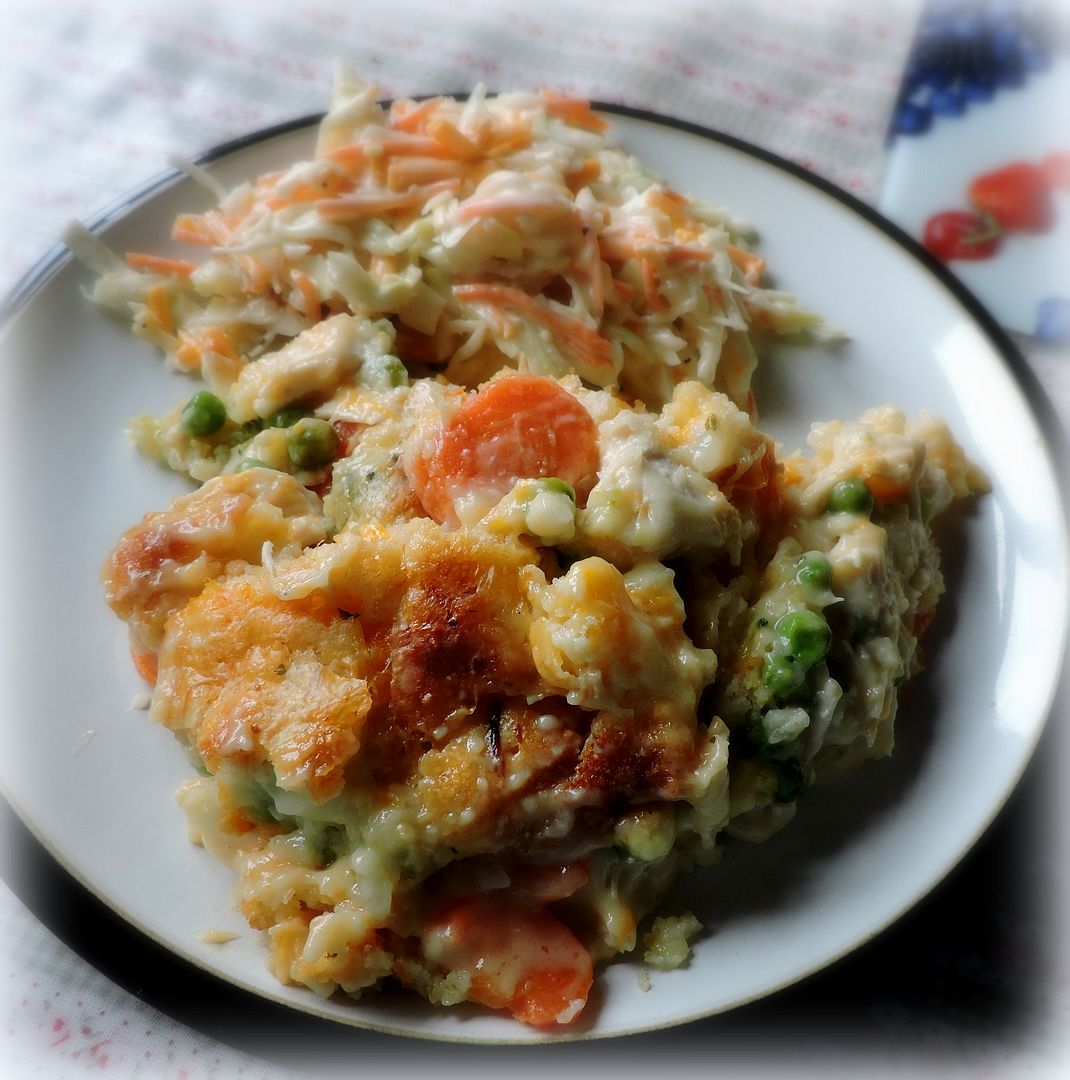
*Magic Chicken Pie*
Serves 6 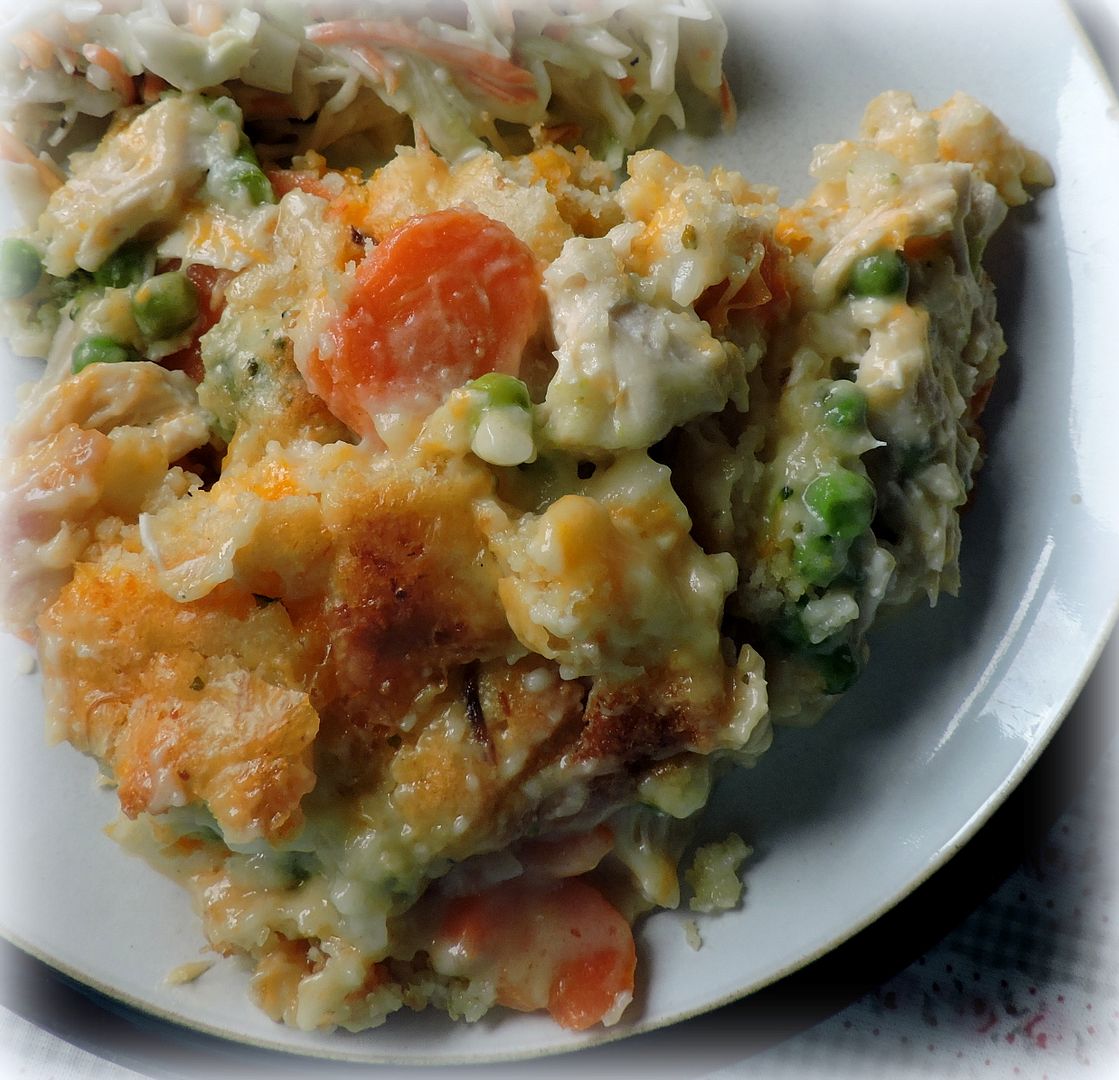
This is so easy to make. I like to keep mine in the freezer, but you can keep it at room temperature for several months.
700g plain flour (5 cups, all purpose)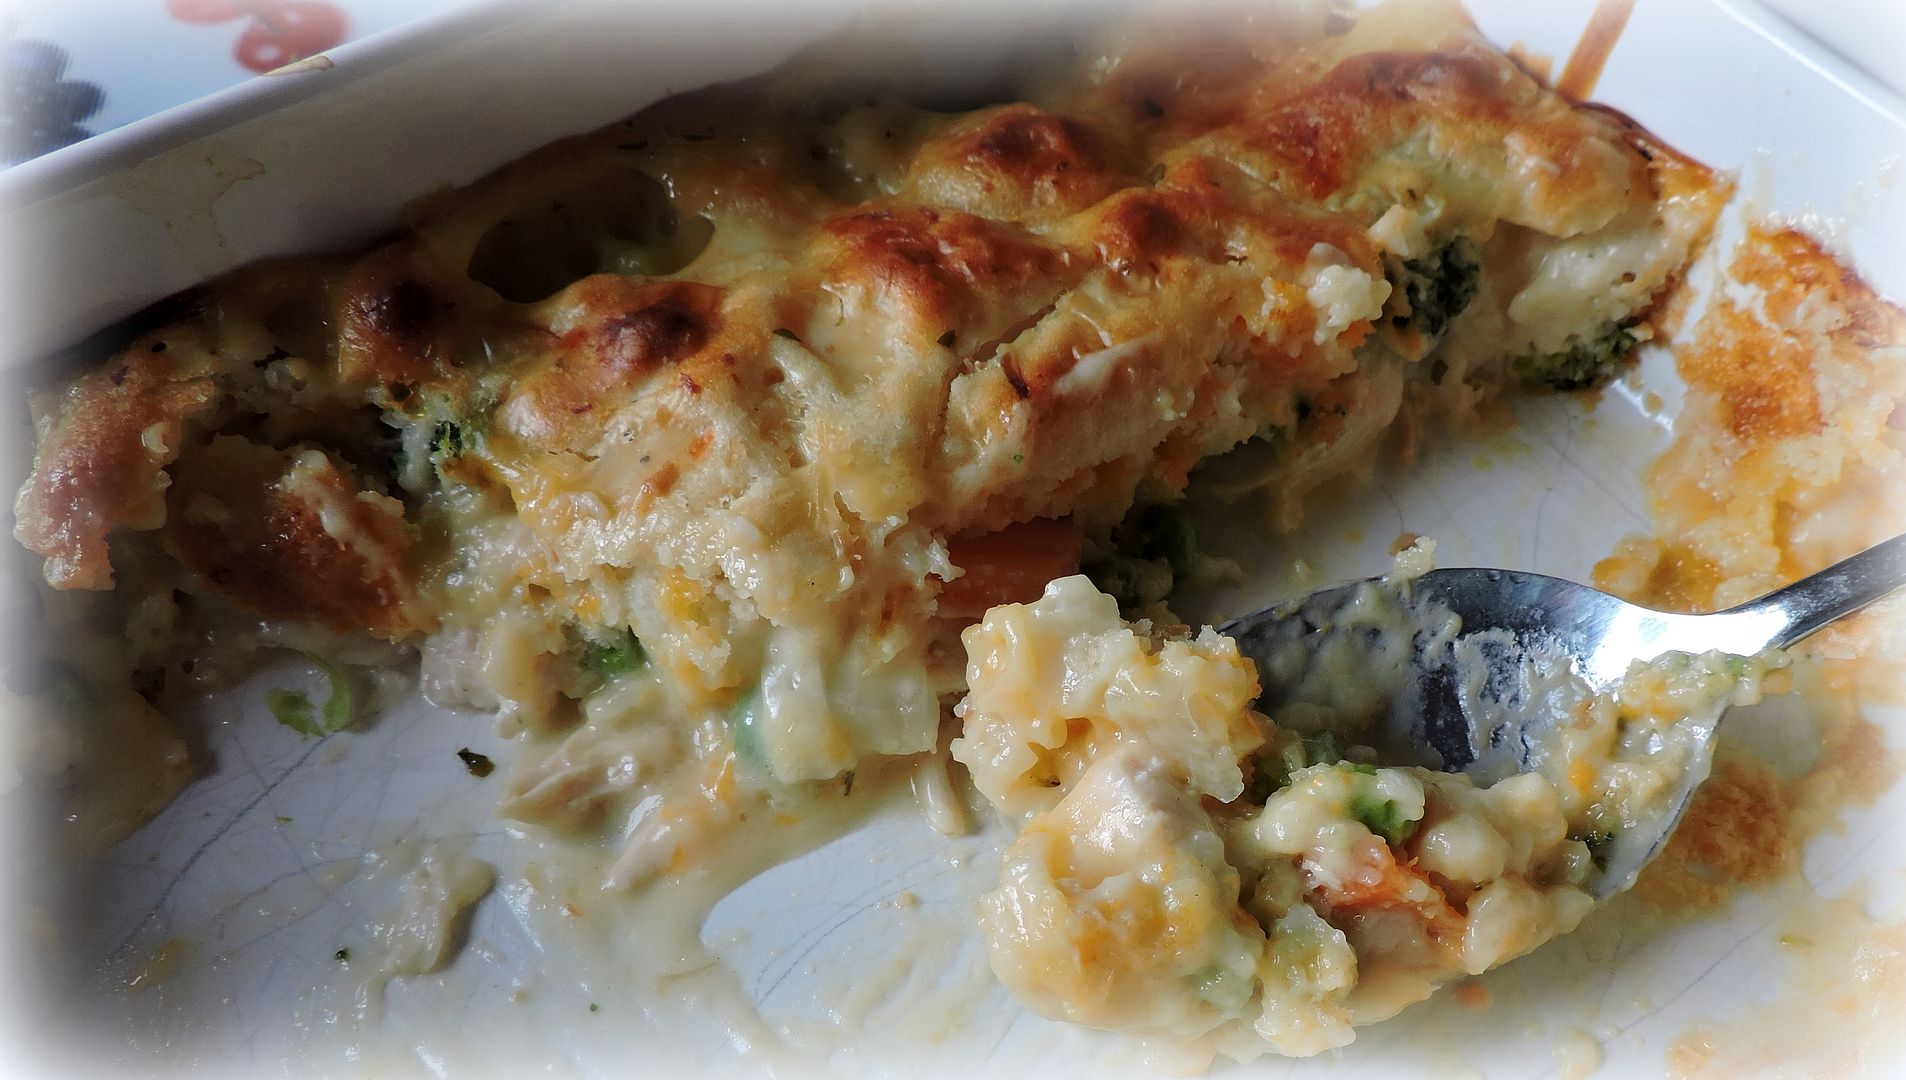
This makes a great midweek, family pleasing supper! Bon Appetit!
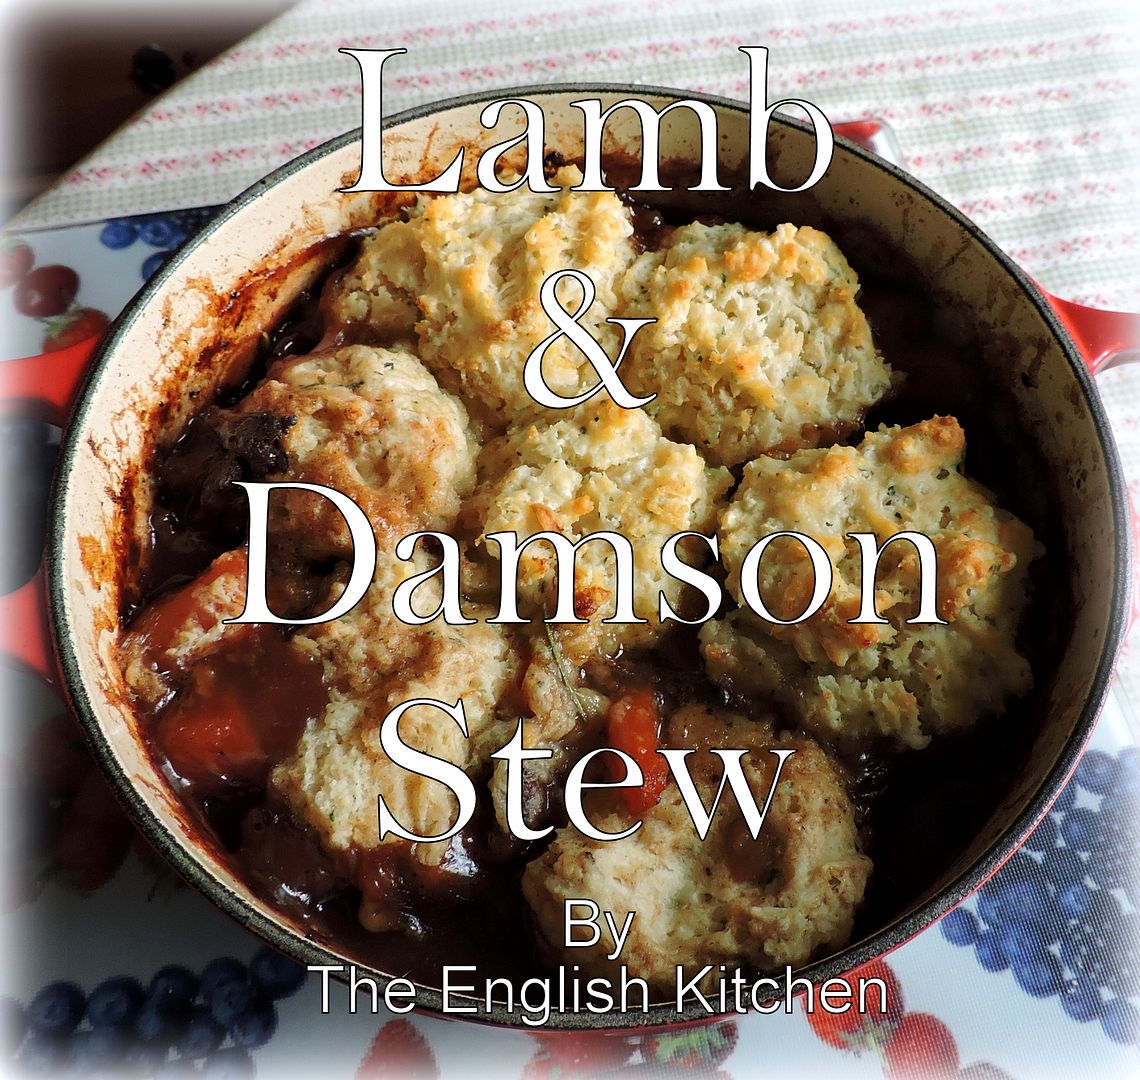
Here in the Western world putting fruit in with meat isn't something which we do very often . . . however having said that we do like our pork with applesauce and our cranberry sauce with turkey . . . but fruit in a stew, its not a really common thing. In the Middle East it is a fairly common thing . . . just think of a Tagine with apricots or dates . . . really delicious dishes.

It's been almost a year since I was diagnosed as a Type 2 Diabetic and I would be lying to you if I didn't say that it has been a real struggle. Coping with this along with Diverticulitis, IBS and other health issues means that putting anything into my mouth is a bit like playing Russian Roulette. No fun. It definitely hasn't been easy. I have managed to keep the Diabetes under control and take myself back to pre-diabetic glucose levels . . . the other things I never know from one day to the next what is going to set things off. I just think I got a handle on it and bingo! Surprise, surprise, something else will trigger an attack.
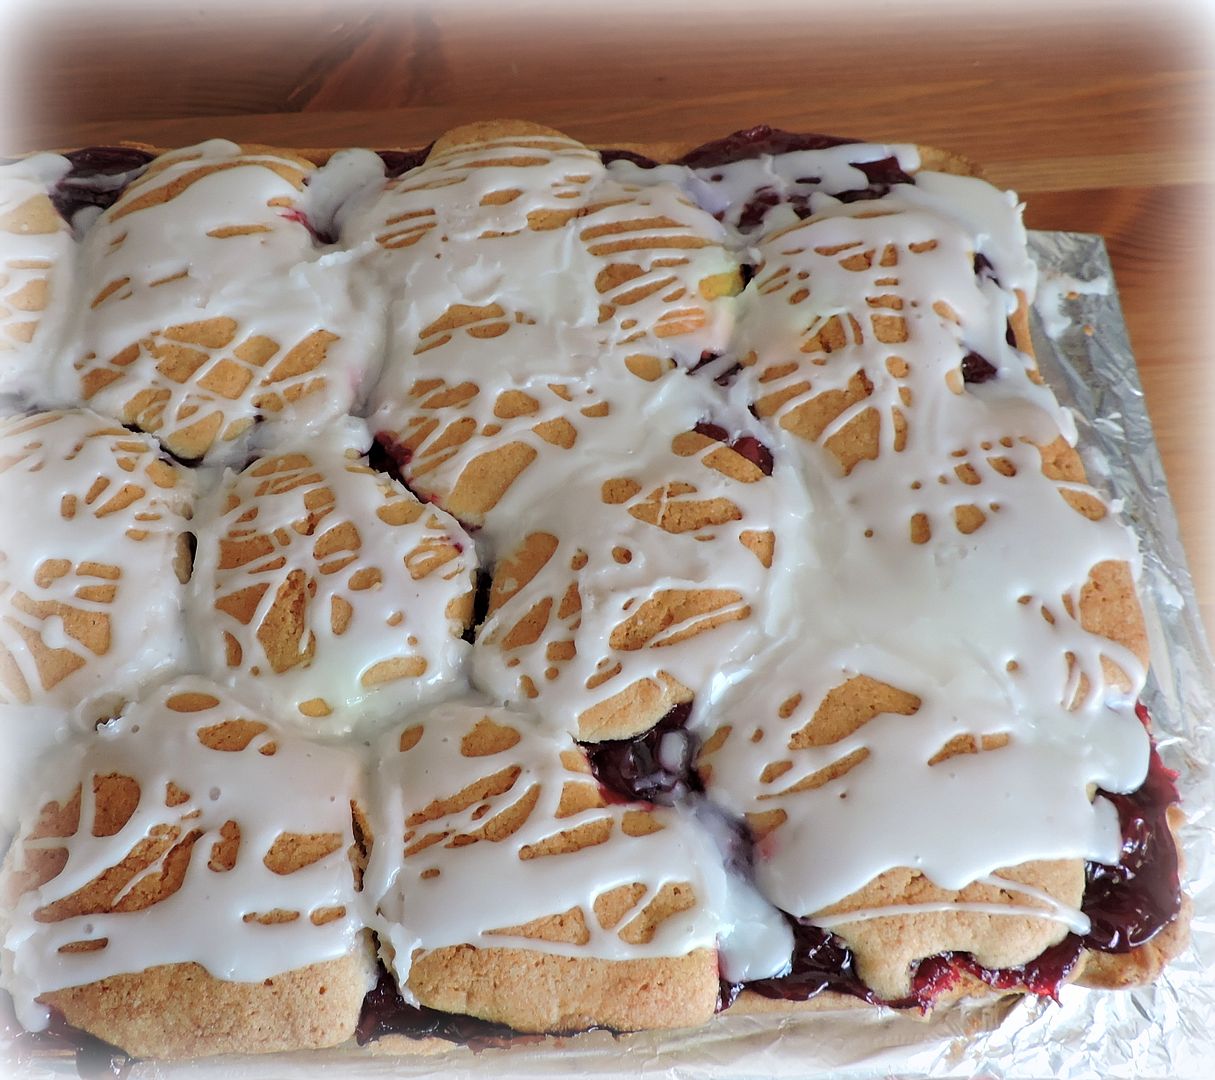
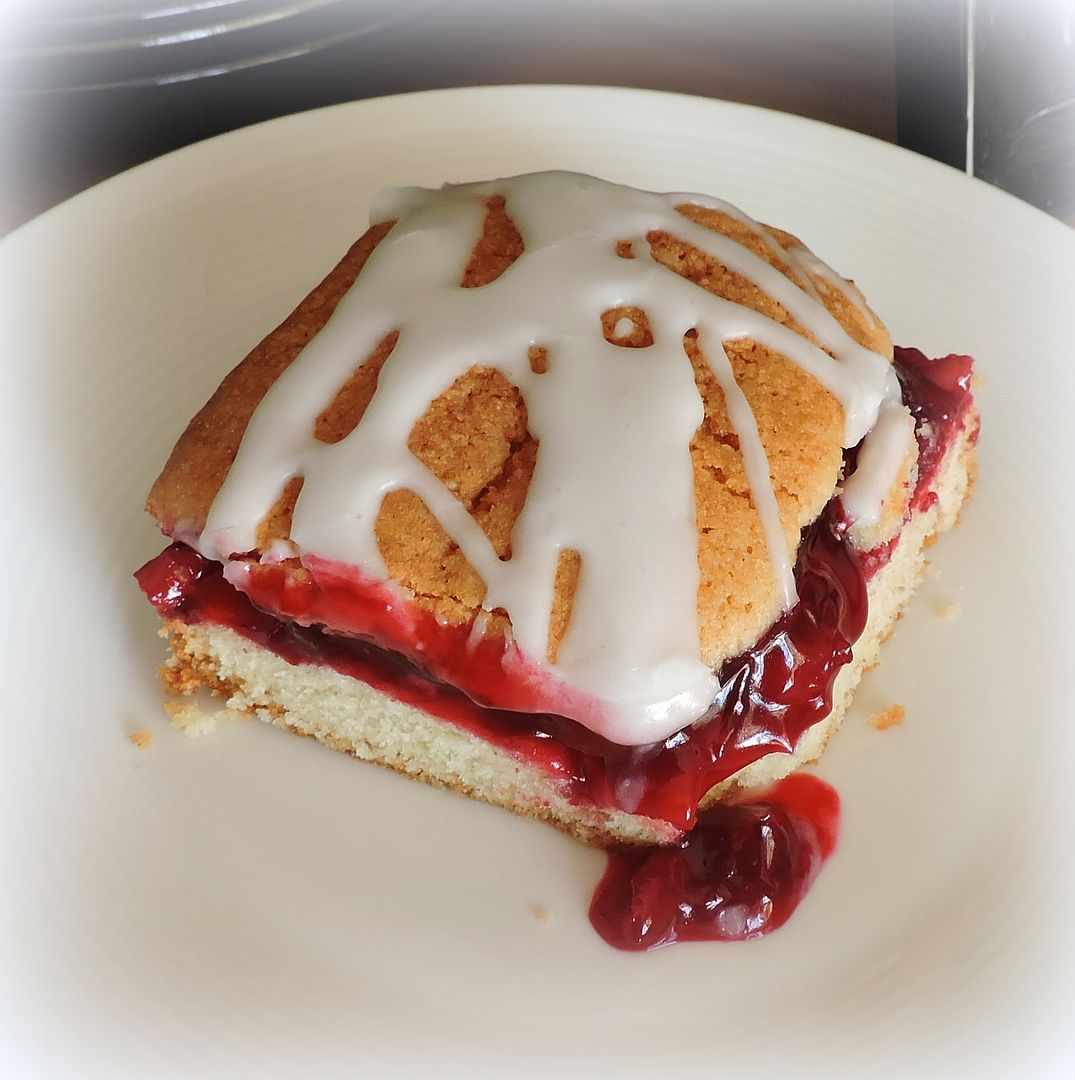
They have some lovely frozen cherries at the grocery shops and I often pick up a pack and stick them in the freezer so that I can bake a pie or something when the mood strikes. The other day I decided to bake a delicious Cherry Kuchen with some. We both love Kuchen/cake.
Kuchen is German for Cake. In any language it is delicious. This recipe is loosely based on one which is in my old red plaid covered BHG cookery book. I have adapted it to make my own cherry filling. You can use a tin of cherry pie filling instead of the freshly made filling, but I love the homemade cherry filling best of all.
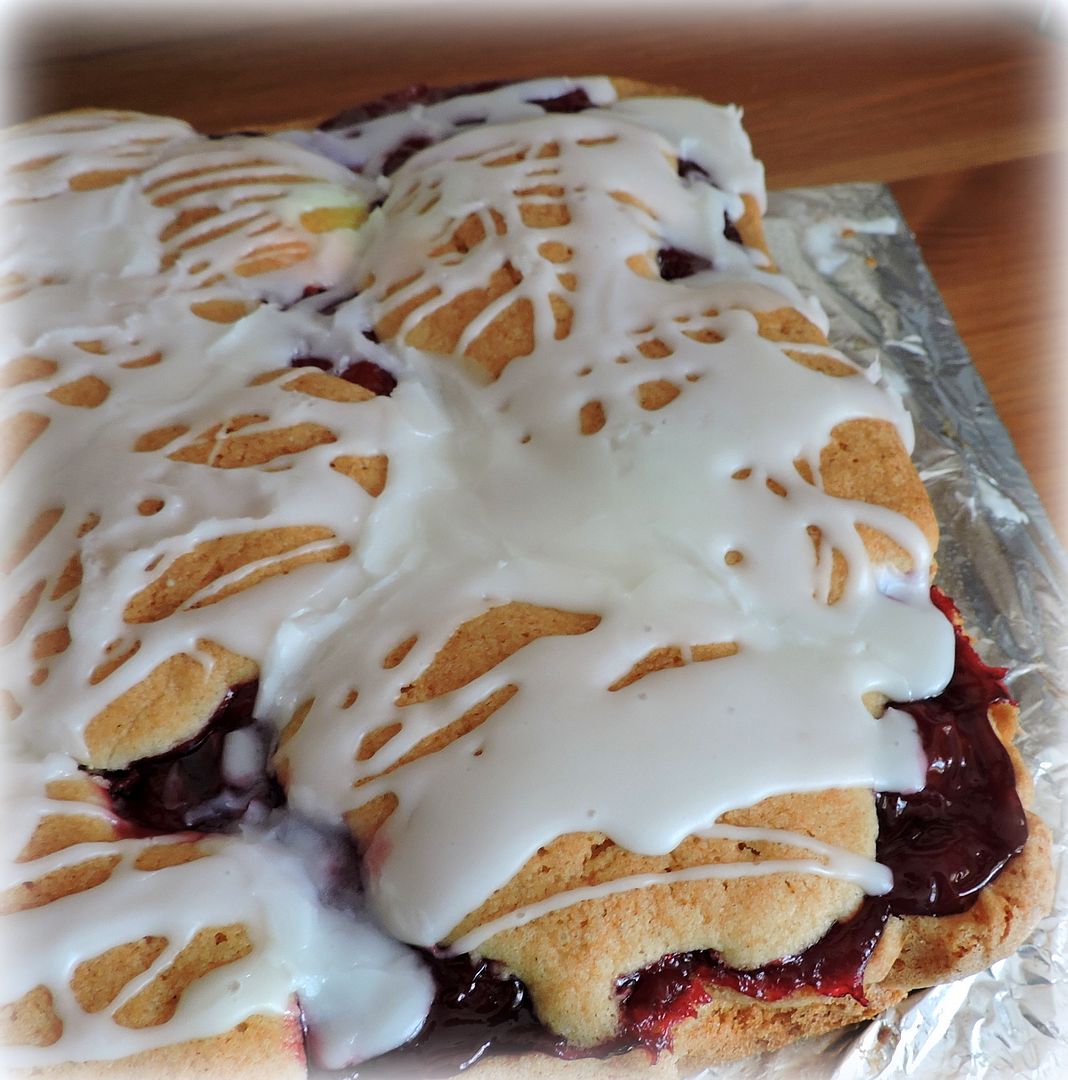

I almost didn't get to show you this.
The photos for this fabulous recipe were on my old broken laptop, but I have figured out a way to take photos off and upload them to an online storage spot without needing to use the keyboard. Whew! Lucky break.
I still have to try to get all of my art off . . . wish me luck.
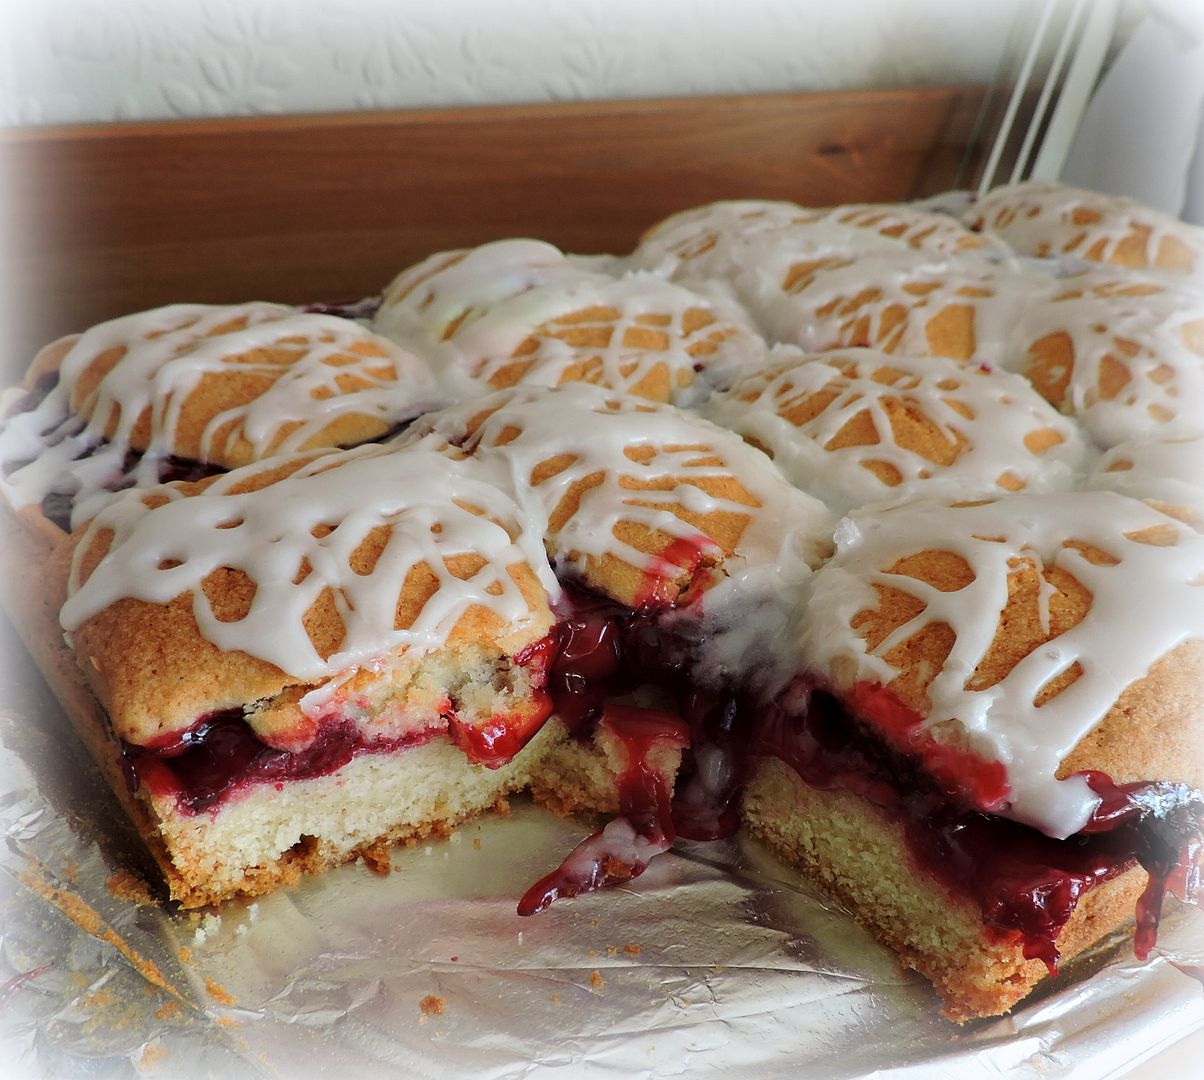
I was really sad when I thought that I had lost the photos for this recipe as it is sooooo tasty and something which I really wanted to share with you all!
So, I am doubly happy that I have them to show you!
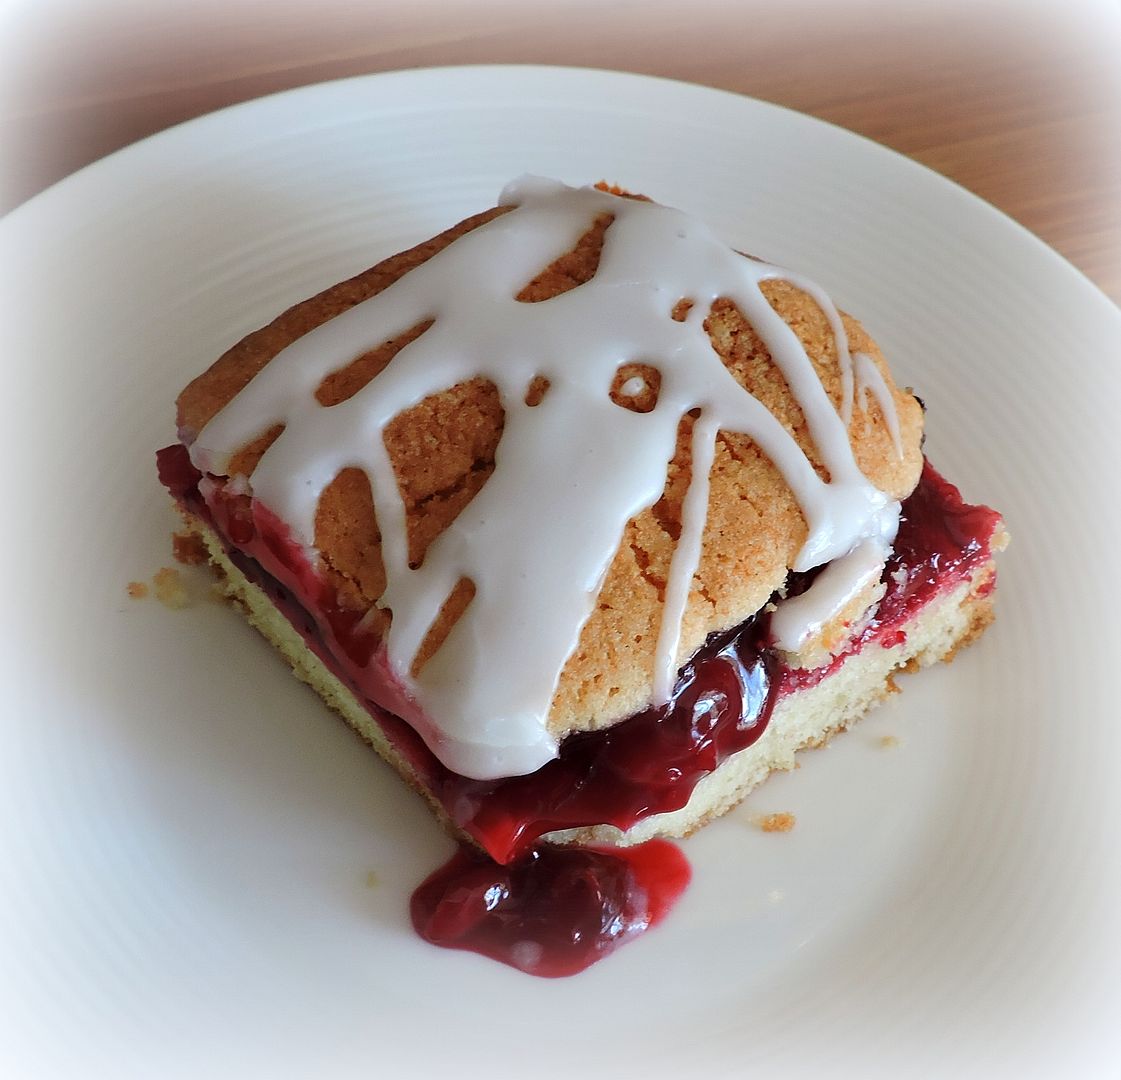
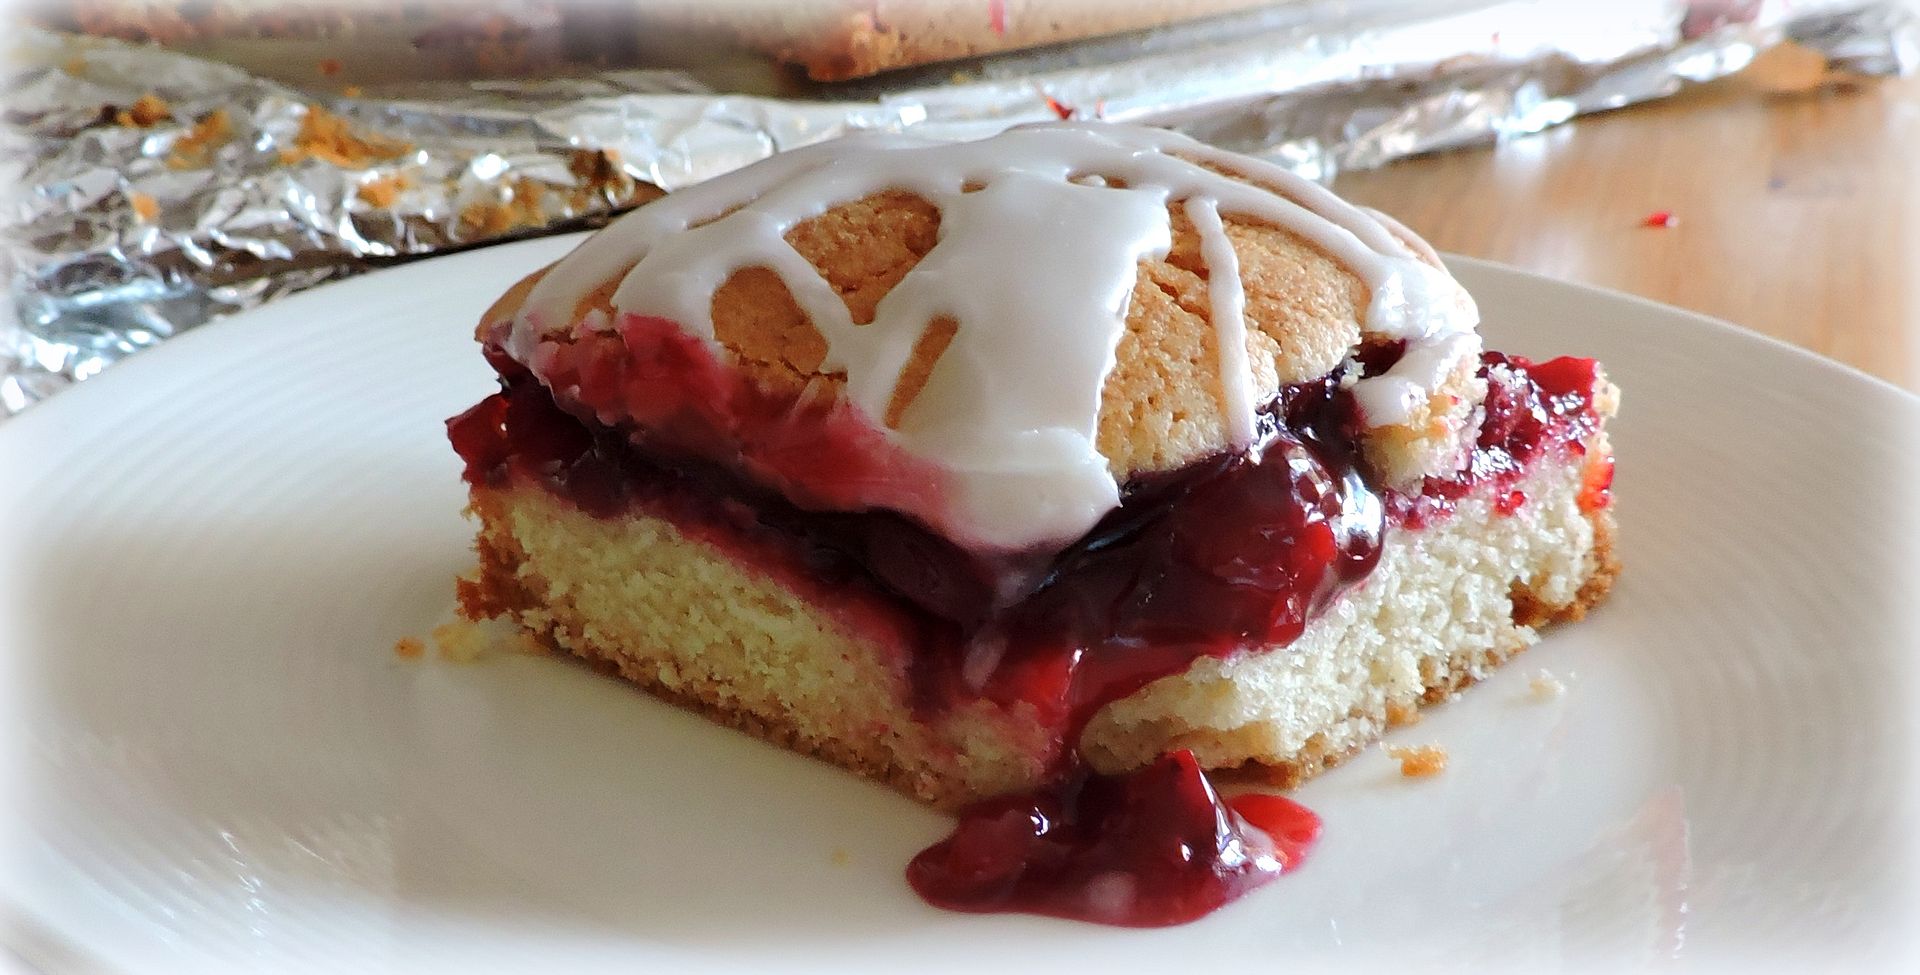
This is quite a sturdy cake . . . more like a tart really. The batter isn't soft and moist like a traditional cake, but then again you wouldn't want it to be.

This is quite a sturdy cake . . . more like a tart really. The batter isn't soft and moist like a traditional cake, but then again you wouldn't want it to be.
The sturdiness of the batter is what keeps that lovely cherry filling in the middle of the cake. You spread about 2/3 of the batter in the pan and prebake it . . . only for ten minutes or so . . .
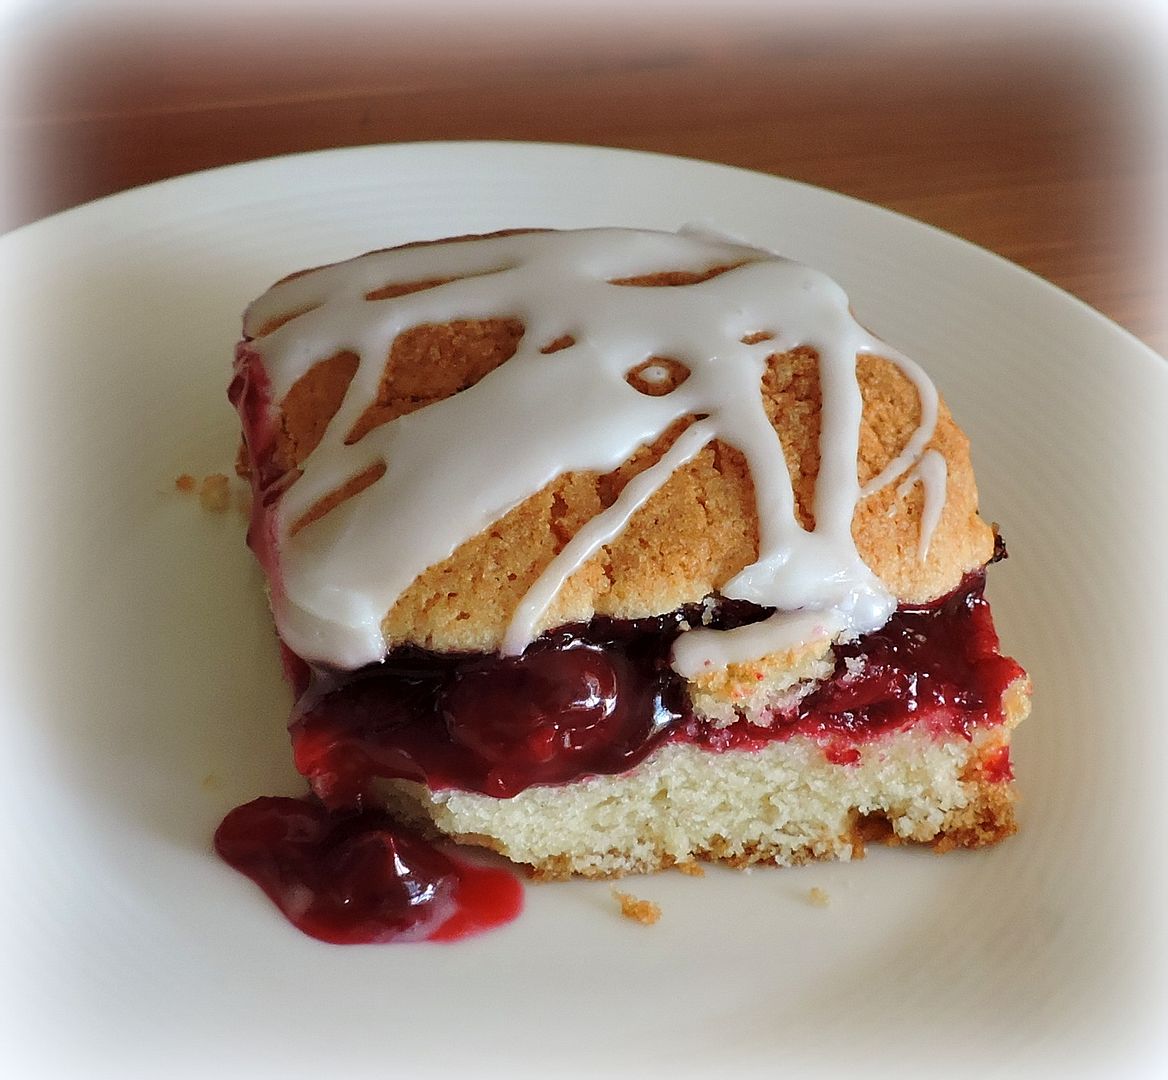
Then you spread the filling over top and dollop the remaining cake batter over that. It's baked until done and then glazed with a delicious vanilla icing glaze. I use cardamom in the cake batter for a hint of spice and some almond in the cherry filling.
Altogether this is incredibly tasty. Break out the coffee/hot chocolate/tea mugs because you will want to enjoy this with a nice hot cuppa!
If you are a fan of breakfast cakes you might also enjoy these:
PINEAPPLE COCONUT BREAKFAST CAKE - OH, I do so love cake for breakfast. It seems like the most indulgent thing in the world, and after you taste this delicious cake you will wonder where it's been all your life. Pineapple and coconut are the perfect pairing, and they really shine in this super moist coffee cake!
CINNAMON ROLL BREAKFAST CAKE - Not at all difficult to make this cake goes together in a flash. With a lovely scone/biscuit type of base and a scrumptious brown sugar sweet and buttery cinnamon topping.

Cherry Kuchen
Yield: 9 - 12
Author: Marie Rayner
Prep time: 15 MinCook time: 45 MinTotal time: 1 Hour
A delicious cake with a plain batter bottom flavoured with cardamon, a lucious cherry filling and a cake topping. An almond and vanilla glaze finished it off. Serve warm for a real taste treat!
Ingredients
For the filling:
- 350g frozen sour pitted cherries (about 3 cups)
- 140g white sugar (3/4 cup)
- 1 tsp lemon juice
- 1 TBS cornflour (plus a bit of water to make a paste) (cornstarch)
- 1/4 tsp almond extract
- 1 TBS butter
For the batter:
- 120g of butter (1/2 cup)
- 110g of white vegetable shortening (1/2 cup)
- 335g of sugar (1 3/4 cup)
- 1 1/2 tsp baking powder
- 1/2 tsp ground cardamon seeds
- 1/2 tsp salt
- 3 large free-range eggs
- 1 tsp vanilla
- 420g plain flour (3 cups)
To glaze:
- 200g icing sugar, sifted (1 1/2 cups)
- 1/4 tsp vanilla
- 2 to 3 TBS milk
Instructions
- First make the filling. Put the cherries, sugar and lemon juice in a saucepan. Heat over medium heat until the sugar melts and the juices are released from the cherries.
- Whisk together the cornflour with water (about 2 TBS) Whisk this into the cherry mixture and then cook, stirring until the mixture bubbles and thickens and turns glossy. Cook, stirring for about 2 minutes.
- Take off the heat and whisk in the butter and almond extract. Set aside to cool.
- Preheat the oven to 180*C/350*F/ gas mark 4. Butter a 15 by 10 by 1 inch cake tin.
- Cream the butter, shortening and sugar together for about 3 minutes until light and fluffy.
- Beat in the baking powder, cardamon and salt.
- Beat in the eggs, one at a time. Beat in the flour until it is completely incorporated, and the batter is smooth.
- Spread 2/3 of the batter in the prepared baking pan. Bake in the preheated oven for 12 minutes.
- Remove from the oven and spread with the cherry filling. Spoon the reserved cake batter over top of the cherry filling in dollops. Bake for 30 to 35 minutes longer until set and golden brown. (Start checking at 30 minutes.)
- Allow to cool. Whisk the drizzle ingredients together until smooth, using only enough milk to give you a comfortable drizzle icing. Drizzle this over top. Allow to set, then cut into squares to serve.
Notes
You can use tinned cherry pie filling rather than make your own if you wish. A large tin will do the job.
Did you make this recipe?
Tag @marierayner5530 on instagram and hashtag it # marierayner5530
Happy weekend! Bon Appetit!
One type of food that I have really come to adore since moving over here to the UK is Indian Food. It is a type of food which I had had a very limited experience with prior to that. Back when I was a much younger woman I had a British friend who had cooked a curry for us one night and I thought it was gorgeous, but that had been my only experience. I was of the opinion that it was complicated and much to difficult, and in all truth it sometimes can be, often using ingredients that are unknown and very difficult to find.
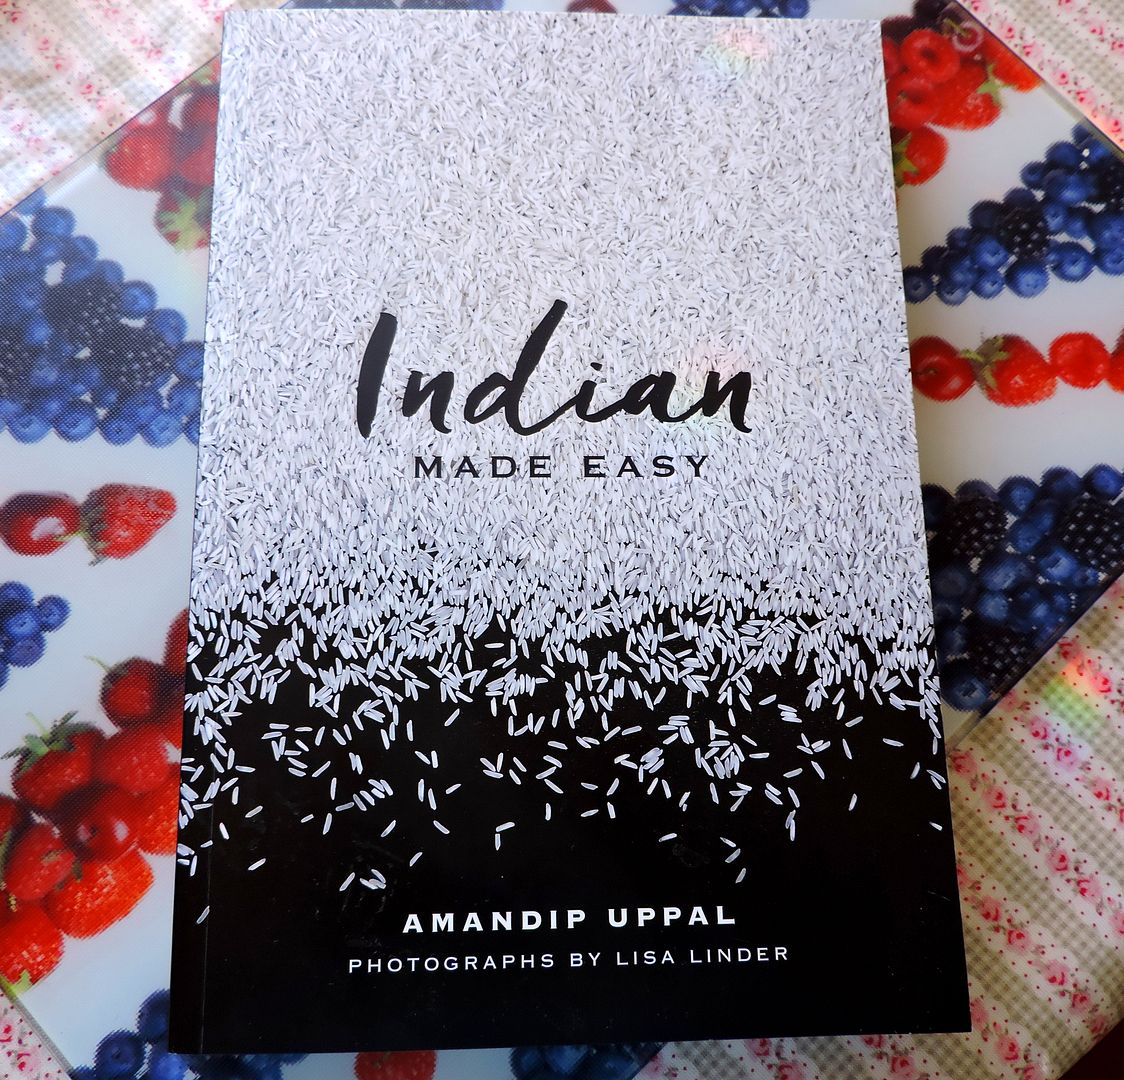
Over the past sixteen years I have become very fond of Indian food. My mouth waters at the thought of some gorgeous Onion Bahji's I had at an Indian friend's home one day . . . and I have made a few very delicious curries here in The English Kitchen as well. That's why I was really excited when I was given the opportunity to review this new cookery book, Indian Made Easy, by Amandip Uppal.
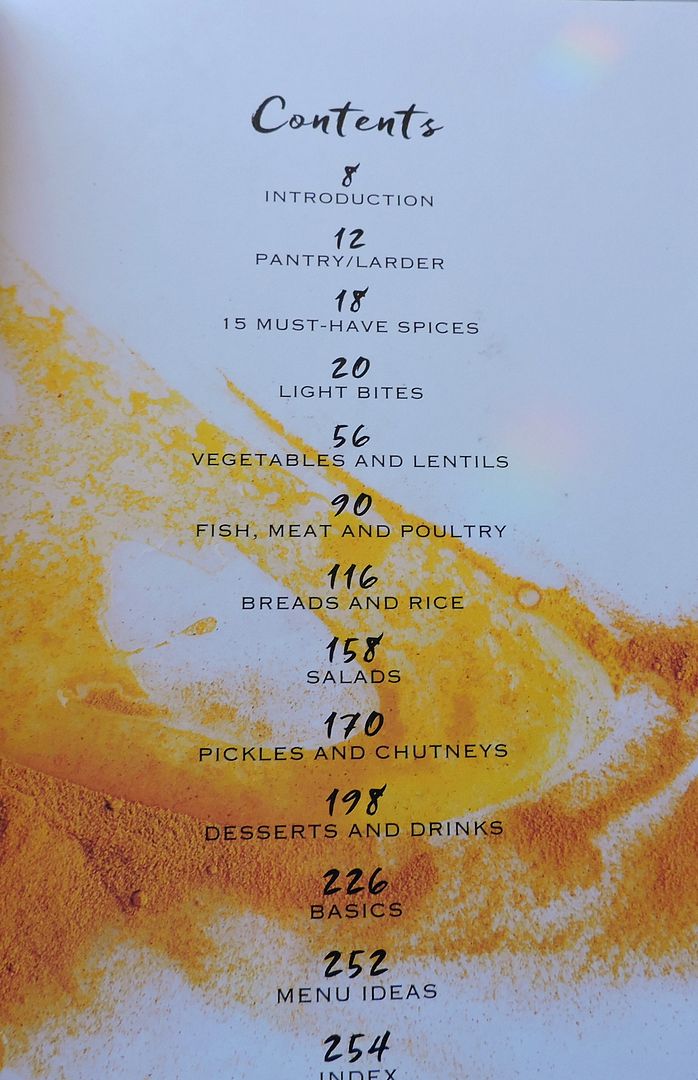
This collection of over 140 recipes presents a fresh approach to cooking Indian food, taking you on an amazing spice journey that fits a fast-paced lifestyle. You'll find quick, uncomplicated recipes for Butter Chicken and Prawn Curry, tempting vegetarian dishes, as well as Lamb Kofta with Saffron Creme Fraiche and slowly simmered Beef and Potato Curry. Complete your meal with homemade chutneys, pickles and infused rice, then finish off with a decadent dessert or spiced chai. Special features guide you through making paneer, yoghurt and flatbreads, plus there's a fabulous menu planner and information on pantry staples, must-have spices and alternative ingredients. Indian Made Easy has what you need to create everything from a simple, sumptuous dish to an opulent feast - all filled with the wonderful flavours of India.
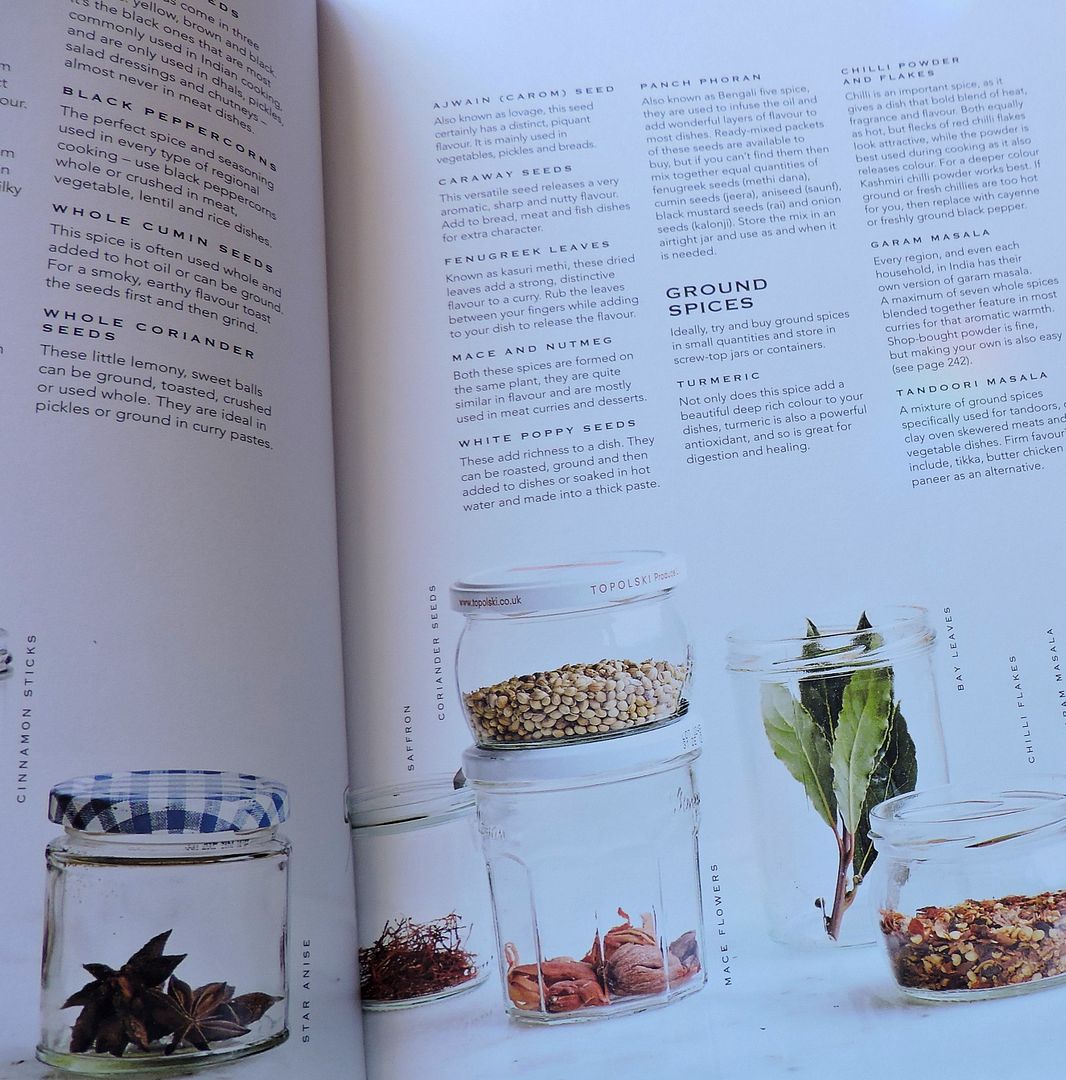
I found the very indepth information on spices and other ingredients to be very informative. I like knowing about the ingredients I am going to use. Knowledge is power, and knowing how to use and store things is really important to me. I hate waste.

Blendingtraditional and contemporary Indian cuisine, Amandip's recipes breathe a new lease of life into well-known dishes whilst holding true to tradition at the same time. Broken into tasty chapters entitled Light Bites; Vegetables and Lentils; Fish, Meat and Poultry; Breads and Rice; Salads; Pickles and Chutneys; abd Desserts and Drinks, Indian Made Easy contains quick uncomplicated recipes for every occasion, as well as information on pantry staples, basics, and must-have spices, as well as a fabulous menu planner to help you put together opulent feasts and wonderful combinations of tastes, textures and flavours.
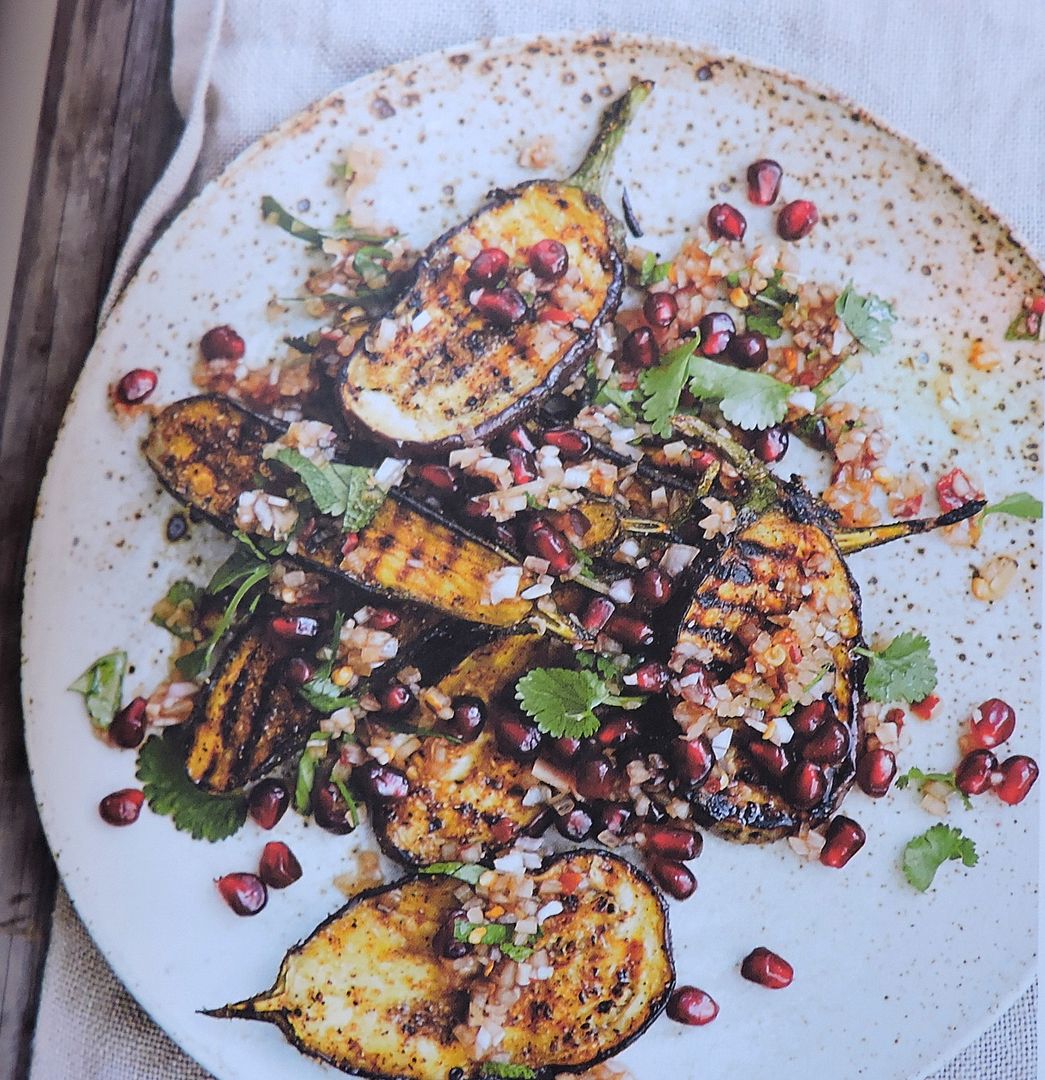
Cook up Lamb Kofta with saffron creme fraiche and Tamarind rice with onion; learn how to make coriander (cilantro) stuffed naan and sesame and ginger chicken skewers; please the veggies with dishes like Aubergine with Chilli Pomegranate Dressing (see above photo) and a cheat's Dhal Makhani; ad sate your sweet tooth with a pistachio kulfi or a Pomegranate and rosewater granita.

Everything is photographed beautifully and in all honesty I cannot wait to get stuck in and start cooking with it! Indian Made Easy is a beautiful and delicious cookbook that brings Indian cookery up to date for the modern and busy cook.

UK based author Amandip Uppal is a former stylist and writer. She worked for many years at The Times, and later became Deputy Fashion Editor of Conde Naste Traveler. Drawing on her life-long love of design and food, she created ChilliHotChocolate.com . . . an online kitchen and dining emporium.
Indian Made Easy, by Amandip Uppal
Photography by Lisa Linder
Paperback: 256 pages
Publisher: Murdoch Books (8 Sept. 2016)
Language: English
ISBN-10: 1743368585
ISBN-13: 978-1743368589
Many thanks to Murdoch Books for sending me a copy for review. Although I was sent a free copy I was not oblidged to write a positive review. Any opinions are entirely my own.

I am a person that really loves vegetables. I always have done, and none more so than those in the brassica family . . . cabbage, broccoli, cauliflower . . .
I think of them all cauliflower is my absolute favourite. All white and tasty, I love it raw and I love it cooked, on it's own, or in a soup. Anyway you cut it, or cook it, I just love cauliflower.
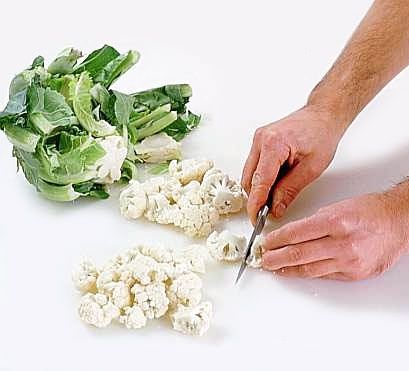
It's not a vegetable that I ever had when I was growing up. We never had broccoli either. I was an adult before I had either one, and I think my first taste of broccoli was in a Chinese stir fry, and it was absolute love at first bite.
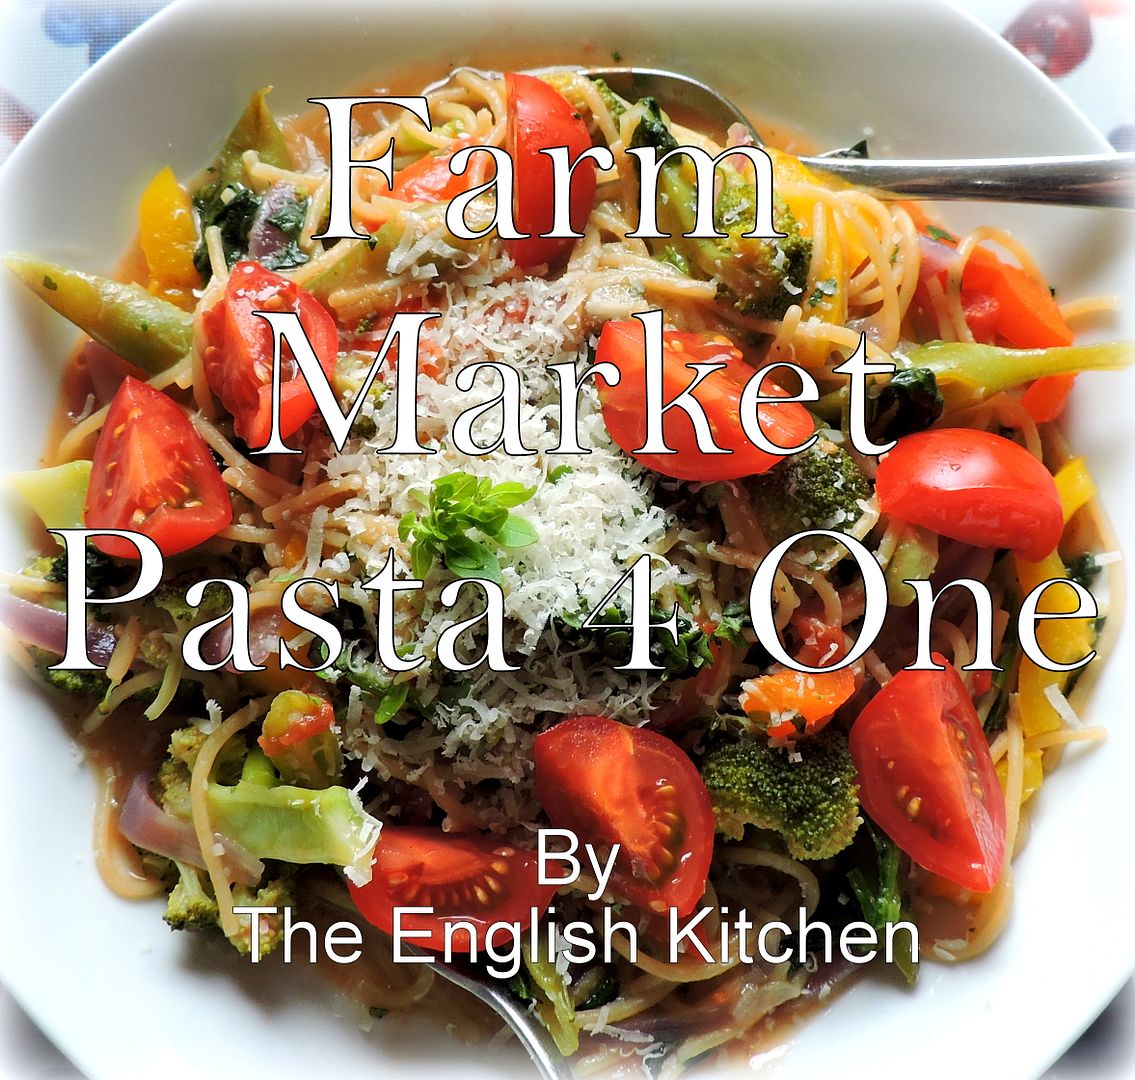
When I saw this recipe for a One Pan Farmers Market Pasta on The View from The Great Island, I knew it was something I wanted to make. It looked so fresh, delicious and healthy. Just one problem. Hubby loathes pasta and isn't overly fond of a lot of vegetables either. He was brought up on School Dinners and rationing and our modern vegetables/combinations/pasta dishes don't excite him in the least.

Its now Great British Bake Off Season here in the UK, and in honor of that each week Betty's will be sharing a delicious recipe, plus a video and their baking tips to go with each recipe. The kind of thing you won't find in any cookery book! Here is week five of their delicious hints and tips, and week four on how to create a delicious Croquembouche.
NOTES IN THE MARGINS
Sparkling Spun Sugar, The Betty's Way
Make a Mess
Create Spun Sugar in a friend's kitchen.
Why? It's messy
Golden Syrup
Temperature is important
It mix is too cold, the strands will be too thick. If too hot, they will be too thin.
The ideal consistency is like warm Golden Syrup.
Stand Up Tall
You'll need a little height to work with the sugar. (In the film, Lisa is stood on a kick stool!)
Don't make it too early, it will only last for an hour or so.
Cleaning Up
Cleaning up can be tricky, but not if you do this: Fill the pan with water, bring it to the boil, then tip it away.
Sparkling!
If only washing up was so easy.
This is the final part of our series about how to create a Croquembouche. Find out how to create spun sugar to decorate your masterpiece in next week's episode of Betty's Baking Secrets.
www.bettys.co.uk/bettysbakingsecrets

Do you remember these delicious Crusty Lasagna Buns? Tasty meaty lasagna sauce, stuffed into a bun, slathered with cheese and baked until the cheese oozes and the sauce is bubbling up. Oh so good with a salad on the side. Nom! Nom!

Yesterday I promised to show you something today that you can use up some of the leftover roast turkey in and here it is, a delicious Hot Turkey Taco Salad. It should be noted that you can also use freshly ground turkey as well, so you don't have to have leftover cooked turkey for this, but if you do, this is a really tasty way to use some of it up!

The Canadian Thanksgiving is coming up in just a few weeks now and the American about a month or so later and then of course Christmas is on top of that. If you are a small family that don't want to cook a whole turkey, or a larger family that wants a bit extra on top of the family turkey, or even if you just want to cook some turkey to have for the week ahead to use in sandwiches or casseroles, I have a real winning recipe for you here today. This always results in a moist and well flavoured roast, which is perfect sized for all of those needs!
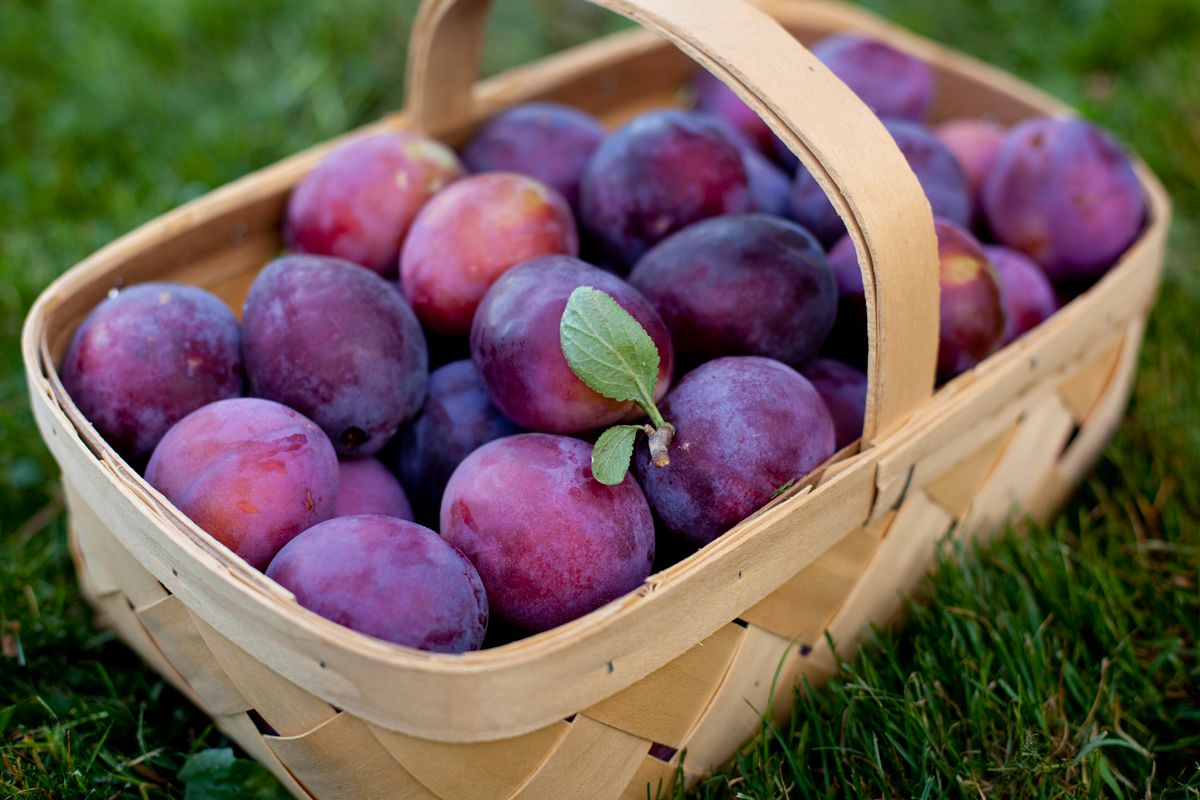
One of the things I love most about this time of year is PLUMS! Yes the plus are ripe and for a change this year we have had a bumper crop of them. Although Todd for the life of him can't figure out what he did that was any different than any other year. Last year we had two plums, exactly. No more, no less, but at least we each got to enjoy one.
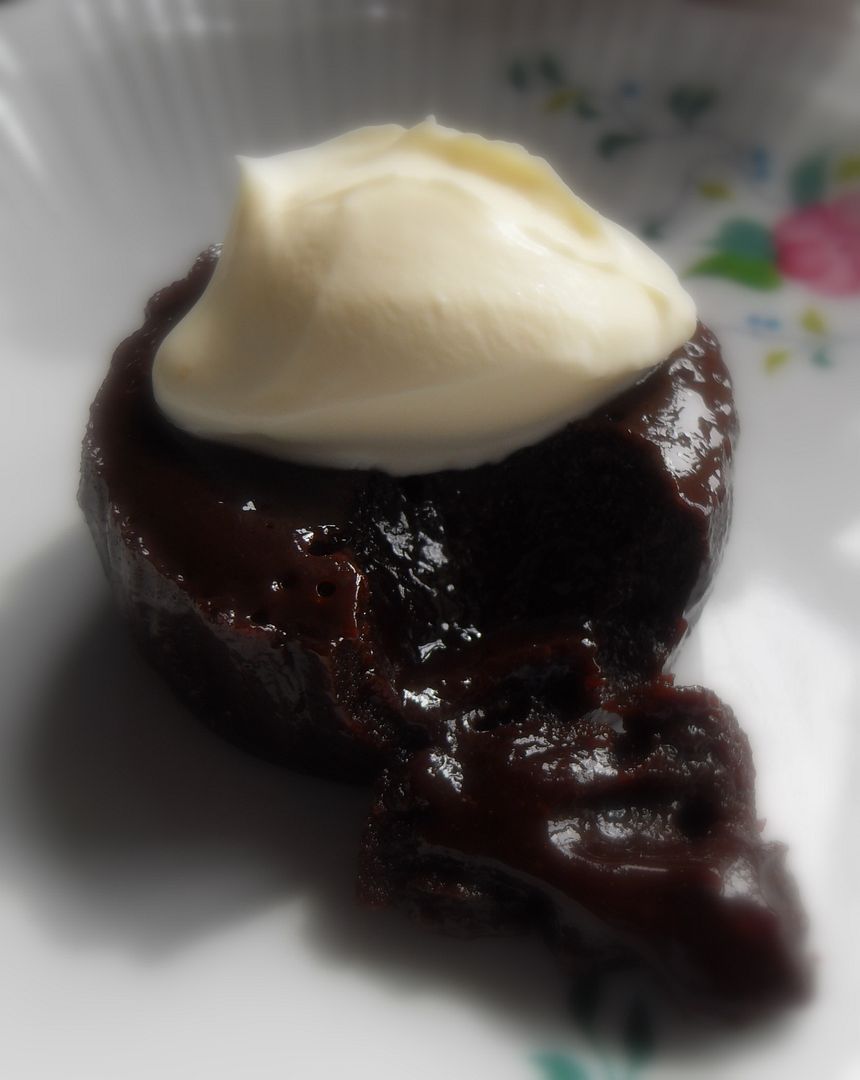
Every cook who loves to entertain should have an easy little dessert recipe up their sleeve, that's, not only easy to execute, but also pretty failproof, delicious and impressive. I used to bake a lot of these when I worked at the Manor. They entertained a lot , and everything always had to be done to a high standard. This was one of their favourite desserts that I made for dinner parties and ladie's luncheons. They were very popular.

I'm going to let you in on a little secret this morning. A family secret. A secret recipe that I have been hoarding, baking and enjoying for about 35 yeara now . . . or maybe even longer if you count the years my ex husband and I dated before we actually got married . . .
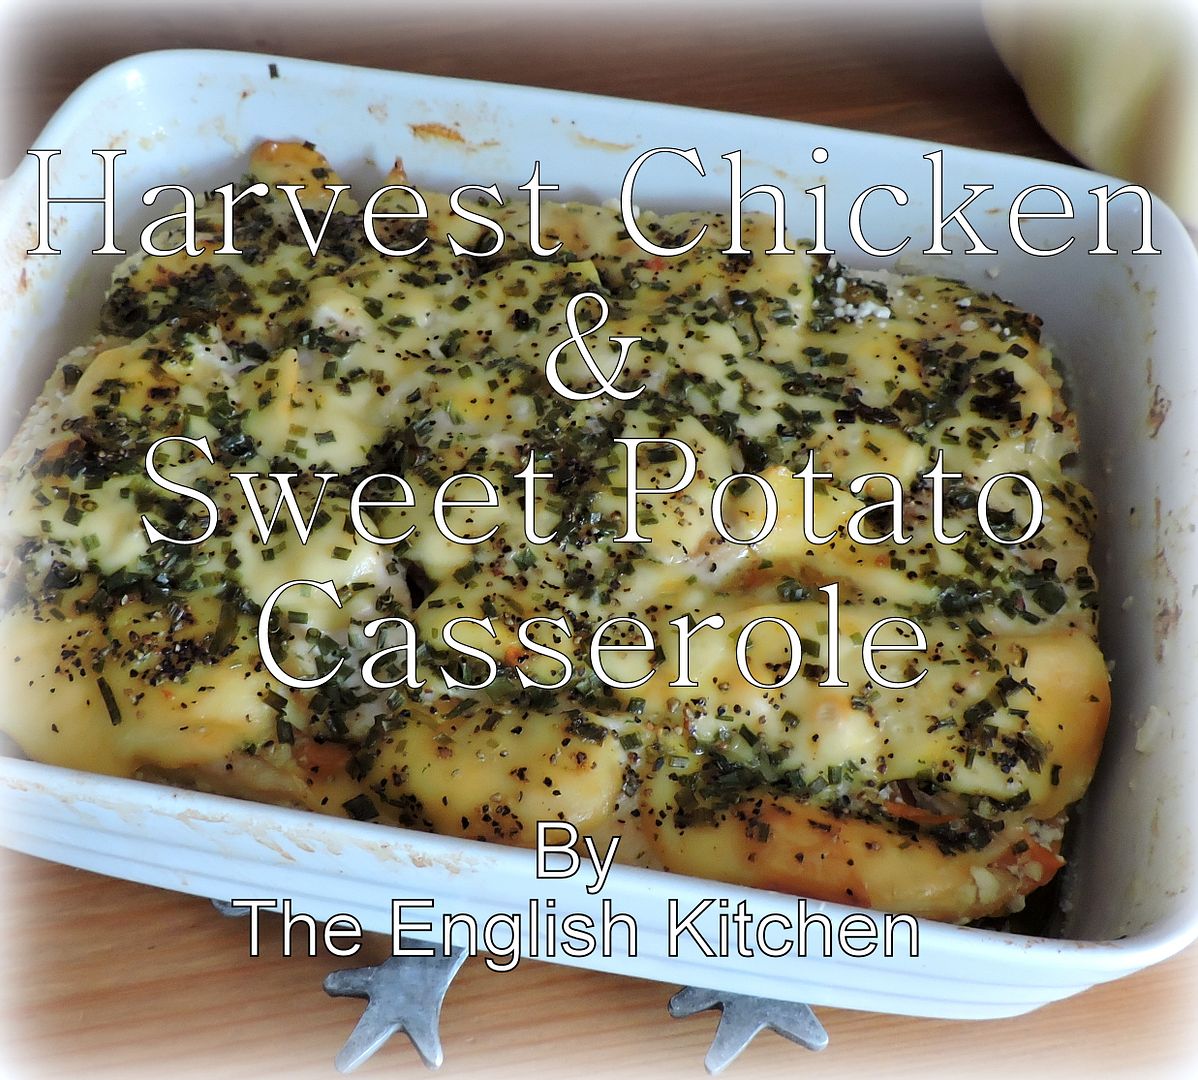
I love chicken and I love sweet potatoes and I love the two of them put together. Often when I roast poultry I will bake some sweet potatoes on the side, so it seemed a really natural thing for me to put them together into a casserole. A very delicious casserole, I hasten to add.
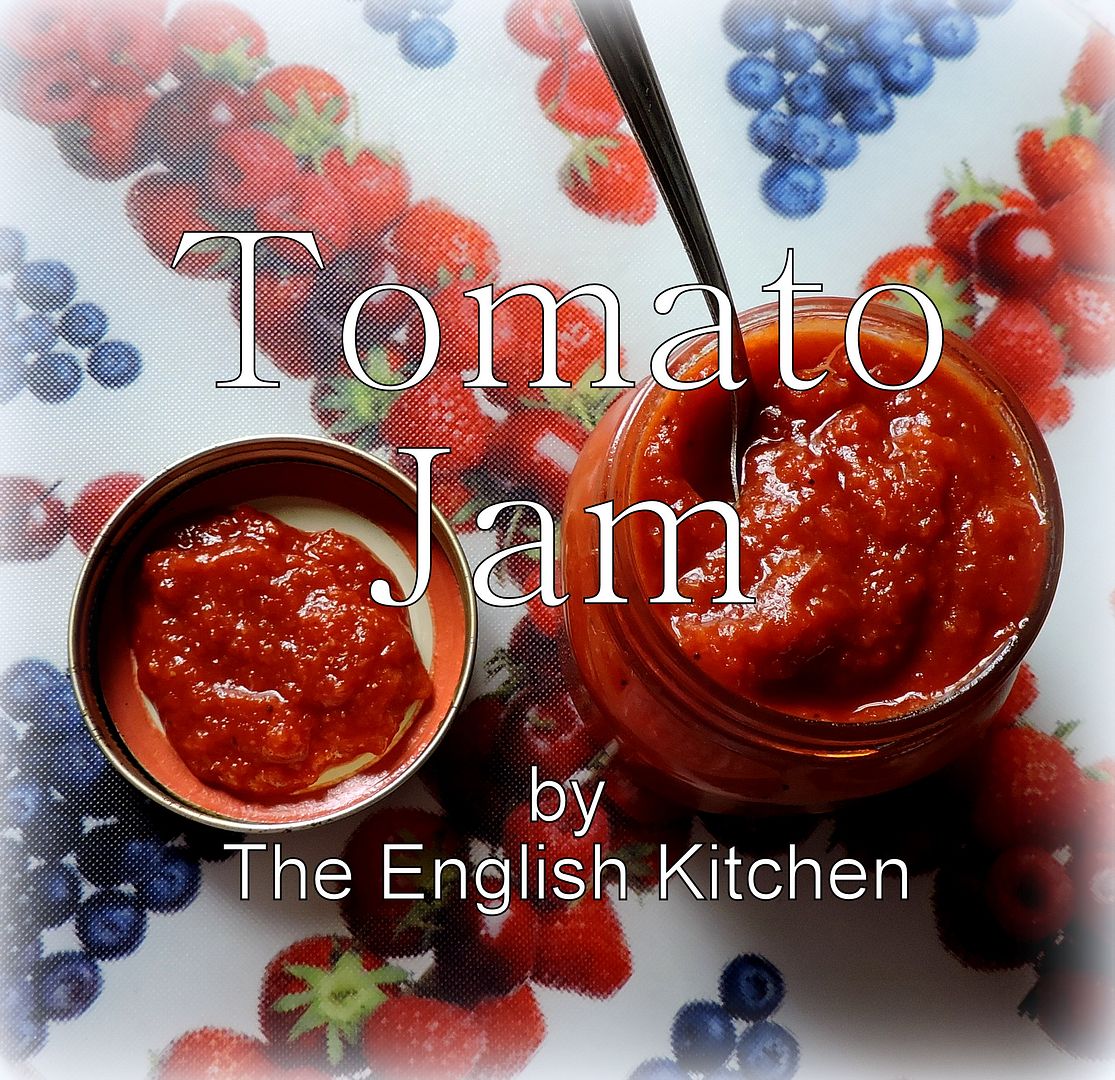
I had in mind to make some tomato jam with the tomatoes from my tomato plants, but it ended up that I would not have had enough fresh tomatoes to do it.
We have been far too greedy with eating them fresh and they have been so very good. I had a real hunger for tomato jam however . . . a real hunger . . . it sounded so tasty . . .
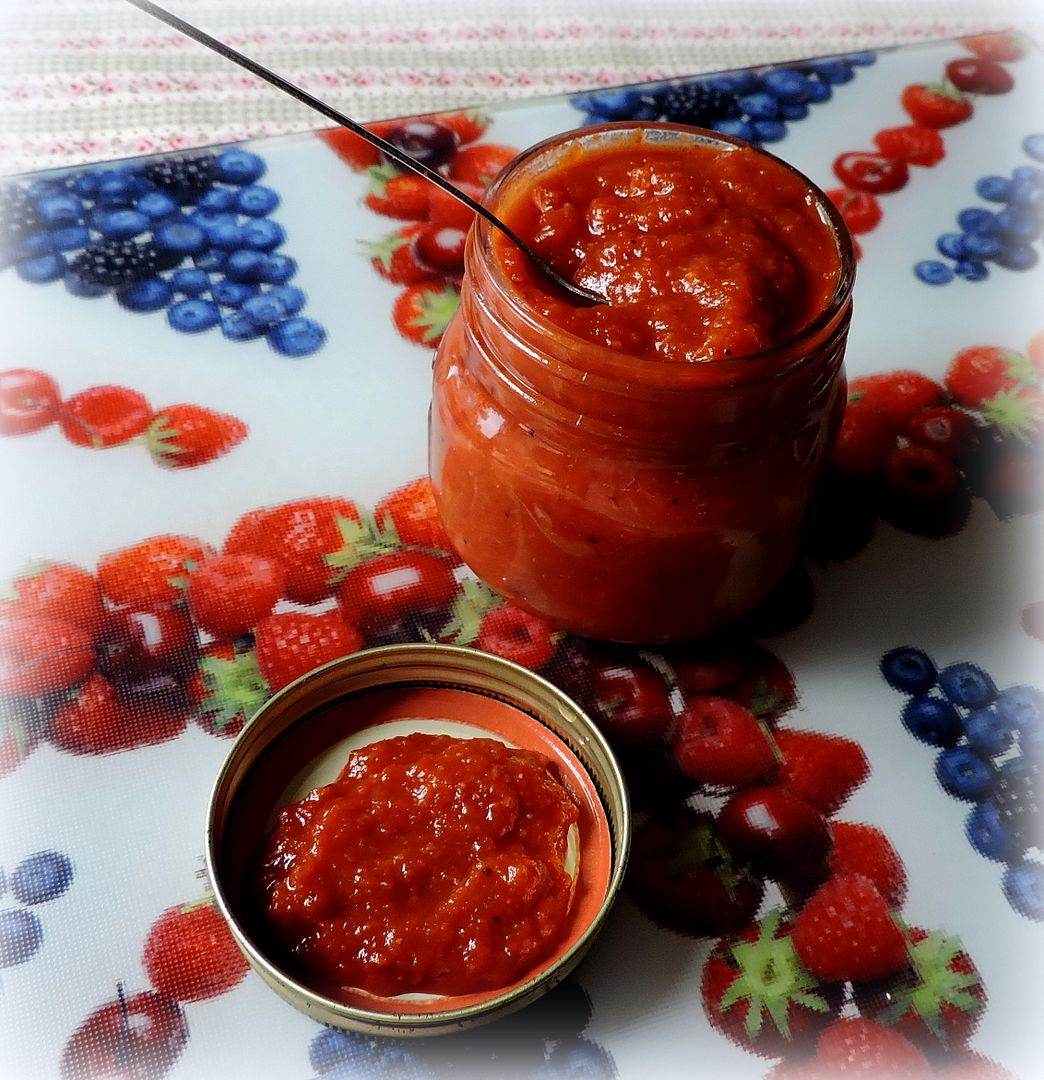
One ingredient I do have plenty of however is tinned tomatoes. Lovely tinned Italian tomatoes, and so I decided to feed the hunger which could not be dampened and I created a tomato jam using them.
I am no stranger to making jams and chutneys. I have been making them for years.
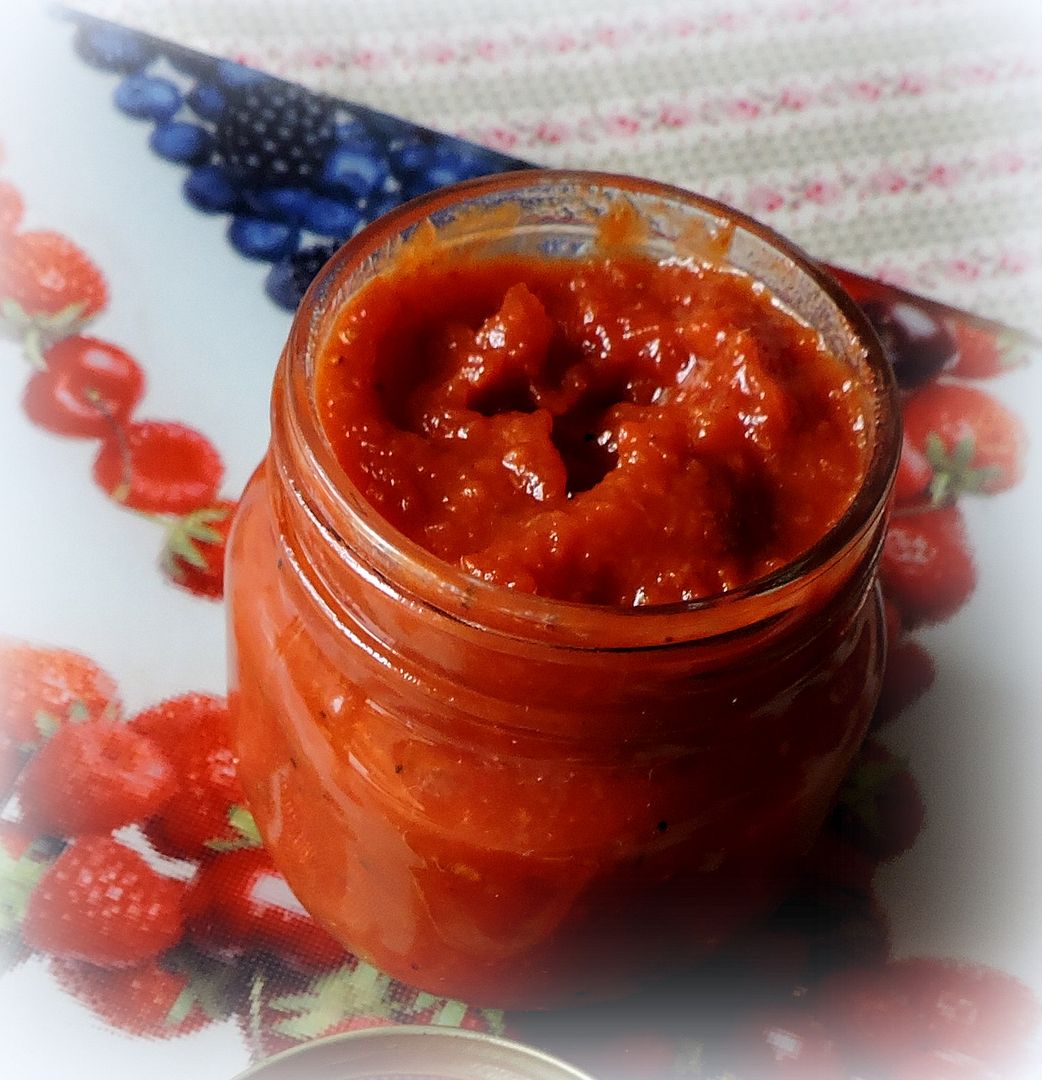
In fact, one of the things we learned to make when I was doing my chef's course, was chutney.
I decided to apply some of the same principles, albeit with some different flavours, to this tomato jam, and . . . I hasten to add, with EXCELLENT results!
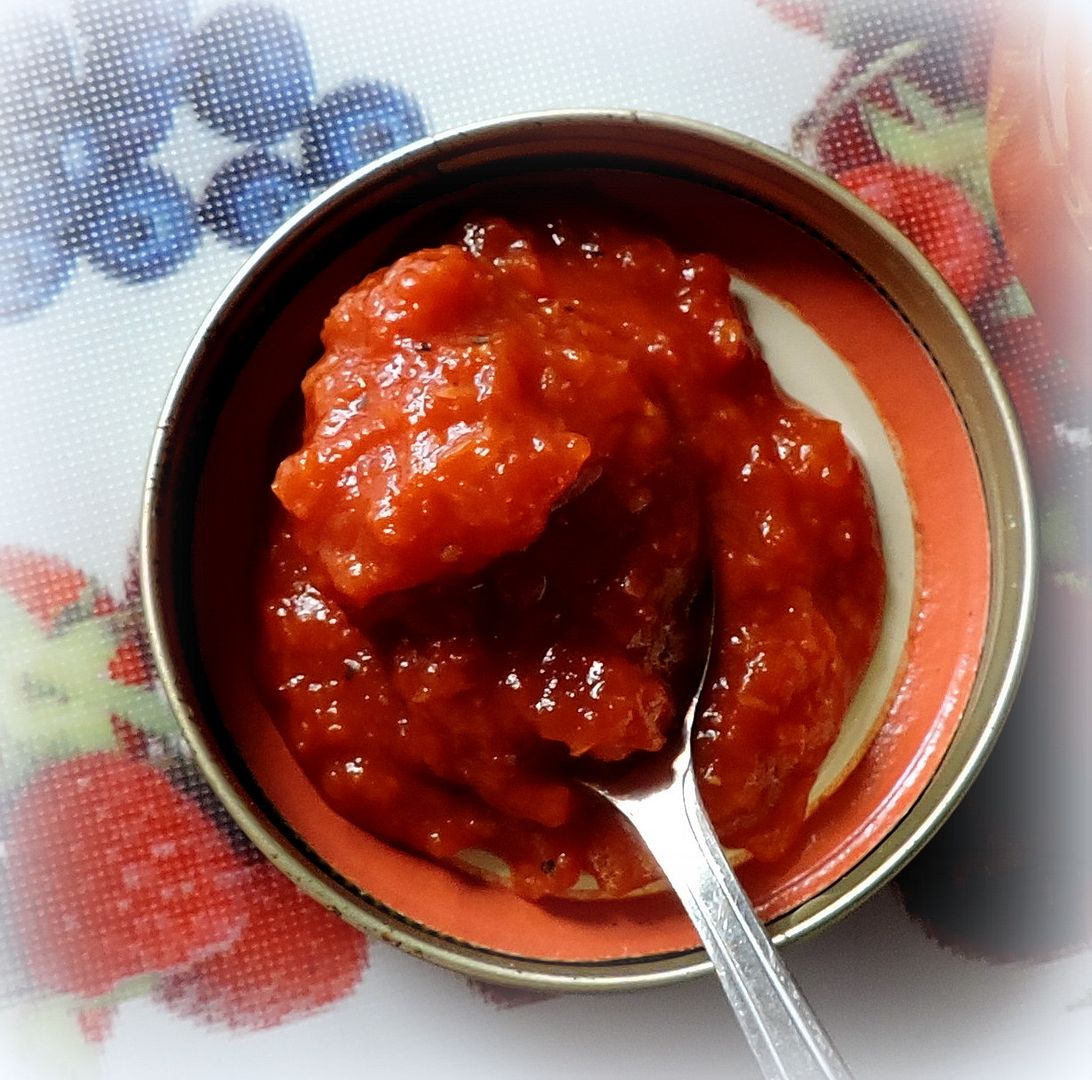
It turned out fabulous. It is nice and thick . . . . and sweet without being too sweet . . . and just spiced right, with a tiny bit of a kick. Ohhh . . . just lovely.

I was so very pleased and so was my husband. He is really enjoying it, with cold meats, cheeses, in sandwiches, with his potatoes, etc.
It's a real winner! It doesn't make a lot, but it's nice to know that I can easily make it any time I want to, and that I won't have to rely on fresh tomatoes being in season either.
I hope you will try it! It's a lovely taste of tomato sunshine!
I hope you will try it! It's a lovely taste of tomato sunshine!
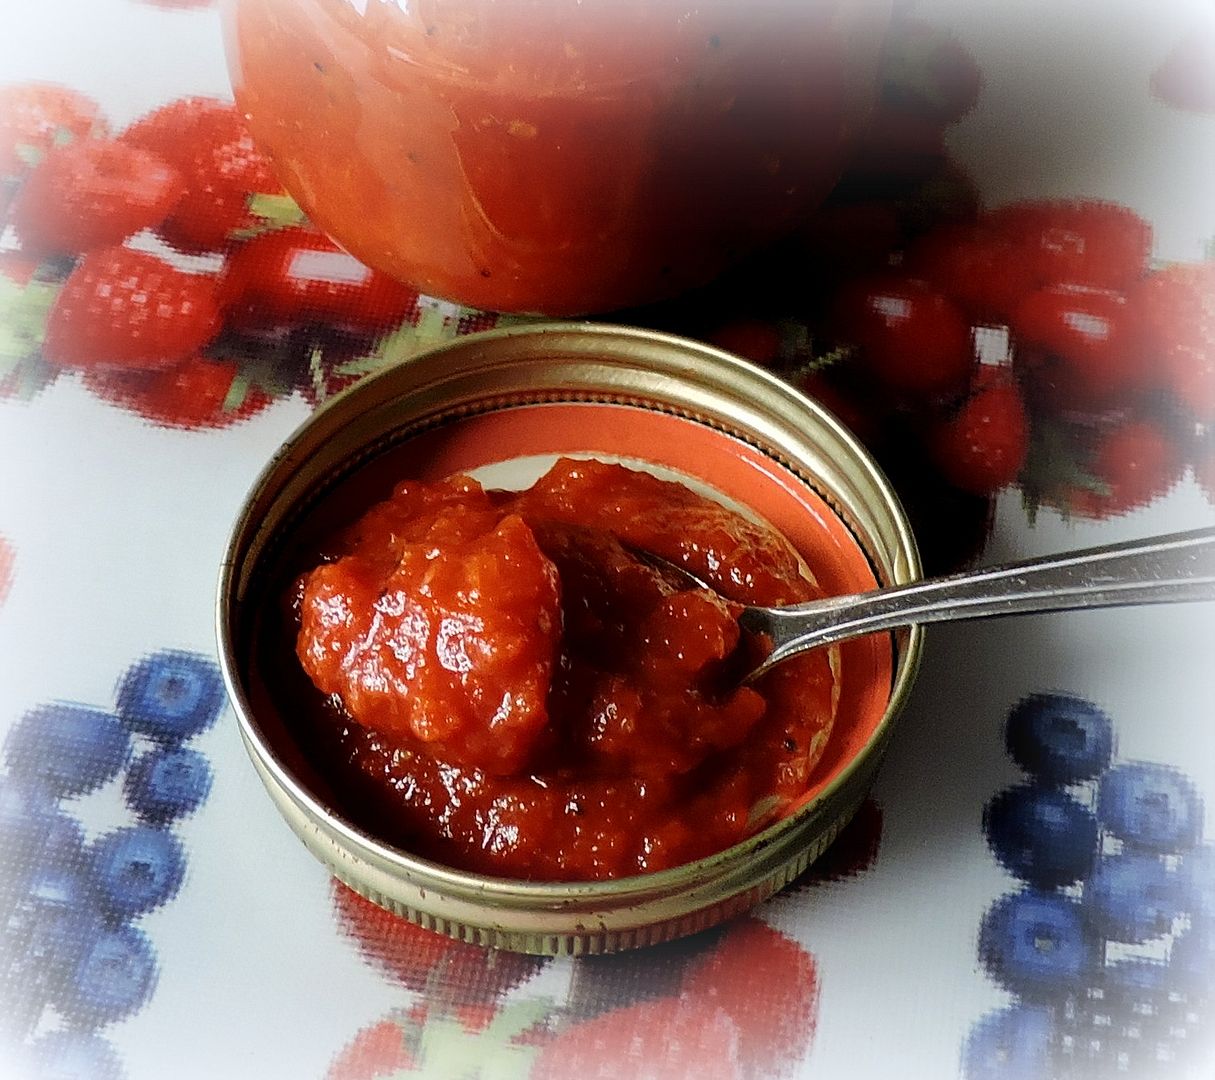
*Tomato Jam*
Makes about 1/2 pint. (1 cup) Bring to the boil, then reduce to a simmer and simmer until
nicely thickened. Taste and adjust seasoning as required with salt and
pepper. Cool and then pour into a jar. Keep refrigerated.
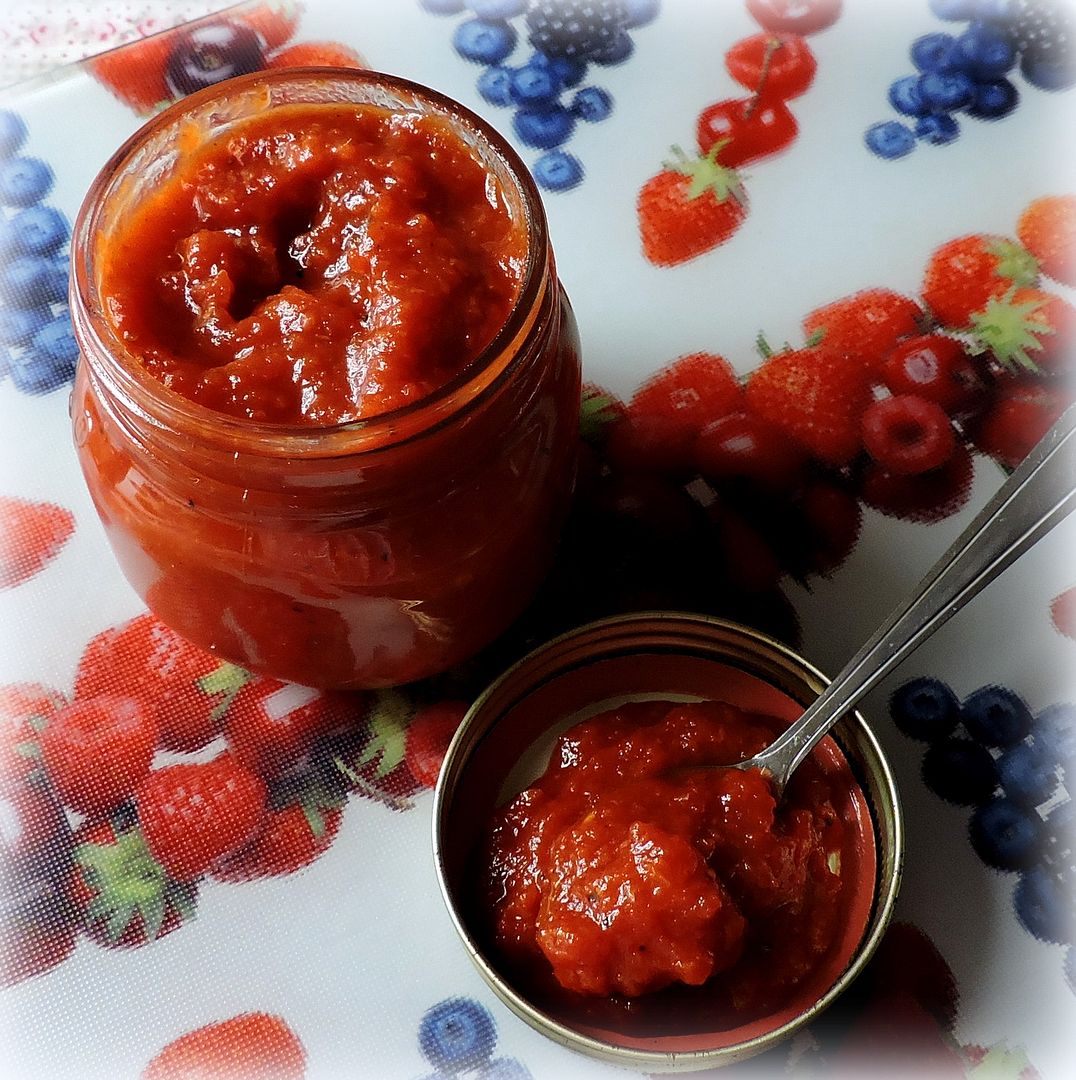
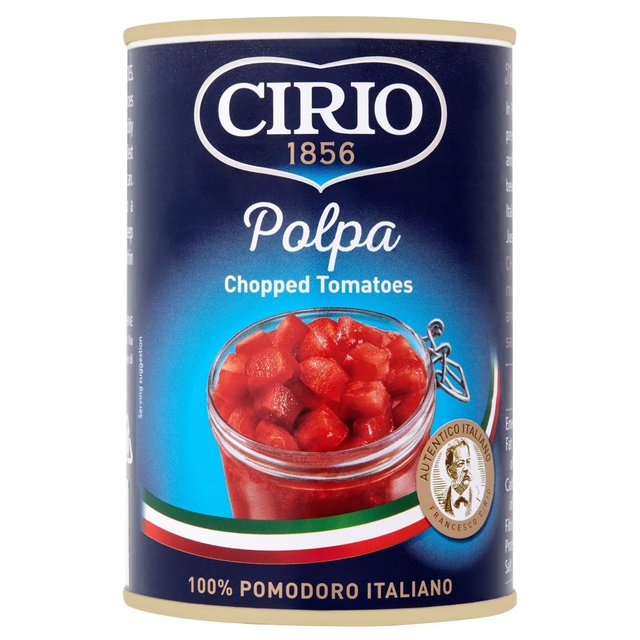
Cirio Chopped Tomatoes . . . authentically Italian. They are so good I could just eat them out of the tin with a spoon, and do from time to time. (Don't judge me!) In a recipe where the tomatoes are going to be one of the stars, you want really good ones, and these are the best!
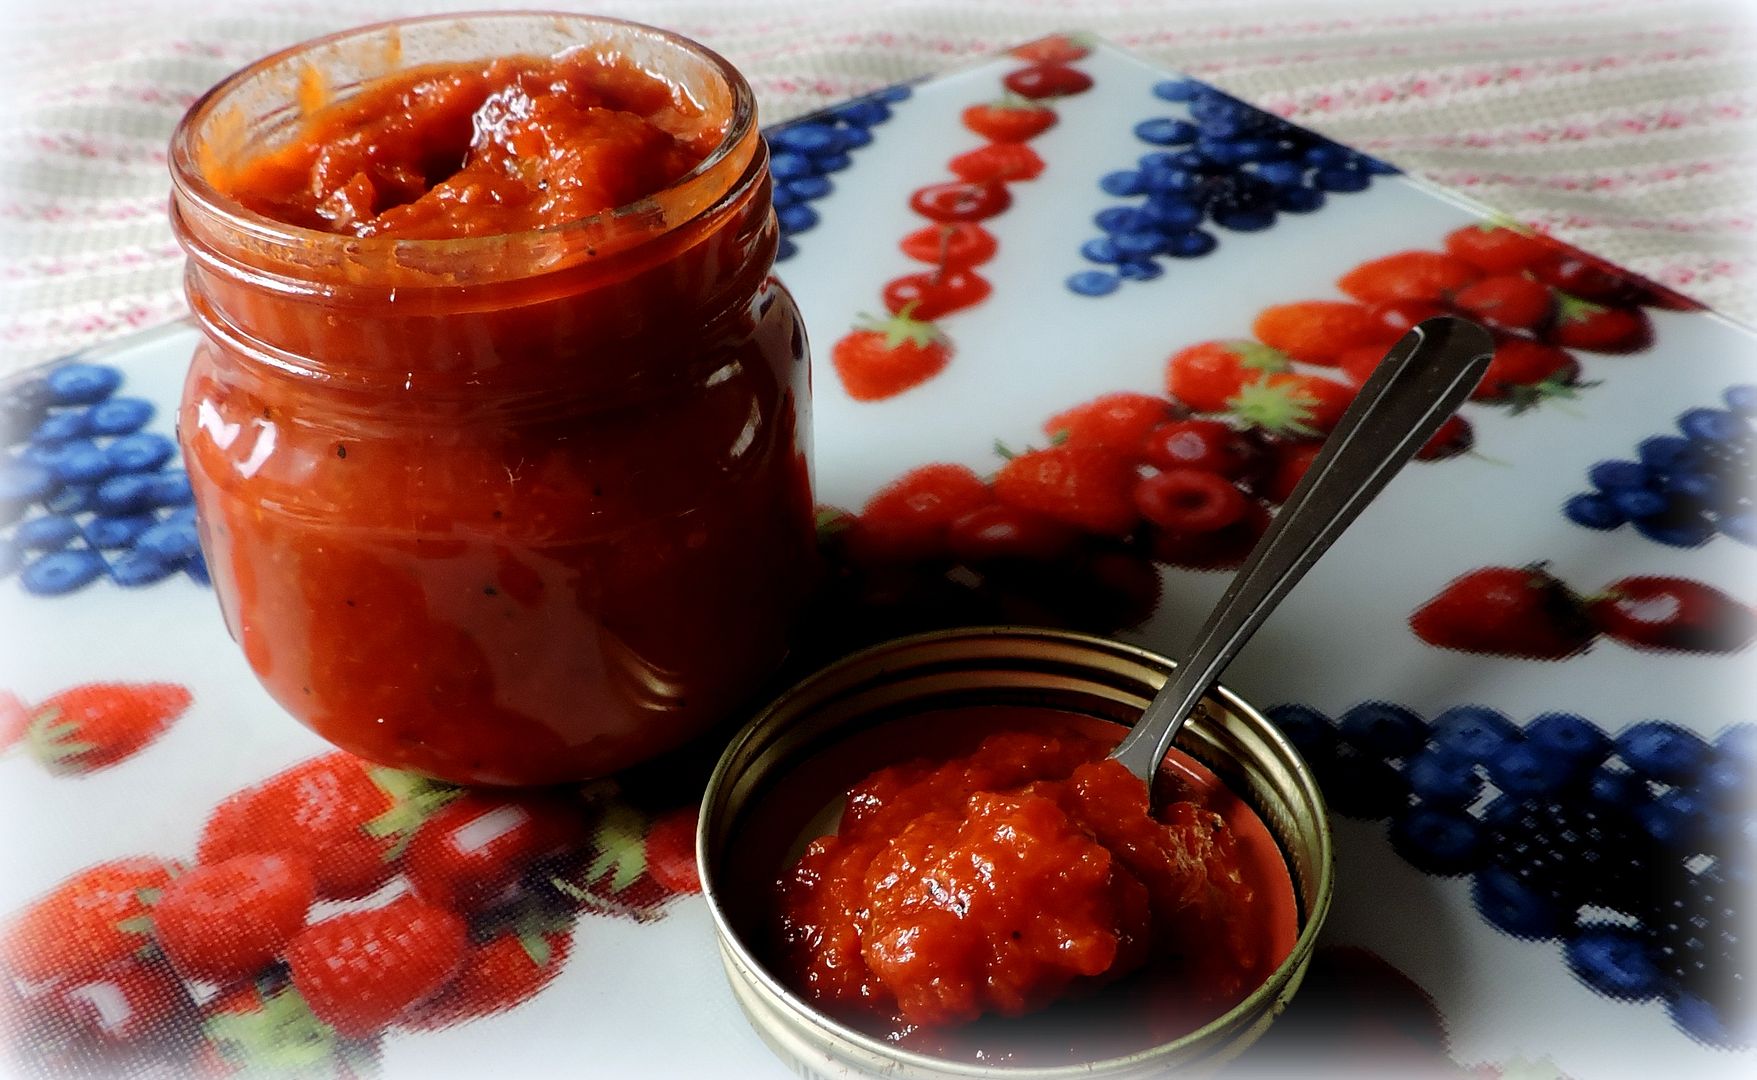
I really hope you will make some of this delicious tomato jam, if not for yourself, then for someone you love. You won't regret it! Bon Appetit!
Subscribe to:
Posts (Atom)


Social Icons