I found myself with a huge container of sour milk this morning. I had bought two liters when my son was here the other week and hardly any of it got used.
They didn't really have cereal or anything, or even coffees in the morning, and I am a person who hardly ever consumes milk at all. I will buy 1 liter and it lasts me a couple weeks unless I am cooking.
So anyways, I had all this sour milk. I knew I would not be able to use all of it up, but I thought I could at least use some of it up so I went on a search for things to do with it that I hadn't tried before.
I have a
Sour Milk Chocolate Cake recipe which I make that is excellent eating, but I was not in the mood for a cake just now. We will be eating enough Christmas sweets next week.
The recipe I am sharing with you today I adapted from a page called
Nourishing Joy, who adapted from a recipe in the book, Baking at Home by the Culinary Institute of America.
I am not sure if the original recipe used buttermilk or sour milk. but no matter, I am sure both would work the same way. I was very pleased with how these turned out.
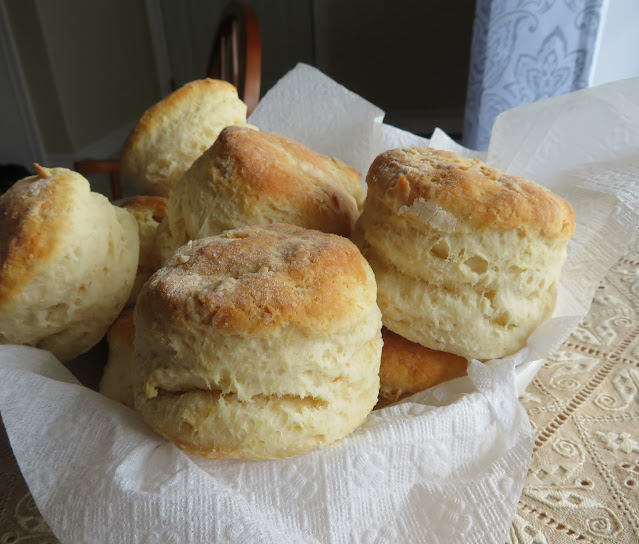
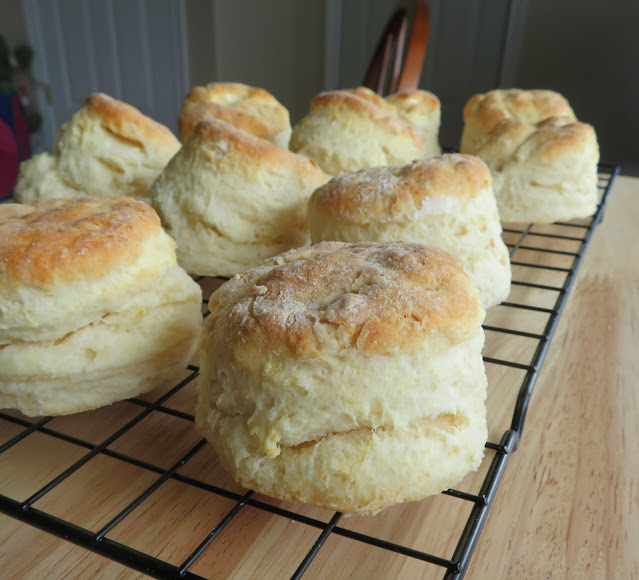
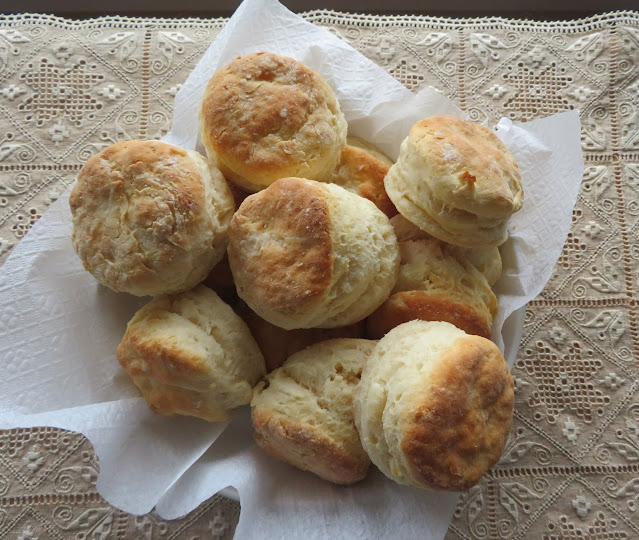
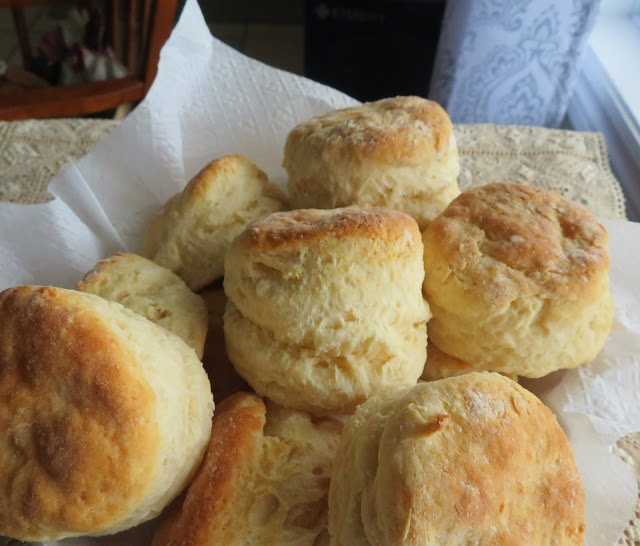
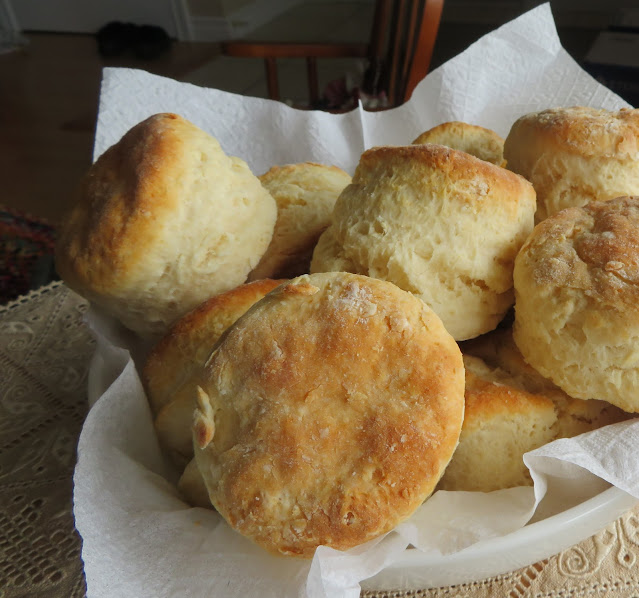
As you can see they achieved a really lovely high rise and the texture was beautiful. These were everything a good biscuit should be.
Light and fluffy inside, tall and crisp golden brown on the tops and bottoms. I was really, really happy with them!
WHAT YOU NEED TO MAKE SOUR MILK BISCUITS
Just a few simple ingredients are needed. Nothing too extraordinary.
- plain all purpose flour
- baking powder
- salt (I use fine sea salt)
- cold butter (I used salted)
- sour milk (you can also use buttermilk, or I tell you how to sour your own milk)
- whole milk (full fat)
- liquid honey
I know some people can be really intimidated by making biscuits. They may feel that they never turn out for them, and maybe they don't.
I have never had a problem with biscuits, generally speaking, and that's because I follow several rules when I am making them. If you follow these, there is no reason why you shouldn't also achieve biscuit baking success!
First of all sift your dry ingredients together. This helps to make sure that all of the leavening is evenly distributed through the flour. If you are adding sugar or salt, this can get stirred in after you have sifted the flour, etc.
Make sure your fat is cold. Cold fat will not melt as easily as warm fat would when you are rubbing/cutting the fat into the flour.
Also don't cut the fat into the flour until its really fine. Make sure you leave some pea-sized bits of fat throughout. These little bits of fat will melt and leave nice airy little pockets in your finished biscuit!
A light touch is best when mixing up, patting/rolling your biscuits. Over-handling makes for a much tougher result. So do not over mix/pat/roll them out.
When mixing wet ingredients into the butter and dough mixture use a well technique, much like pasta. Depending on the weather, use more or less flour. For humid days use more flour and cut back a bit on dry, hot days.
Bu the well technique I mean make a well in the center of the dry ingredients, and then pour the wet ingredients into the well. Generally speaking I use a fork to mix the two together, taking care not to overmix. Its okay if its a bit lumpy.
Try to work on a cold surface and with cold hands. You don't want to melt the fat with the warmth of your hands, so hand contact should be as little as possible.
When you tip the dough out onto the surface don't over-flour it. A little bit goes a long way. Basically you just want to be able to keep the dough from sticking to the countertop and the rolling pin if you are using one.
Patting out the dough, folding it in half, patting it out again and repeating this process a few times with give you lots of nice airy flaky layers in your biscuits.
About three times should suffice, and then you should be ready to cut your biscuits out. Today I used a 3 inch round metal cutter. Make sure when you are cutting them out you use a sharp up and down tapping motion.
Don't twist the cutter. Twisting can cause your biscuits to be lopsided. You may end up with some that are lopsided anyways, but generally speaking you won't if you employ a sharp tap up and down.
Also, try to get as many cuts out of the first roll/pat out as you can. Any ones cut from the repatted/rolled scraps will not be as nice to look at or rise as high.
They will still taste really good however, and be perfectly edible. They just won't look as pretty! And that's it really. There's no reason why you can't have good biscuits if you employ those hints and tips!
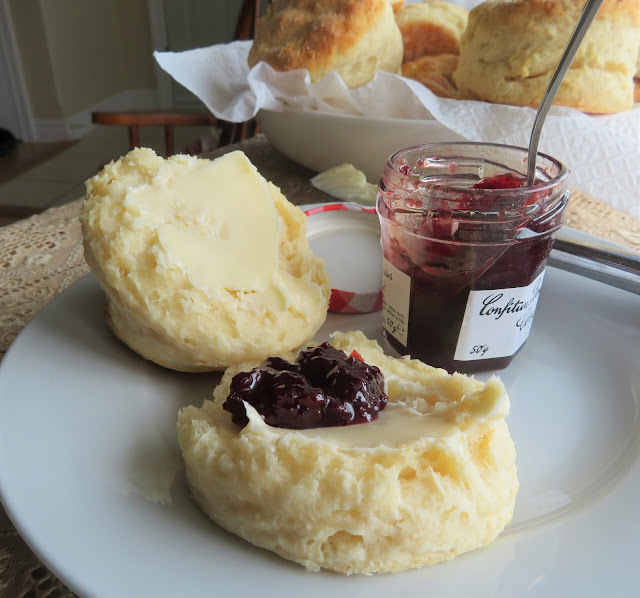
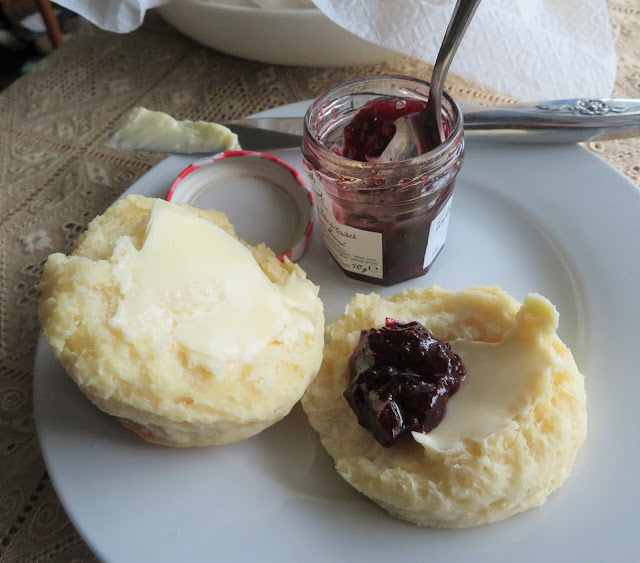
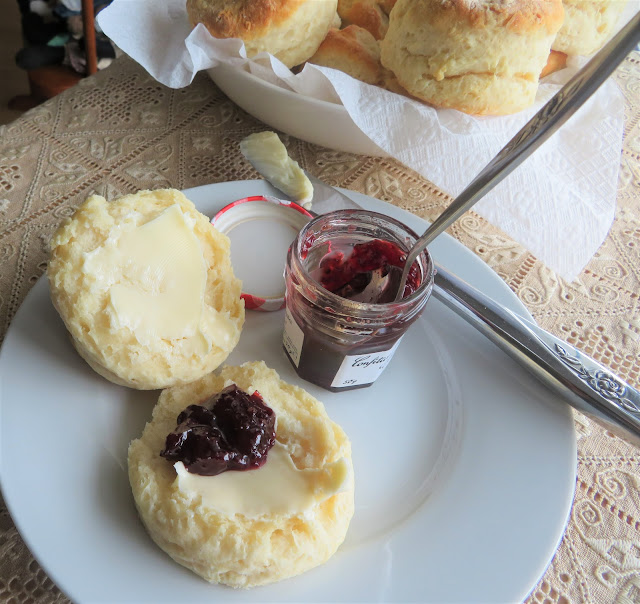
The majority of these have been packed into a freezer bag to take out when my son is visiting over Christmas, but I couldn't help having one myself today. Split and spread with butter with some jam spooned over top.
Oh my but these are some good biscuits. I can give them two thumbs up. I think you are going to really like these! I really do!






These look wonderful, Marie. Hope Nutmeg is finally through his ordeal, happy to be home with his sister and his mama. Have a lovely day. Love and hugs, Elaine.
ReplyDeleteThanks Elaine! Nutmeg is doing wonderfully. Cinnamon and I were both very happy to have him home again! I hope you will bake these! They are amazing! Love and hugs, xoxo
DeleteCan you freeze these
ReplyDeleteYou absolutely can. Pack into an air tight container and freeze for up to three months. You can gently rewarm them in a low oven for about15 minutes, or until warmed through.
DeleteHi. Do you happen to know how many grams the 8 tablespoons of cold butter are? Have a great day!
ReplyDeleteSure thing, it is 114.7 grams! Hope you will bake and enjoy these! xo
DeleteHi does the Sour Milk need to be very sour and lumpy like Butter Milk?
ReplyDeleteMine usually is very sour and lumpy.
DeleteIs there a way to make this with sour milk but no whole milk? Trying to find a way to use up my sour milk without buying more milk I won’t use
ReplyDeleteI have only ever made these biscuits with a mix of the two, so I cannot say for sure. Sorry!
DeleteI made these with just my leftover sour milk, no whole milk on hand. The taste is fine. The dough was stickier than I anticipated but still workable. But at 1" thick, I only got 8 biscuits, not 12. So maybe next batch I'll try 3/4" thick. Glad I can use up milk, and my taste tester liked them too. :)
DeleteI have all purpose flour or bread flour on hand. Could either of these a substitution?
ReplyDeleteAll purpose is just right. Hope this helps!
DeleteYesterday, my husband, who loves these biscuits, wanted some for breakfast. Unfortunately, I only had bread flour. The biscuits were good, but not as tender and flaky as when made with all purpose. I will make sure to have all purpose on hand.
DeleteHi, baker’s greeting from Denmark again 🇩🇰 I just want to be sure about the amount of whole milk, should it be 120 ml instead of 20? I am not completely confident in the cup measurement yet and I would like to bake them soon xo
ReplyDeleteHi Dorth, you are correct it should read 120ml not 20. I will fix it immediately. Thank you so much for noticing so that I can correct it! I really appreciate it! xo
DeleteHi Marie - could you please explain how these biscuits differ from scones. The recipe looks pretty much like mine for what in Australia we call scones.
ReplyDeleteIt is a texture thing. Biscuits are light and flaky. Scones are dense and crumbly. They may look similar, but that is where all the similarity ends. If you set them next to each other and taste/try, you will note there is quite a remarkable difference.
DeleteThese were a dream to make! The only thing I didn’t do was sift my flour but my biscuits turned out and looked just like the above pictures! They were delicious. Thank you for this amazing recipe. I’ll be serving them for a Tea with lemon curd and flavored butters.
ReplyDeleteCan these be frozen?
ReplyDeleteThese biscuits were perfect! My husband who had told me to quit trying to make biscuits, loved these. Thank you for all the wonderful recipes.
ReplyDeleteI am so pleased that you baked and enjoyed these biscuits. Thank you so much for taking the time to share your experience with us! xo
Delete