Tuesday, 31 December 2019

Heavenly Chicken


I can't think of a better recipe to end the year on than this delicious and simple chicken recipe. Did you have Shake & Bake when you were growing up?  

It was a favourite of my brother, sister's and mine! It was a rare treat in our house. I think my mother considered it to be a bit of a luxury.


And as a woman who worked outside the home, my mom did buy it every now and then.  Not that we had chicken very often. 

We did not.    Chicken must have been really expensive back then. It was only ever rarely on the menu, and when it was, it was a real treat!


Usually if we had chicken legs mom would use the shake and bake on them.  I confess as an adult the legs/drumsticks are not my favourite cut.

If we had chicken breasts, mom did her Maryland Fried Chicken. Now that was something which we thought of as an exceptional treat!


She would buy bone-in, skin on chicken breasts. She  rolled them in egg and cracker crumbs. They were fried in butter and oil. 

Oh boy but we thought it was magnificent.  We had it maybe once a year and we were all really pleased when we did!


This is not that.  It is not my mum's Maryland Fried Chicken. However good that might have been . . .

 I can tell you that this is even better than my mom’s Maryland Fried Chicken! That's why this is called Heavenly Chicken. When something is called heavenly, you better believe that it is!


This recipe is like a combination of my mom's chicken recipe, and shake and bake. but I like to think it is a lot healthier than either one. (Don't burst my bubble.)

I like to think that for a number of reasons. First unlike shake and bake, there are no chemicals and preservatives!


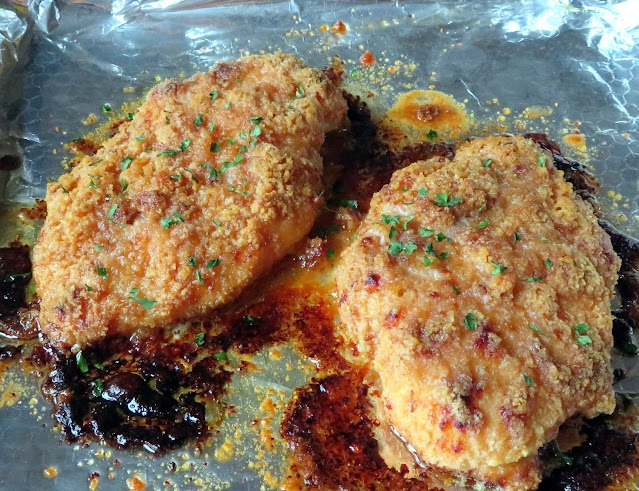
This recipe uses boneless, skinless chicken breasts. They are pounded lightly to an even thickness.

I like to put them either between two sheets of cling film to do this, or into a plastic bag. Do be gentle so as not to tear the meat.


Secondly this is baked, not fried.  We won't think about the butter drizzled on top, shhh . . .

We won’t think about that at all. It can be our little secret. Just block that right out of your mind!!


You begin by making up a flavourful mixture of sour cream and some seasonings. I would use full fat sour cream. In for a penny, in for a pound!

You coat the chicken with this. It is then rolled in fine round buttery cracker crumbs. I am sure you know the kind I mean.


It is then  on a baking sheet, drizzled with butter and baked.  What’s not to like???

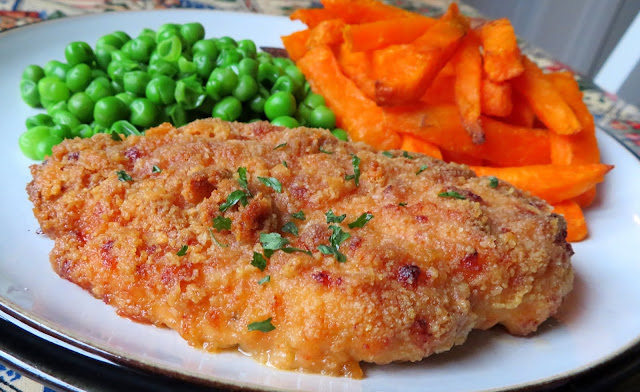
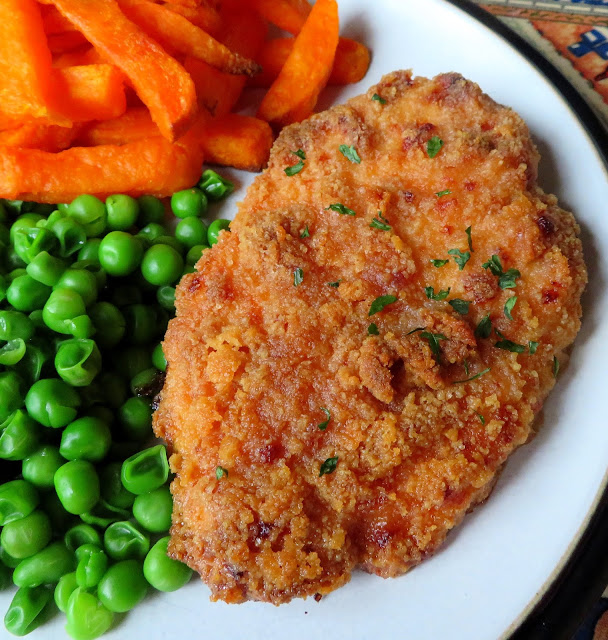
We love this.  It's so, so, SO Tasty!  You are guaranteed to love it! I served it with baby peas and sweet potato fries, but it would be equally as delicious with mashed potatoes or rice!

Yield: 2 (but can easily be doubled)
Author:

Heavenly Chicken

Heavenly Chicken

prep time: cook time: total time:
Tender, moist and filled with flavour.  This is a real favourite simple supper. I like to serve it with sweet potato fries and a vegetable.

ingredients:

  • 2 boneless, skinless chicken breasts or thighs
  • 2 TBS melted butter
  • 1/2 tsp onion powder
  • 1/4 tsp paprika
  • 1/2 tsp salt
  • 1/4 tsp garlic powder
  • 90g light sour cream (3/4 cup)
  • 90g finely crushed buttery round crackers
  • 1 TBS light olive oil

instructions:

How to cook Heavenly Chicken

  1. Preheat the oven to 180*C/350*F/ gas mark 4.  Line a baking tray with aluminium foil and spread with the olive oil.
  2. Measure the sour cream, salt, onion and garlic powders, and paprika into a bowl and mix well together.  Measure the cracker crumbs into another bowl.
  3. Pound the chicken until it is an even thickness.  Roll it in the sour cream mixture and then into the cracker crumbs to coat completely.  Place onto the baking tray.
  4. Drizzle the melted butter over top of each piece.
  5. Bake for 35 to 45 minutes (depending on the size of your chicken pieces) until golden brown, crisp and the juices run clear.

Did you make this recipe?
Tag @marierayner5530 on instagram and hashtag it #EnglishKitchen
Created using The Recipes Generator


It always comes out moist, tender and very delicious.  I am not sure why, but its a combination that works.    I really hope you will give it a go.  

The recipe quantities are for two people, but it is very easily doubled or even tripled to serve more!  

Have a happy New Years Celebration tonight. If you are out and about stay safe and drink responsibly.  Talk to you next year! 


Heavenly Chicken 

This content (written and photography) is the sole property of The English Kitchen. Any reposting or misuse is not permitted. If you are reading this elsewhere, please know that it is stolen content and you may report it to me at: mariealicejoan at aol dot com Thanks so much for visiting. Do come again!  


Sunday, 29 December 2019

Maple Walnut Muffins


After all of the excess of the last week or so I was craving something simple today that I could enjoy with a cup of herbal tea.  I confess I am fruit-caked and mince-pied OUT! 

 Actually in all reality Todd is the  one for the most part who eats those things.


I find them really sweet, and can only enjoy them in small amounts.  I prefer something more in-between sweet and savoury with my tea.


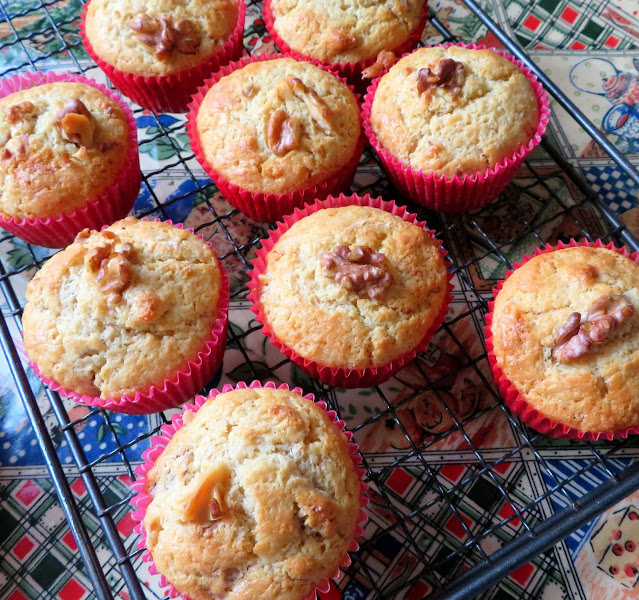
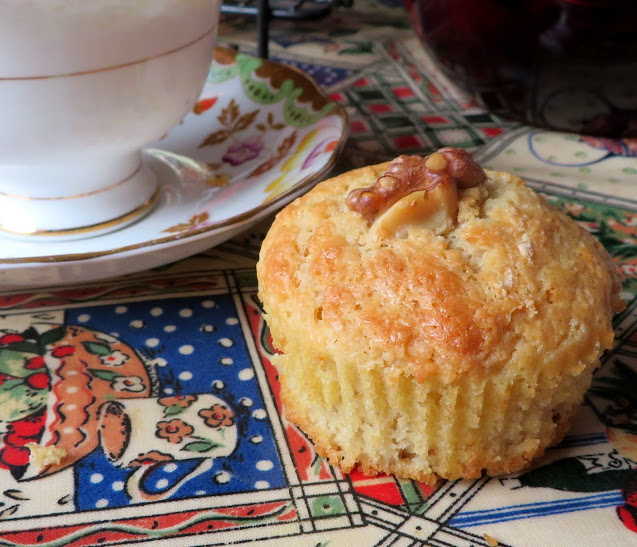
These fabulously moist and delicious muffins fit the bill perfectly. 


They are sweetened naturally, with just maple syrup.  I can remember when I first moved here to the UK, I brought along a 2 litre can of Maple Syrup, right onto the plane! 

Remind me sometime I will tell you how much fun that was carrying it through the terminals with its wire handles. 😖 At the end a kind gentleman helped me out!


Back then maple syrup was very difficult to get ahold of here in the UK,  and if you did find it, it was super expensive. 

 Truth be told maple syrup is always a bit dear, even in North America, but I feel that it is worth every penny.  I buy mine at Costco in a small jug.


These delicious muffins are not too sweet. There is no refined sugar in them, just the maple syrup, which also gives them a mild maple flavour . . .


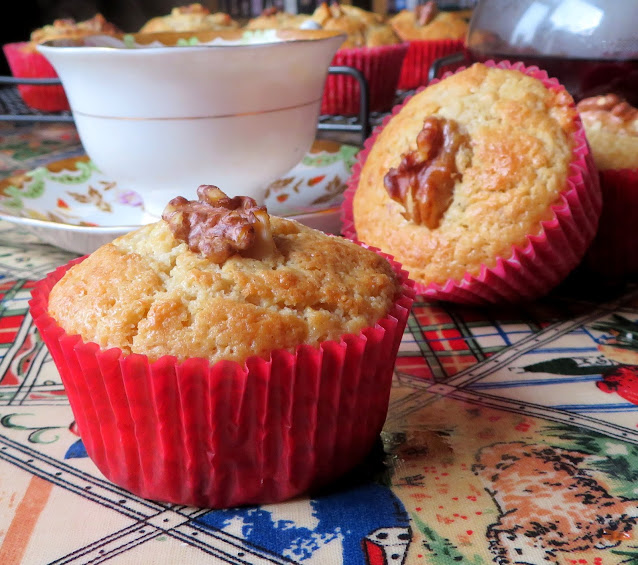
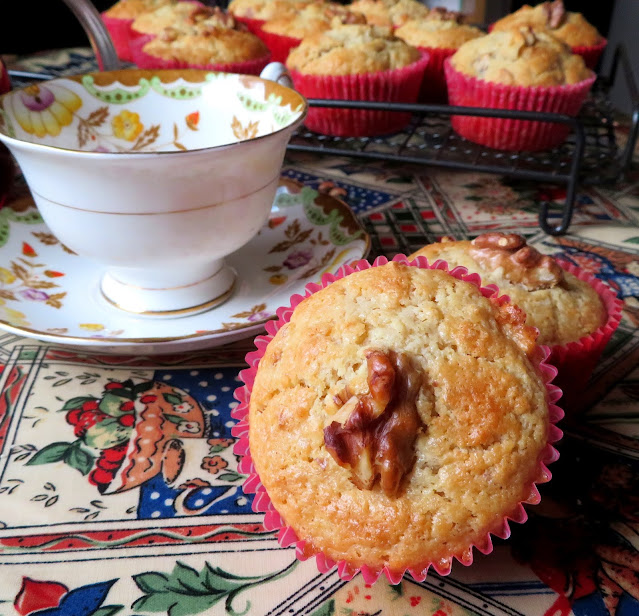
I have to talk about my teacup.  My sister gave this to me for my birthday a long time ago. She had found it in a charity shop and knew I loved teacups.

 It is my most prized teacup, mostly because it came from my sister with love.  Gifts tied with heart strings are the best gifts of all.


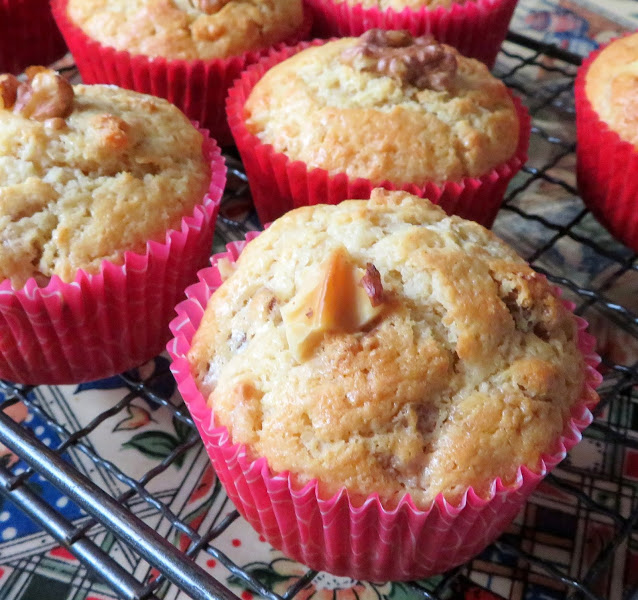
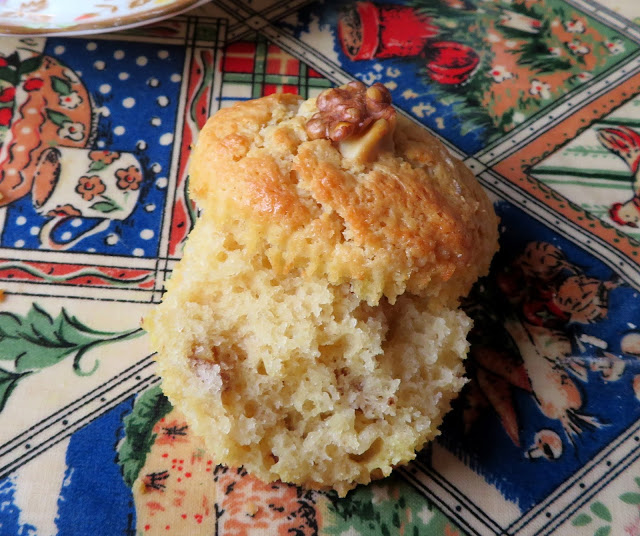
Back to the muffins, they have a very tender crumb, almost cake like I suppose  . . . . but they aren't cake. They're muffins.


They are studded throughout with toasted walnut meats, coarsely chopped  . . . I love toasted nuts.  I always toast them prior to baking with them. It helps to bring out their nuttiness.  

Just a few minutes on a baking sheet in a hot oven does the trick. You only want to toast them in the oven until you start to smell them.  Then they will be perfectly toasted.


I chose to garnish the tops with halved walnuts, which is completely optional, but I think it makes them rather pretty.


Optionally you can dip the tops in warm maple syrup and serve them warm, dusted with a bit of powdered sugar, but I like them just like this.


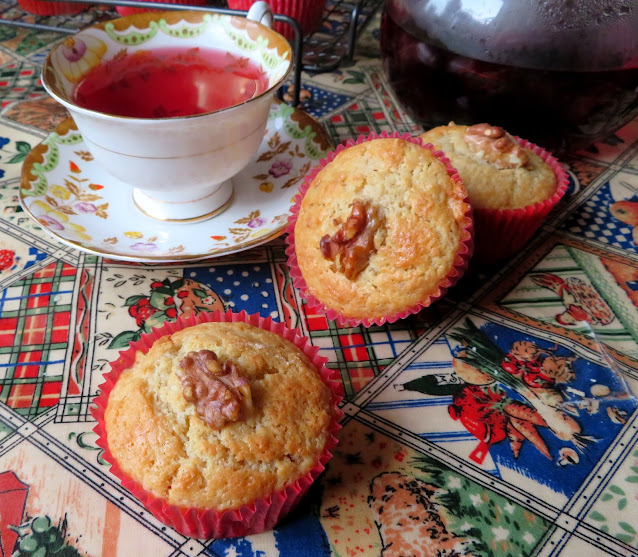
These were the perfect treat after all of the indulgence of the holidays. Very, very welcome! I enjoyed one with a cup of Hibiscus tea steeped in the pot our friend Maxine gave us for Christmas.  Its a glass teapot.  I have always wanted a glass teapot!


Maple Walnut Muffins

Maple Walnut Muffins

Yield: 15 muffins
Author:
Moist, light and delicious without being overly sweet.

ingredients:

  • 245g plain flour (1 3/4 cup)
  • 2 tsp baking powder
  • 1 tsp baking soda
  • 120g butter at room temperature (1/2 cup)
  • 180ml pure maple syrup (3/4 cup)
  • 120g sour cream (1 cup)
  • 1 free range large egg
  • 87g chopped toasted walnuts, plus more to garnish (3/4 cup)

instructions:

How to cook Maple Walnut Muffins

  1. Preheat the oven to 200*C/400*F/ gas mark 6.  Butter a medium size muffin tin and  line with paper liners.
  2. Sift together the flour, soda and baking powder into a bowl and set aside.
  3. Cream the butter until light with an electric whisk.  Continue with the electric whisk and add the  in the maple syrup a bit at a time, whisking constantly. Whisk in the egg and sour cream.  Fold in the flour and the walnuts, until just blended.
  4. Spoon into the prepared tin (you will have to cook three more separately after the first batch) filling 2/3 full.  Top each with a piece of walnut if desired.
  5. Bake for 12 to 16 minutes.  A toothpick inserted in the centre  will come out clean.  Leave in the tins for a few minutes, then move to a cooling rack to finish cooling.

Did you make this recipe?
Tag @marierayner5530 on instagram and hashtag it #EnglishKitchen
Created using The Recipes Generator


If you are wanting something that is tender and not overly sweet, I think you will enjoy these beautiful muffins!  


Saturday, 28 December 2019

Nibbles for New Years


I've never been one much for going out on New Years Eve.  I'm pretty much a stay at home, have a few nibbles, watch the ball drop on the telly kind of a gal.  I suppose that comes from years of having a huge family and not being able to afford tickets to go out and a baby sitter!


I never minded much and as my children got older it got to be more fun. We would have a nibble buffet of finger foods, and watch some great things on the telly, or play a few board games, and then watch Dick Clark's Rockin New Year's Eve!


Because my ex was a Military Policeman, he used to have to work on New Years Eve anyways, so it was pretty much me and the children on our own celebrating!


We all had our favourite nibbles.  I would out a variety of crisps and cheese snacks, cheese and crackers, pickles . . .


Pretzels,  mini pizzas, dips and other nibbles and mocktails, of course!


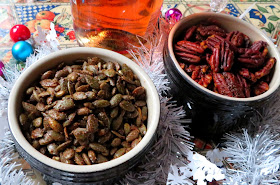
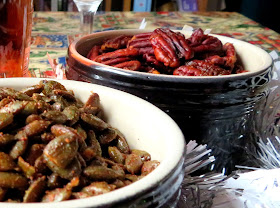
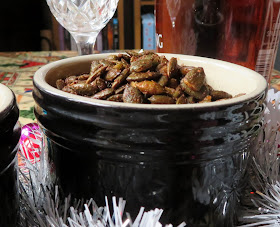
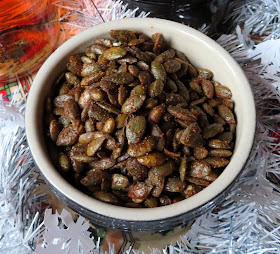
These Sweet & Spicy Pepitas are really tasty.  They go down great with drinks and are incredibly moreish.


They are also very easy to throw together and roast, plus you can do them ahead of time which makes them ideal!

Sweet & Spicy Pepitas

Sweet & Spicy Pepitas

Yield: Makes about 8
Author:
A little bit sweet, a little bit spicy, a lot moreish.  Perfect with drinks, or just as snacking.

ingredients:

  • 170g raw pepitas (shelled pumpkin seeds) (1 cup)
  • 1 TBS pure maple syrup
  • 1/2 tsp each, ground cinnamon, ground ginger and ground nutmeg
  • 1/4 tsp fine sea salt
  • pinch cayenne pepper

instructions:

How to cook Sweet & Spicy Pepitas

  1. Preheat the oven to 165*C/325*F/ gas mark 3.  Line a large baking sheet with baking paper.
  2. Measure all of the ingredients into a bag or bowl and toss together to mix, making sure that all of the seeds are coated.  Spread onto the prepared baking sheet in an even layer.
  3. Roast in the preheated oven for 15 minutes, stirring every five minutes.  Allow to cool before transferring to a serving dish or storing in an airtight container.

Did you make this recipe?
Tag @marierayner5530 on instagram and hashtag it #EnglishKitchen
Created using The Recipes Generator


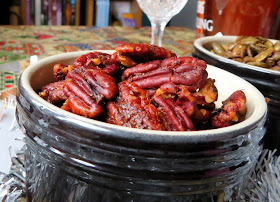
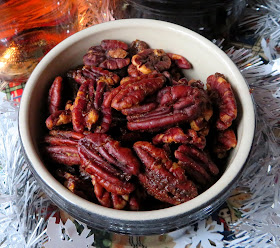
Another nibble we really like are these Spice Toasted Pecan nuts.  I adore Pecans.


Pecan pie has long been my favourite kind of pie, next to lemon meringue of course. I can remember when I was pregnant for my oldest daughter I picked up a frozen one at the store and bought it home.  Once it thawed I cut out a piece and savoured every morsel. 


It was so good. I was so afraid that I would eat the whole pie myself so I then dumped the rest of it in the bin and then I emptied an ash tray on top of it as well, just to make doubly sure. (Pregnant women . . .  you never know!)


It has been a very long time since I have had a pecan pie  . . .  and I can't say that these toasted pecans are as good as a slice of pecan pie, but I can say that they are mighty tasty as a nibble and quite a bit healthier than a pie!

Spice Toasted Pecans

Spice Toasted Pecans

Yield: About 16
Author:
These are deliciously moreish and nice to snack on, or as a nibble with cocktails.

ingredients:

  • 240g shelled pecan halves (2 cups)
  • 1 tsp ground cinnamon
  • 2 tsp mild chili powder
  • 1 tsp ground cumin
  • 1/2 tsp cayenne pepper (or to taste)
  • 1/2 tsp ground ginger
  • 1 tsp fine sea salt
  • 3 TBS melted unsalted butter
  • 2 TBS soft light brown sugar, packed

instructions:

How to cook Spice Toasted Pecans

  1. Preheat the oven to 200*C/400*F/ gas mark 6.  Line a baking tray with baking paper.  Spread the pecans on the baking sheet in a single layer.  Roast in the preheated oven for five minutes.  Remove from the oven.
  2. Measure everything else into a glass bowl.  Add the warm pecans and toss to coat completely.  Pour them back onto the baking sheet.
  3. Roast for a further 5 to 8 minutes, stiring halfway through the roasting time.
  4. Allow to cool completely before storing in an airtight container.

Did you make this recipe?
Tag @marierayner5530 on instagram and hashtag it #EnglishKitchen
Created using The Recipes Generator


So what are your favourite nibbles for New Years Eve?  Are you a party goer, or do you prefer a more intimate affair?


Of course we are Latter Day Saints so we don't drink alcohol, but I do enjoy a Mocktail or two, or even a glass of punch.  Sparkling water with a slice of lemon or lime is also quite nice.


And these tasty nibbles go with all of them!  Enjoy and Happy New Year! 


Tuesday, 24 December 2019

Happy Holidays!


I just wanted to take this opportunity to thank you all for your visits throughout the year and your lovely comments.  A very Merry Christmas, Happy Hanukkah, Happy Kwanzaa, or whatever it is that you celebrate at this time of year.  May your days truly be Merry and Bright!  Eat good food, enjoy good people, be happy and be blessed! I had not planned on shutting shop quite so soon this season, but you know what they say about plans!  I am looking forward to another year of sharing good food and recipes with you.  In the meantime, happy, happy!


Sunday, 22 December 2019

Christmas Gingerbread Roll


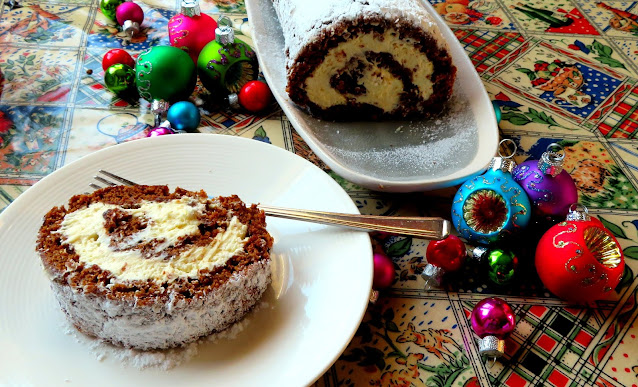
If you are looking for a fabulous dessert to finish your Christmas celebratory meal with I say look no further!  This wonderful Christmas Gingerbread Roll fits the bill on all counts! 
 
Not only is this really delicious but it is also very simple to make.


I am not sure what it is about those warm baking spices and gingerbread.  They go together with Christmas like peas and carrots! 

The smell alone speaks Christmas to me!


The cake smells heavenly when it is baking . . .  the scent of Christmas  . . .  ginger and cinnamon, nutmeg and cloves and a bit of ground cardamom for good measure . . . 
 
Gets your tastebuds to tingling  . . . 


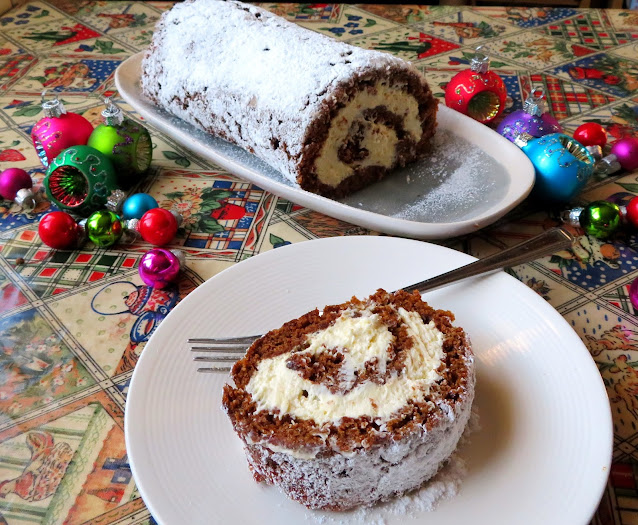
I think Mary Berry herself would be very proud of the distinct roll I achieved, don't you? 
 
I was rather well pleased with how it turned out.


Flavoured and sweetened with warm, earthy molasses and fragrant vanilla  . . . mmmm.

I love anything with molasses.  As a maritime Canadian, molasses runs through my veins . . .


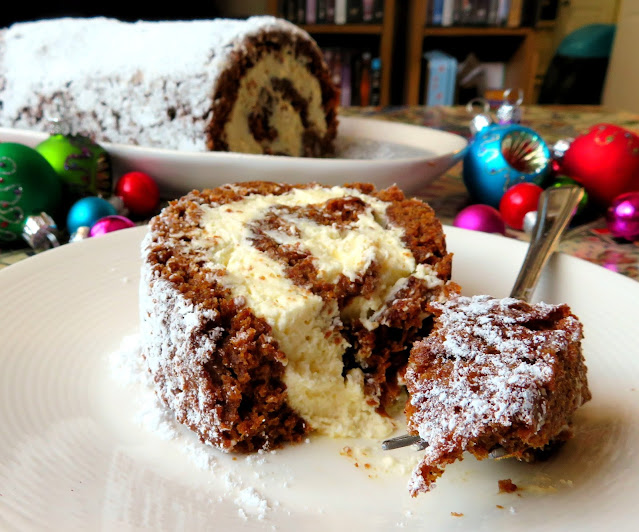
That filling is lush and moreish  . . .  light . . .not in the least bit heavy or cloying.


Its simply whipped cream mixed with lemon curd  . . .  perfectly flavoured. 
 
Lemon and Ginger are perfect partners.


Not too sweet, not too tart . . .  just perfect with the sweetness of the cake.


You could also stir in a TBS of ginger syrup from a jar of preserved stem ginger if you wanted to inject even more warmth and flavour, but I can assure you it is pretty perfect just as it is.


It cuts beautifully into lovely slices . . .  a light dusting of icing sugar is the only adornment it needs  . . .


Oh this would be lovely with a hot cup of something like coffee, or tea  . . .  herbal or otherwise  . . .


This is the perfect finish for any meal, be it on Christmas Eve or on Christmas Day . . .


I can't think of anyone who wouldn't be happy with a slice of this set before them, can you?


Yield: 10
Author:

Christmas Gingerbread Roll

Christmas Gingerbread Roll

This makes for a delicious light dessert.  Spicy gingerbread rolled around a lush lemon cream filling.  Its a lot easier to make than one would suppose.
prep time: cook time: total time:

ingredients:

For the cake:
  • 105g plain flour (3/4 cup)
  • 1 tsp baking powder
  • 1/2 tsp baking soda
  • 1 tsp ground cinnamon
  • 1 tsp ground ginger
  • 1/4 tsp each, ground cloves, ground nutmeg and ground cardamom
  • 1/4 tsp salt
  • 3 large free range eggs, at room temperature
  • 145g caster sugar (3/4 cup)
  • 50g soft light brown sugar (1/4 cup, packed)
  • 1 tsp vanilla extract
  • 80ml molasses (1/3 cup)
  • 65g icing sugar, sifted (for rolling) (1/2 cup)
  • 30g icing sugar, sifted for dusting at the end
For the lemon cream filling:
  • 480ml double cream (whipping or heavy cream, 2 cups)
  • 115g good quality lemon curd (about 1/3 cup)

instructions:

How to cook Christmas Gingerbread Roll

  1. Preheat the oven to 190*C/375*F/ gas mark 5.  Butter a 10 by 15 inch Swiss roll tin and line with baking paper. Butter the baking paper.
  2. Sift together the flour, spices and salt.  Set aside.
  3. Whisk the eggs with an electric whisk, slowly adding the caster sugar until light and fluffy.  Whisk in the brown sugar, vanilla and molasses, continuing to whisk with the electric whisk until the mixture becomes thick and billowy.  This will take about 3 minutes.  Fold in the flour mixture with a rubber spatula until combined and no white streaks remain.  Spread the batter evenly in the prepared baking tin. Tap gently on the counter to allow the mixture to settle.
  4. Bake in the preheated oven for 16 to 18 minutes, until the cake bounces back when lightly touched.
  5. While the cake is baking lay out a large clean tea towel on a flat surface. Dust lightly with half of the first amount of icing sugar.
  6. Tip the baked cake onto the dusted tea towel as soon as it comes out of the oven and carefully peel off the paper.  Dust with the other half of the first amount of icing sugar. Make a tiny cut along the  width of it at one narrow edge about 1 inch in. Using the tea towel as a lever and beginning at that end  gently roll up the cake tightly. Place onto a wire rack to cool completely.
  7. Once the cake is completely cold. Place the whipping cream into a chilled bowl.  Whisk with your electric whisk until it doubles in volume and starts to form soft peaks.  Fold in the lemon curd. It will continue to thicken when you add the lemon curd.
  8. Unroll the cake carefully and spread completely with the lemon cream.  Carefully re-roll.  Trim off the ends and place onto a serving plate.  Dust with the remaining icing sugar.  Keep, covered,  in the refrigerator until you are ready to serve it.   Cut into slices to serve.

Did you make this recipe?
Tag @marierayner5530 on instagram and hashtag it #EnglishKitchen
Created using The Recipes Generator


This will probably be the last sweet recipe I post before Christmas.  I think most people's menus have probably already been decided now and you can only eat so much sweetness.  I may post one or two quick ideas for suppers, but we will see how it goes!  In the meantime, don't forget to take some time to relax a bit and to enjoy the sweet spirit of these final few days before the big day itself.  If you are like me, its all done now and you can breathe a bit easier until the big day itself!  I am doing the Easy Turkey from Piper's Farm this year so all I have to do is cook the side vegetables.  The turkey comes with stuffing and bacon wrapped sausages and stock for gravy.  All I have to do is pop it all into the oven.  Easy peasy.  Since there is just the two of us, I am taking the easy route this year!

This content (written and photography) is the sole property of The English Kitchen. Any reposting or misuse is not permitted. If you are reading this elsewhere, please know that it is stolen content and you may report it to me at: mariealicejoan at aol dot com Thanks so much for visiting. Do come again! 

Follow my blog with Bloglovin